Setting up the Scan Configuration
After the datasource connection succeeds, use the following steps to create a scan configuration, start a database scan, and view the classification results.
Steps
-
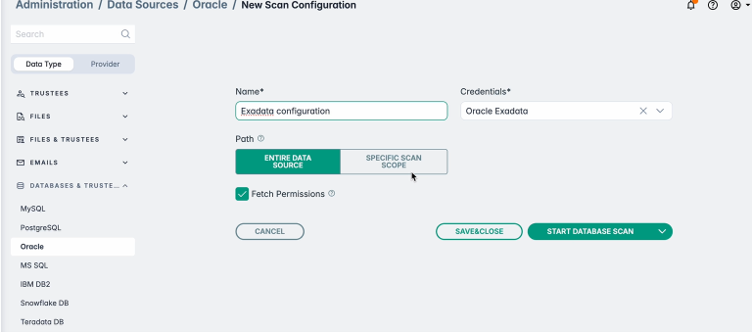
If the connection succeeds, the New Scan Configuration page appears. Enter a Name and select the specific credential from the
drop-down.
-
Choose the scope of the scan.
- Click Entire Data Source to scan the entire data source.
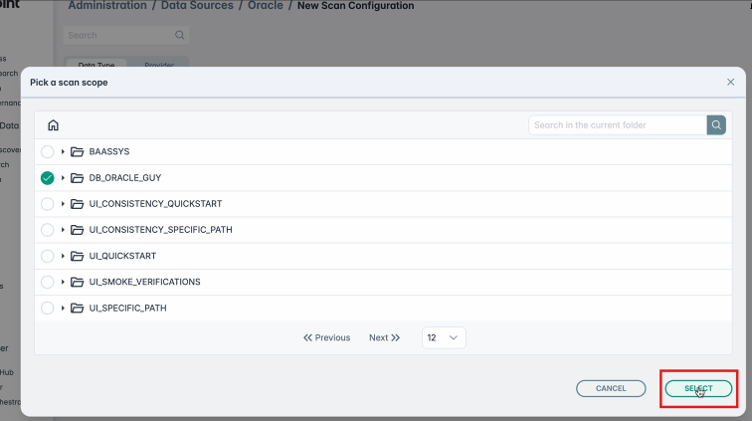
- Select Specific Path to scan a specific schema in the window that opens.
If you selected Specific Path, select the folder path in the window that opens. You can also use the Search box to find a schema or specific tables in a schema. Based on the table name searched for, the tables are listed. Select the specific tables from the displayed list that you want to include in the scan and click Select.
-
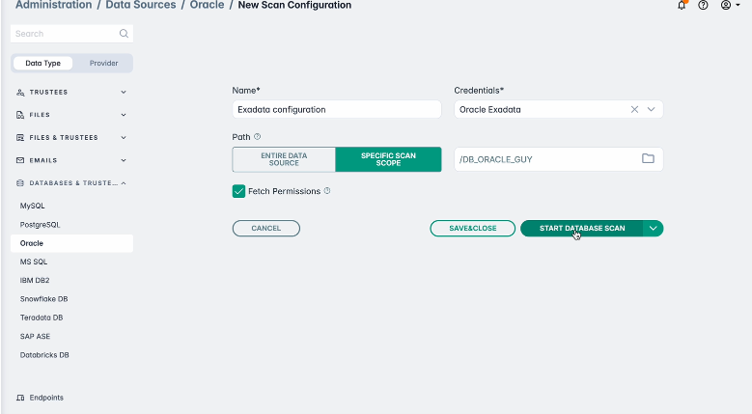
On the next screen, choose how to proceed.
- Select SAVE & CLOSE to save the configuration for future scans.
- Click START DATABASE SCAN to start a scan.
-
If you selected START DATABASE SCAN in the previous step, click ACCEPT to proceed.
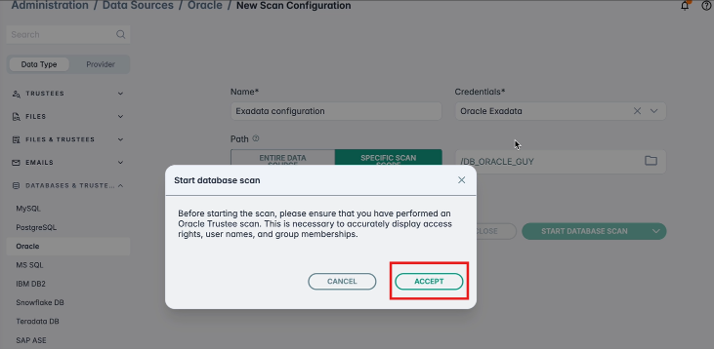 Note: Before starting the START DATABASE SCAN, ensure that you perform a trustee scan.
 -
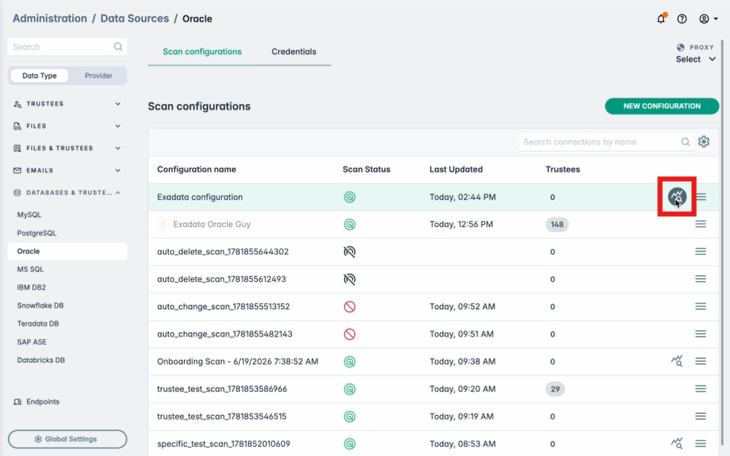
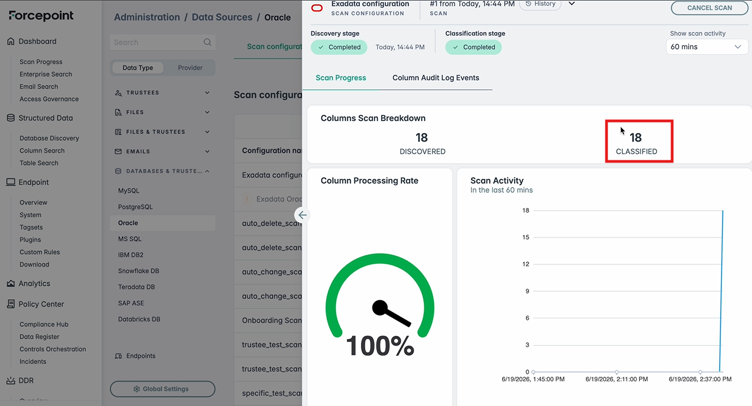
Once the scan status is complete, click the Scan Analytics icon.
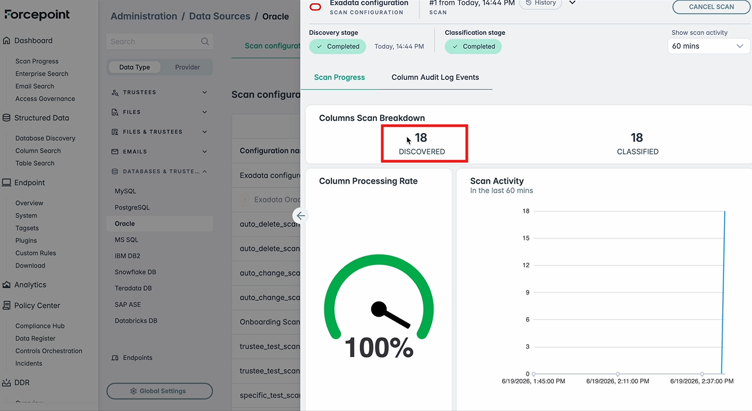 Note: In the discovery phase, database basic metadata (data type, size, and relations) are collected. At this stage, no column content is analyzed.
 -
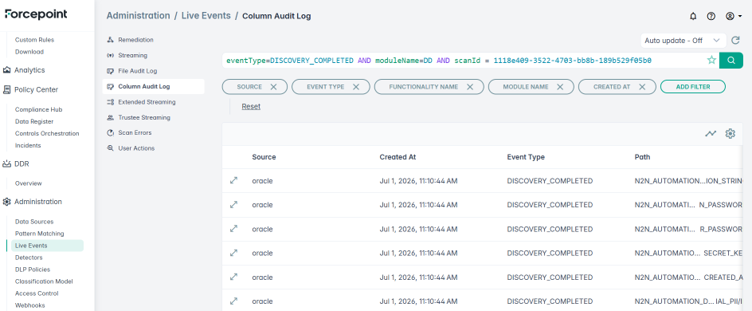
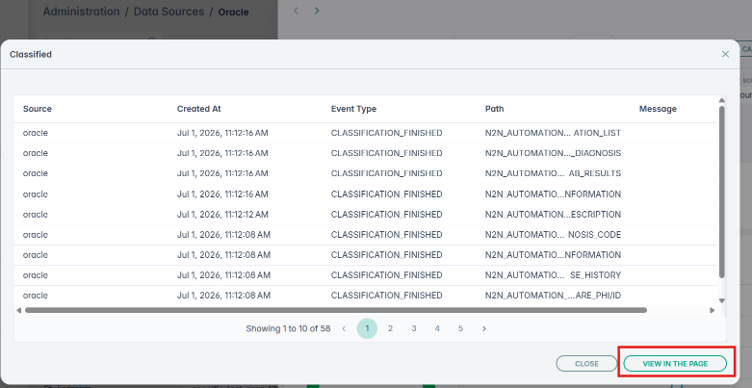
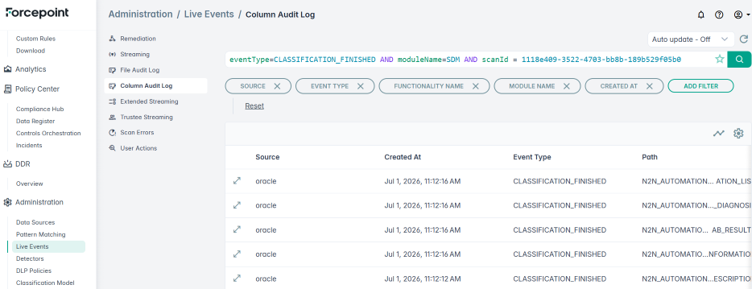
Click VIEW IN THE PAGE to view column audit log details.
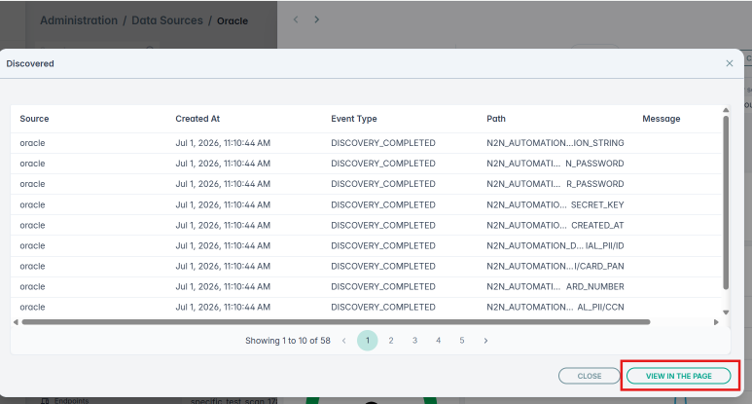
The screenshot shows that 18 items were classified as a result of this analysis. The analysis reviewed permissions, extracted and inspected the content, and determined sensitivity and risk levels using Patterns/Detectors and AI Mesh.
-
Click VIEW IN THE PAGE to view column audit log details.
-
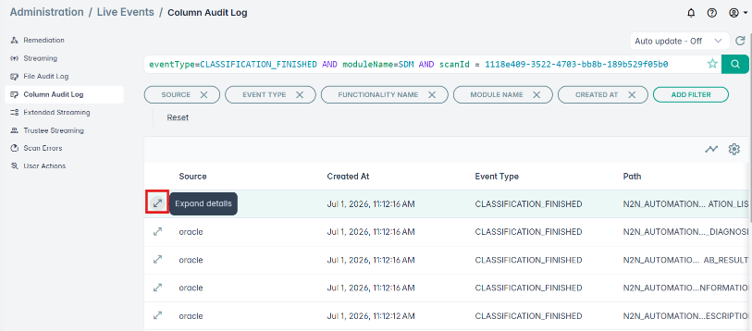
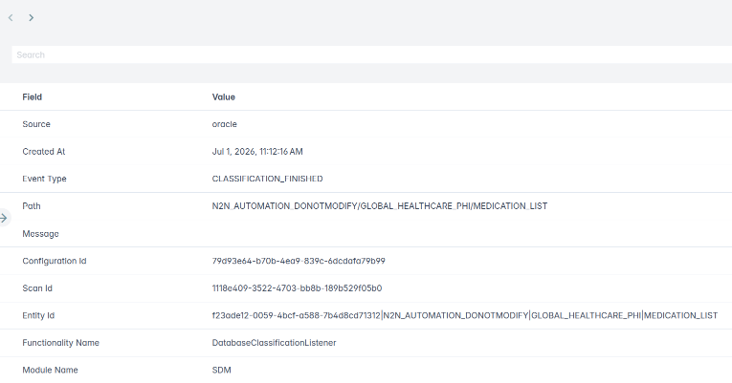
Click Expand details to view the additional information.
 Note: When you save a scan configuration or start a database scan, Forcepoint DSPM validates the selected scope against scan limits. If the scope exceeds a limit, the configuration is not saved or the scan does not start, and a notification identifies the limit that was exceeded. To reduce the scope, select a specific path (schemas or tables) instead of the entire data source, or split the scan across multiple configurations. See Structured data scan limitations.