Setting up the Scan Configuration
Steps
-
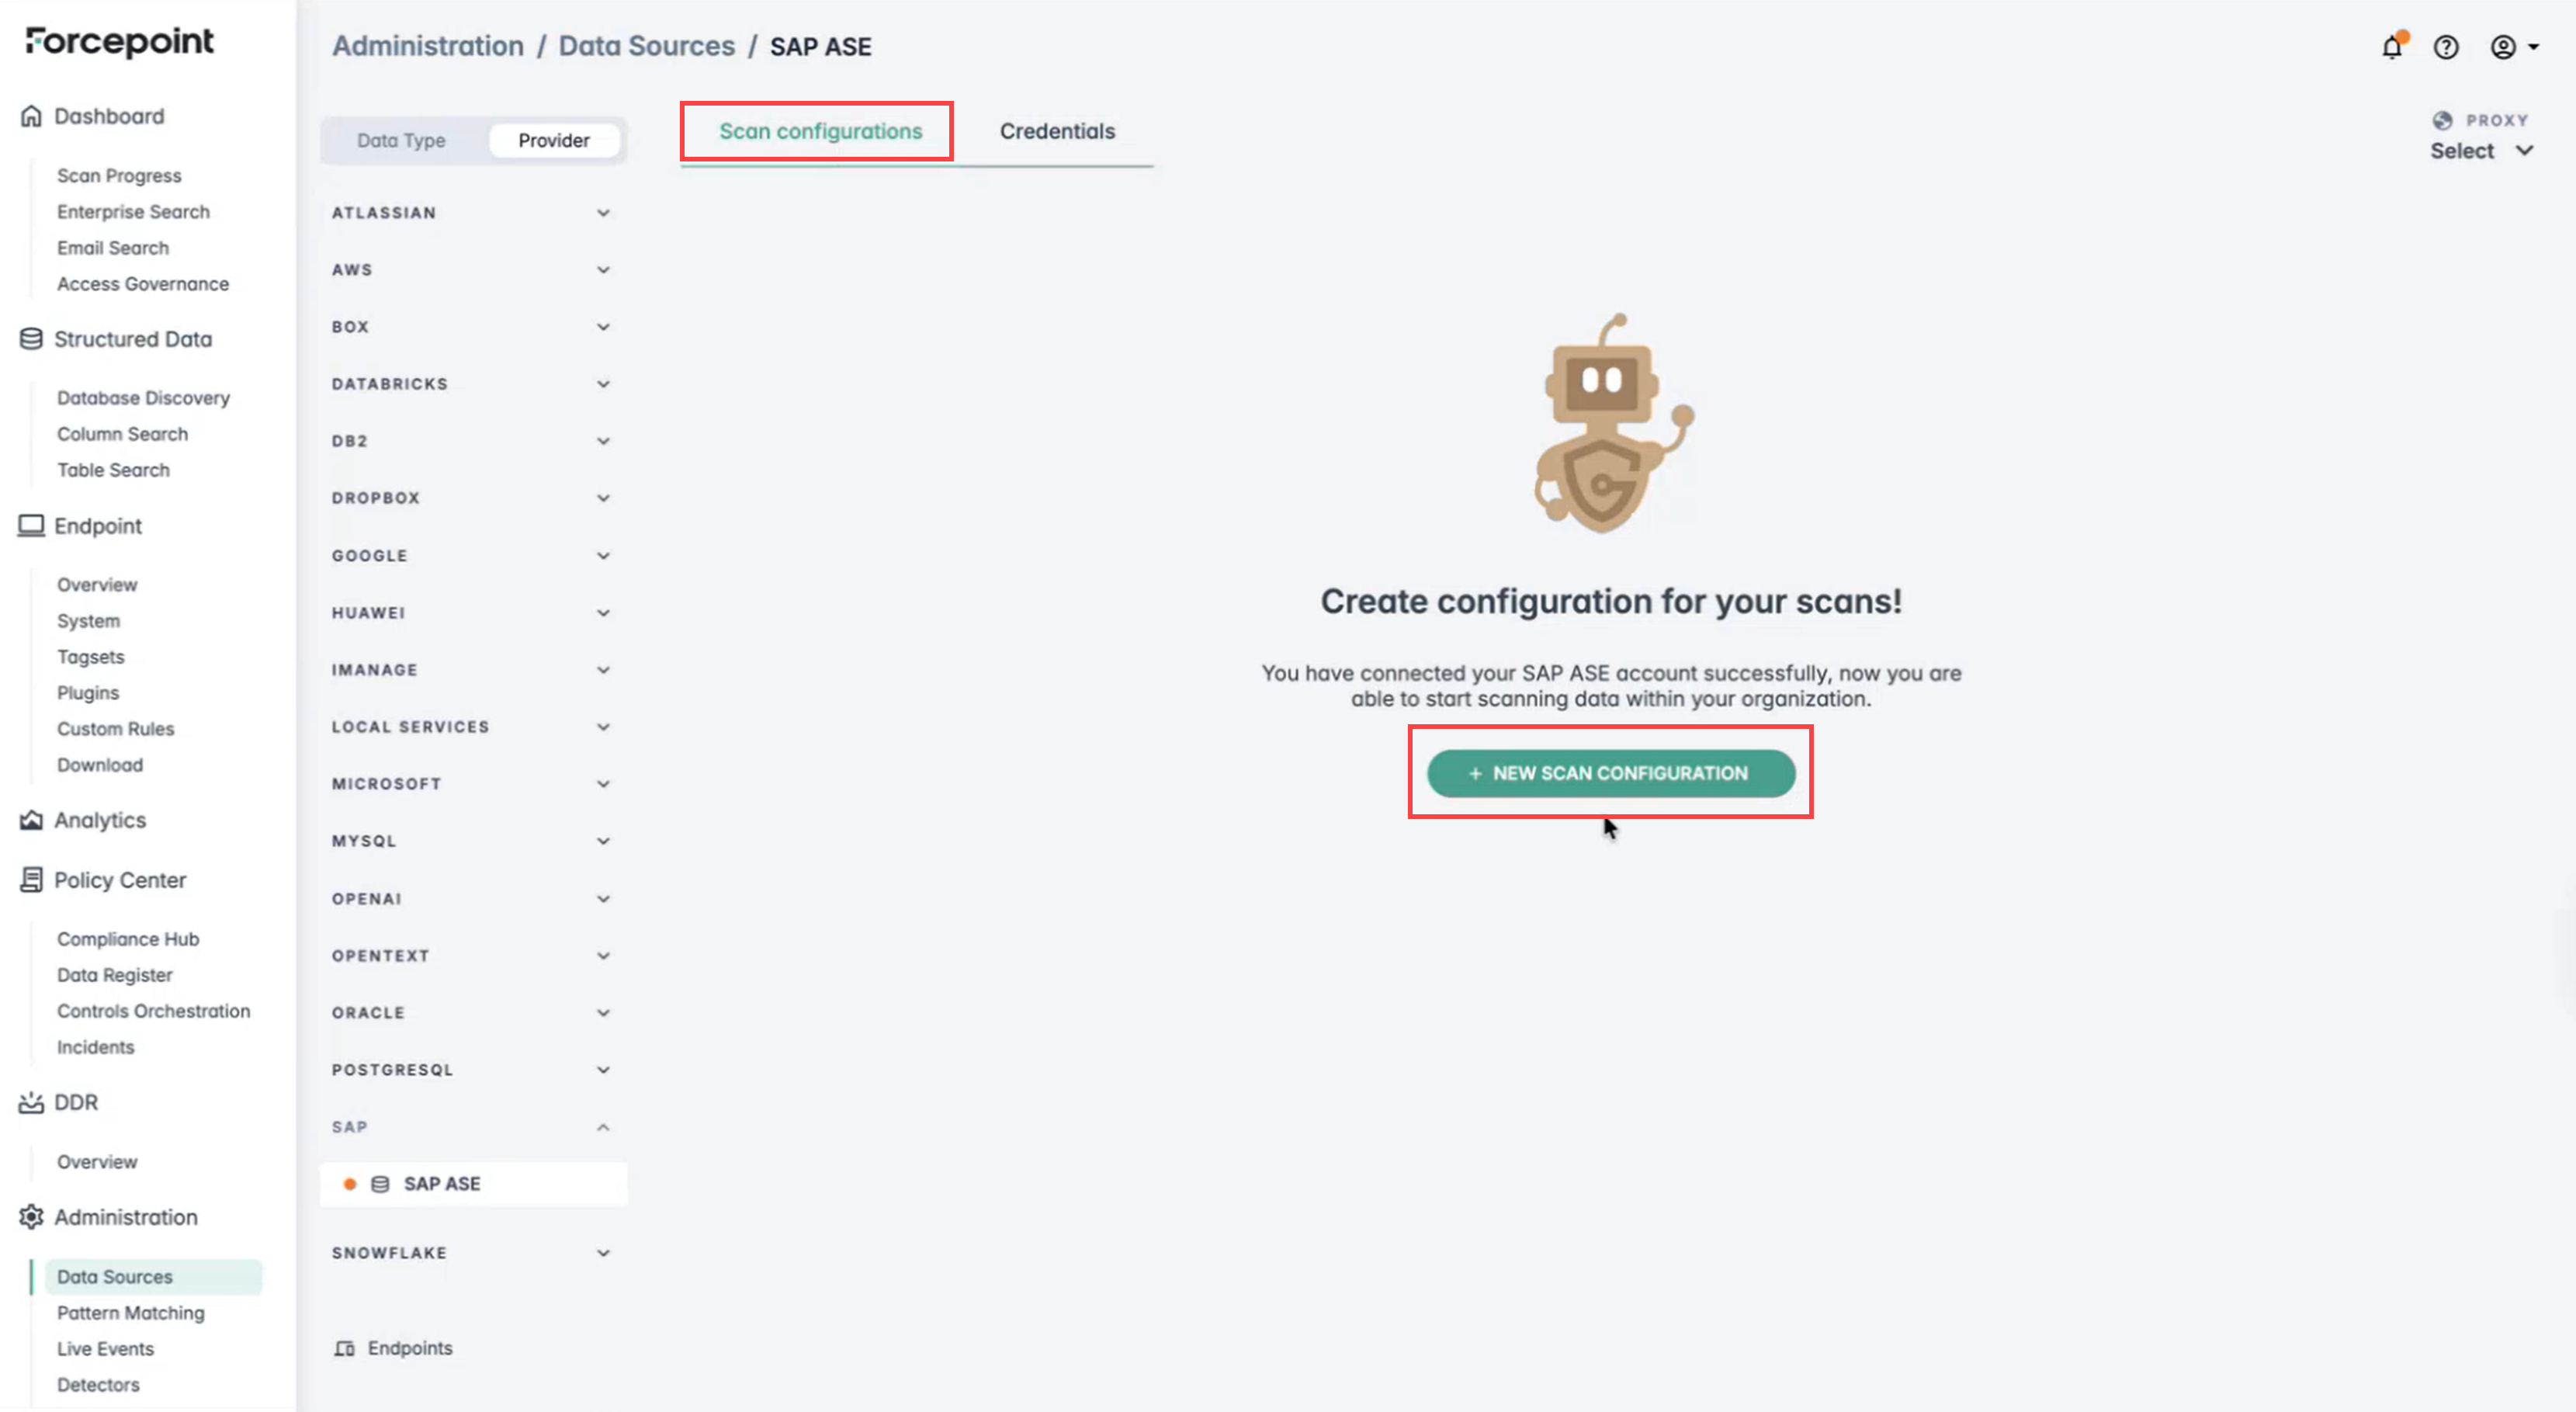
Navigate to Scan Configurations and click on New Scan Configuration. Enter a Name for the scan and select the
specific credential (which you have created earlier) from the dropdown.
-
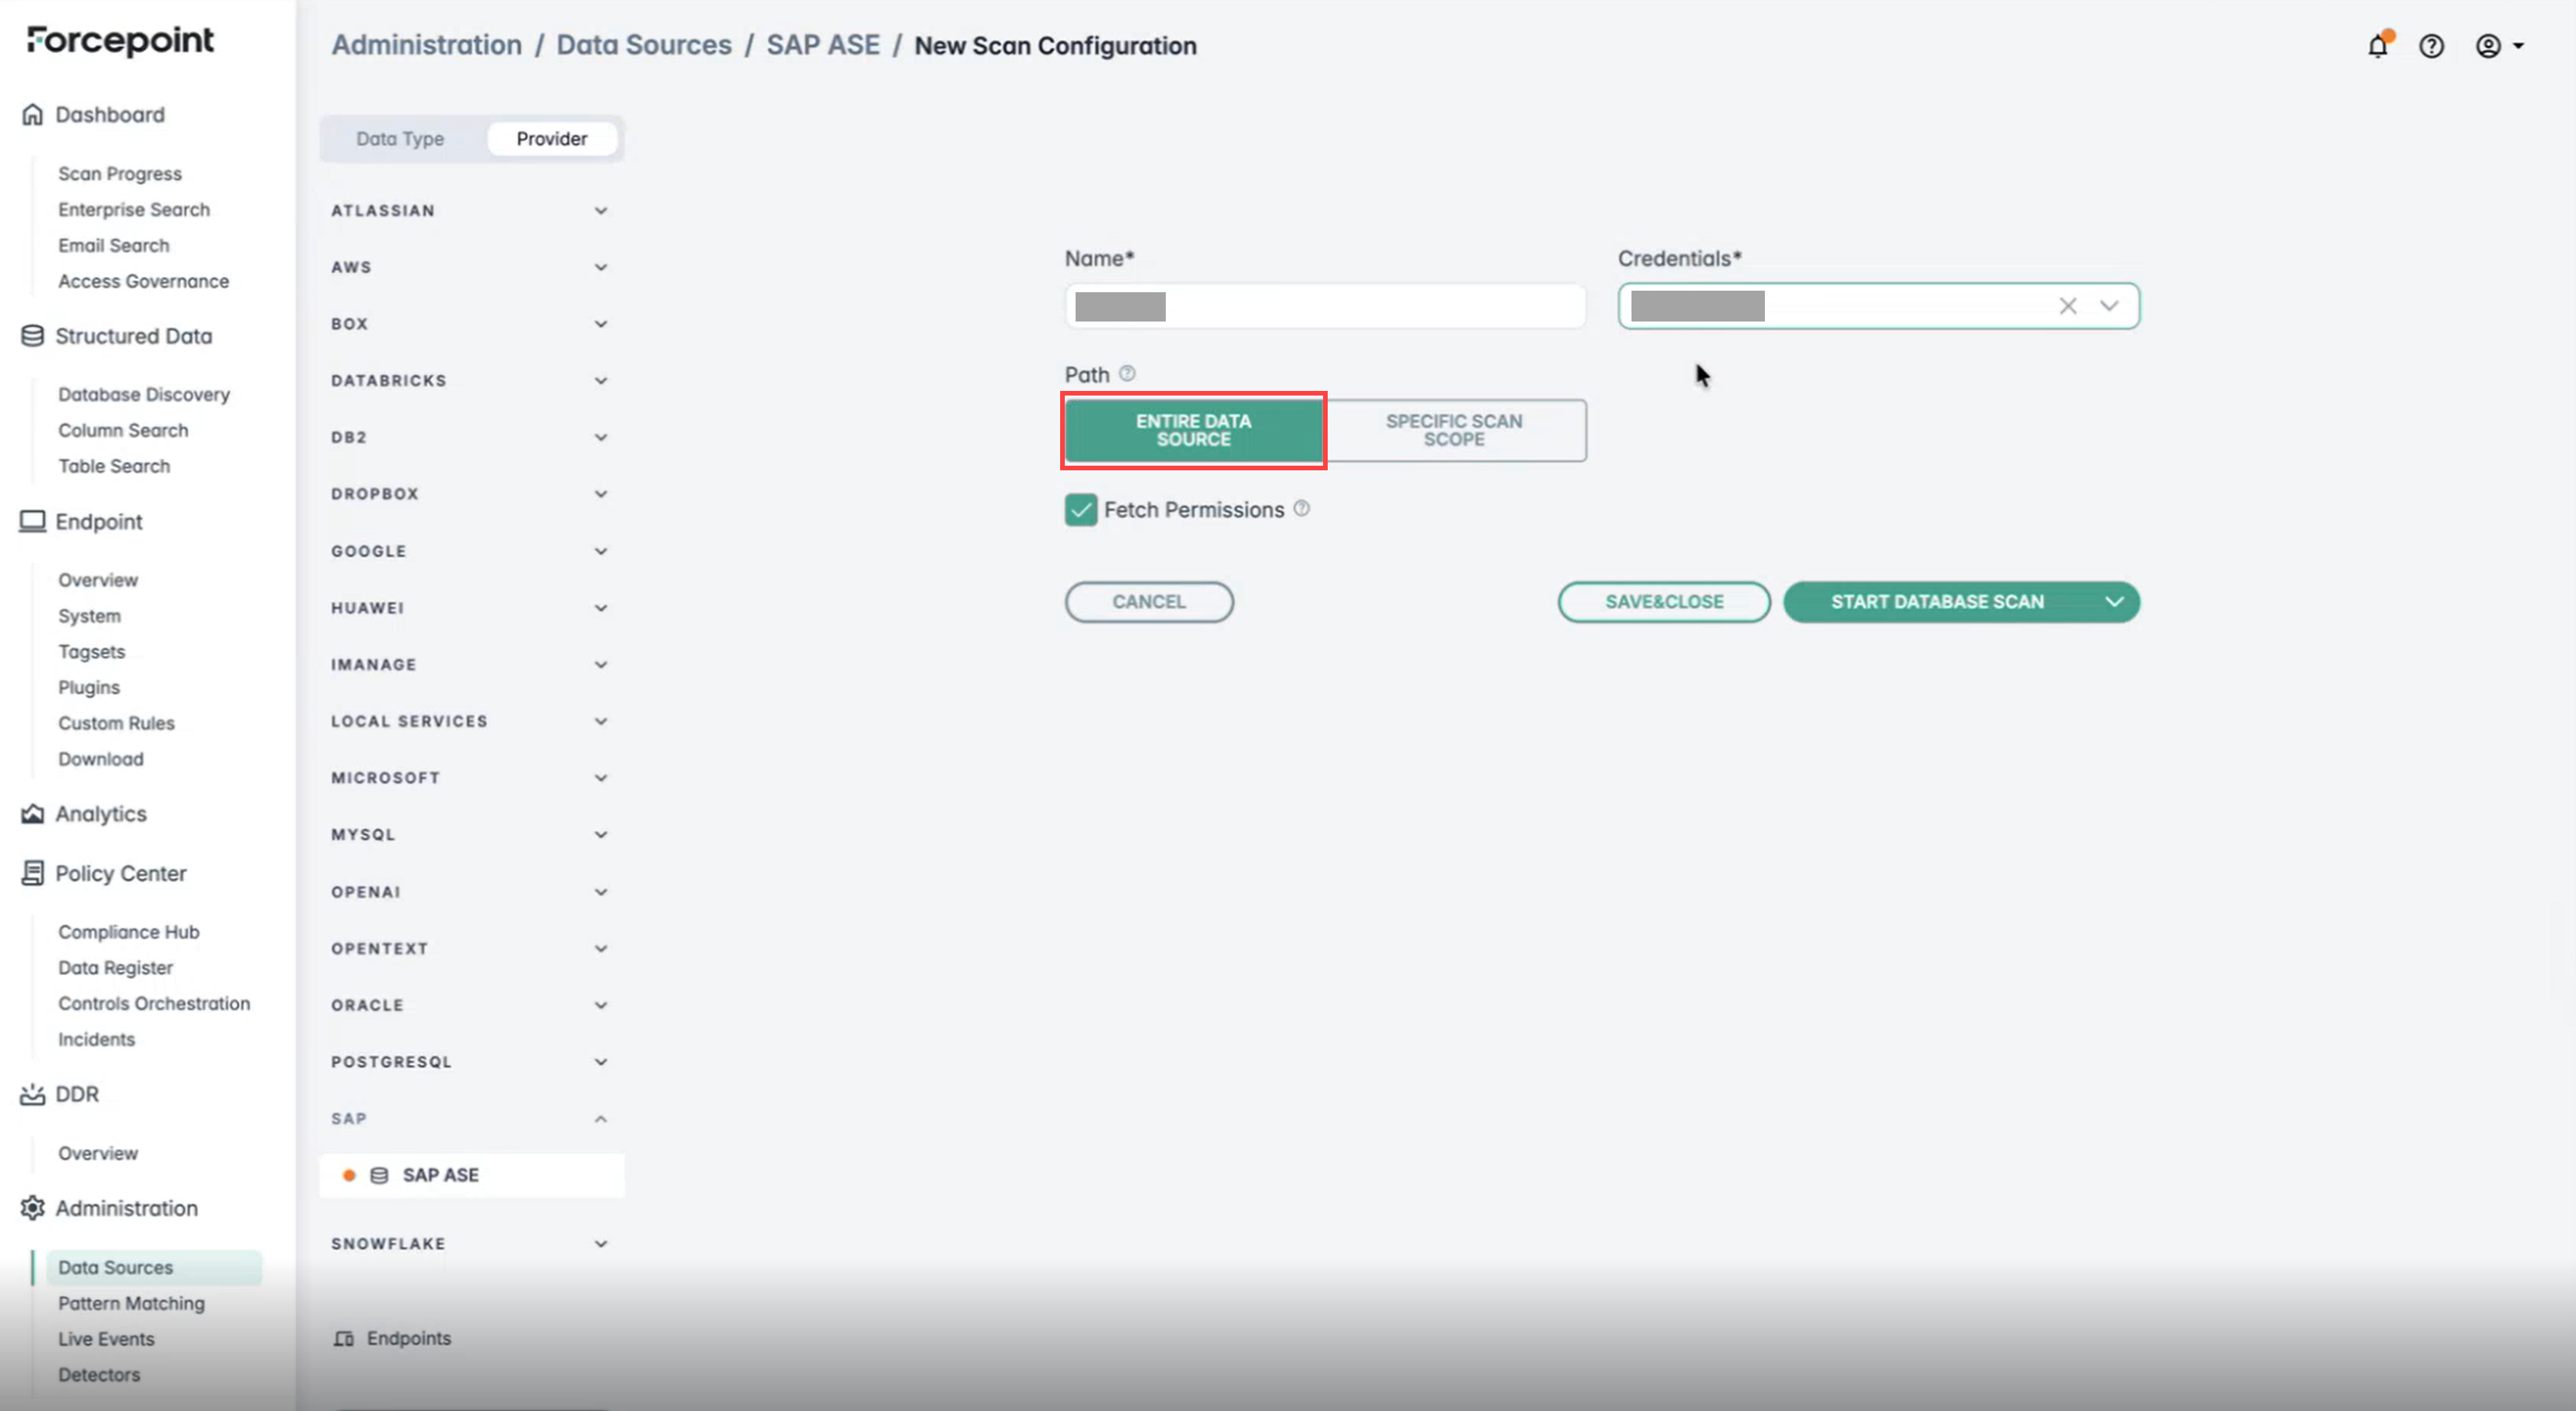
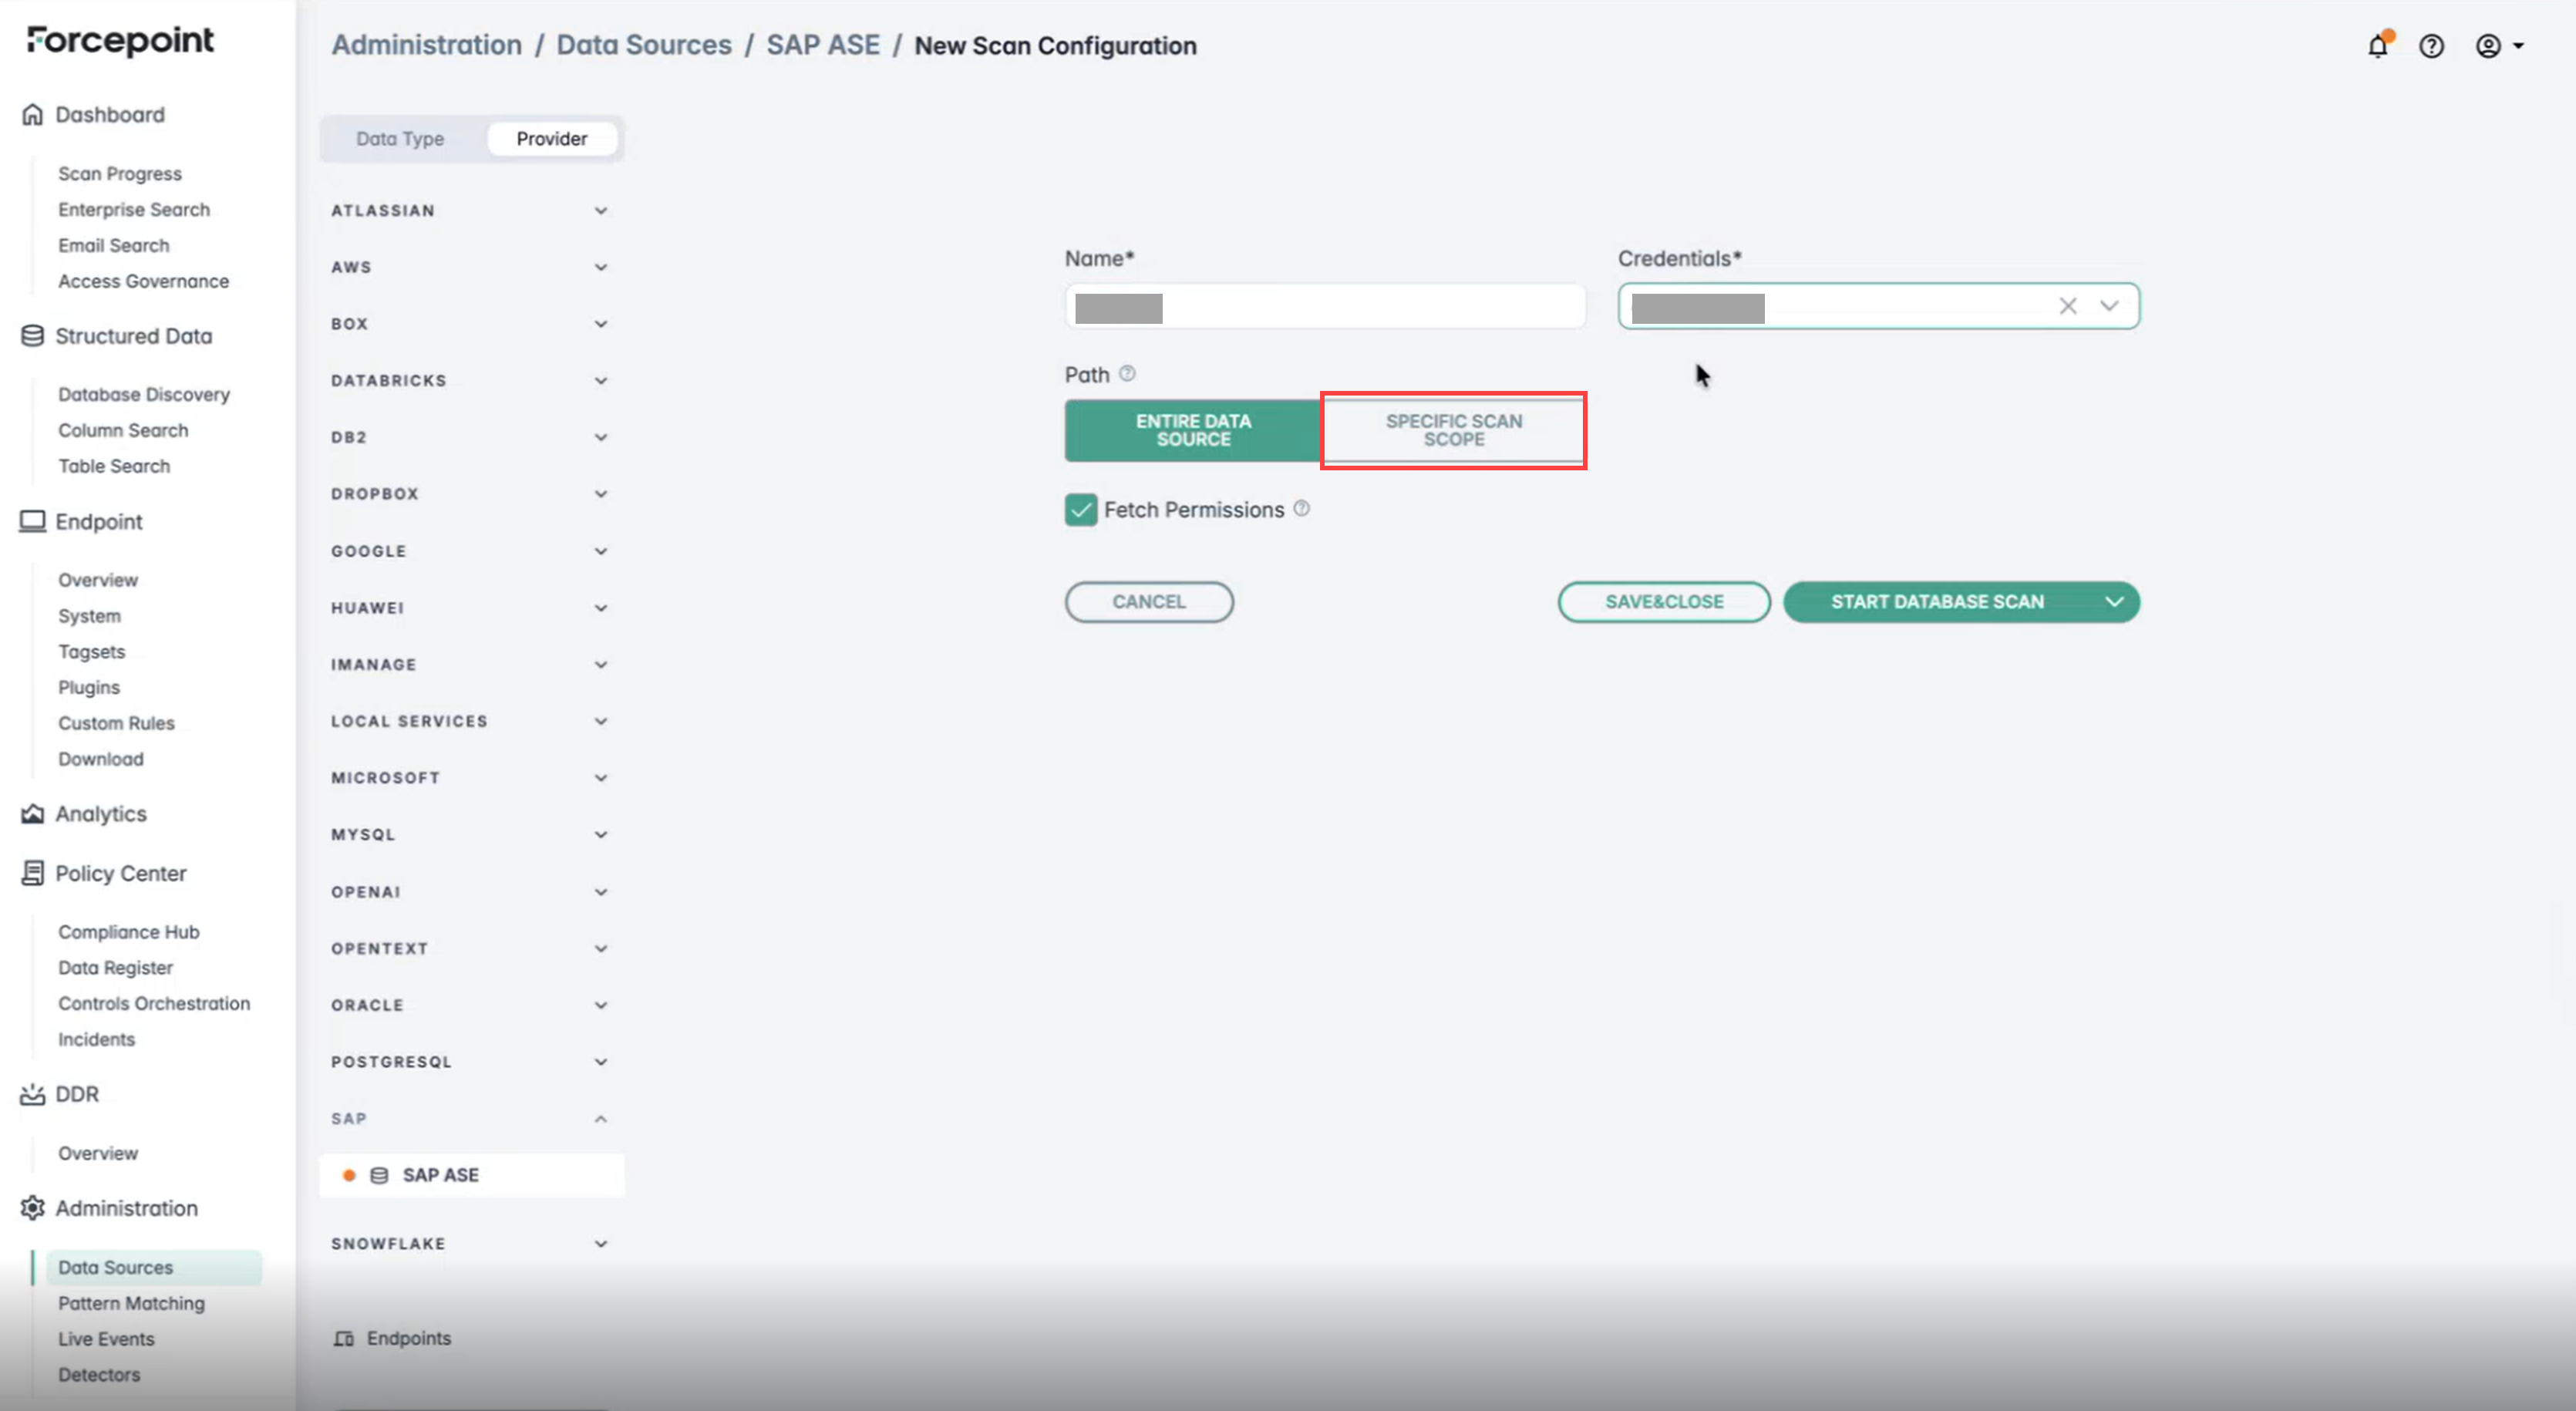
Choose the scan scope. You can either:
- Click Entire Data Source to scan all schemas and tables in the connected database.
- Select Specific Path to scan a specific schema or a table to scan.
-
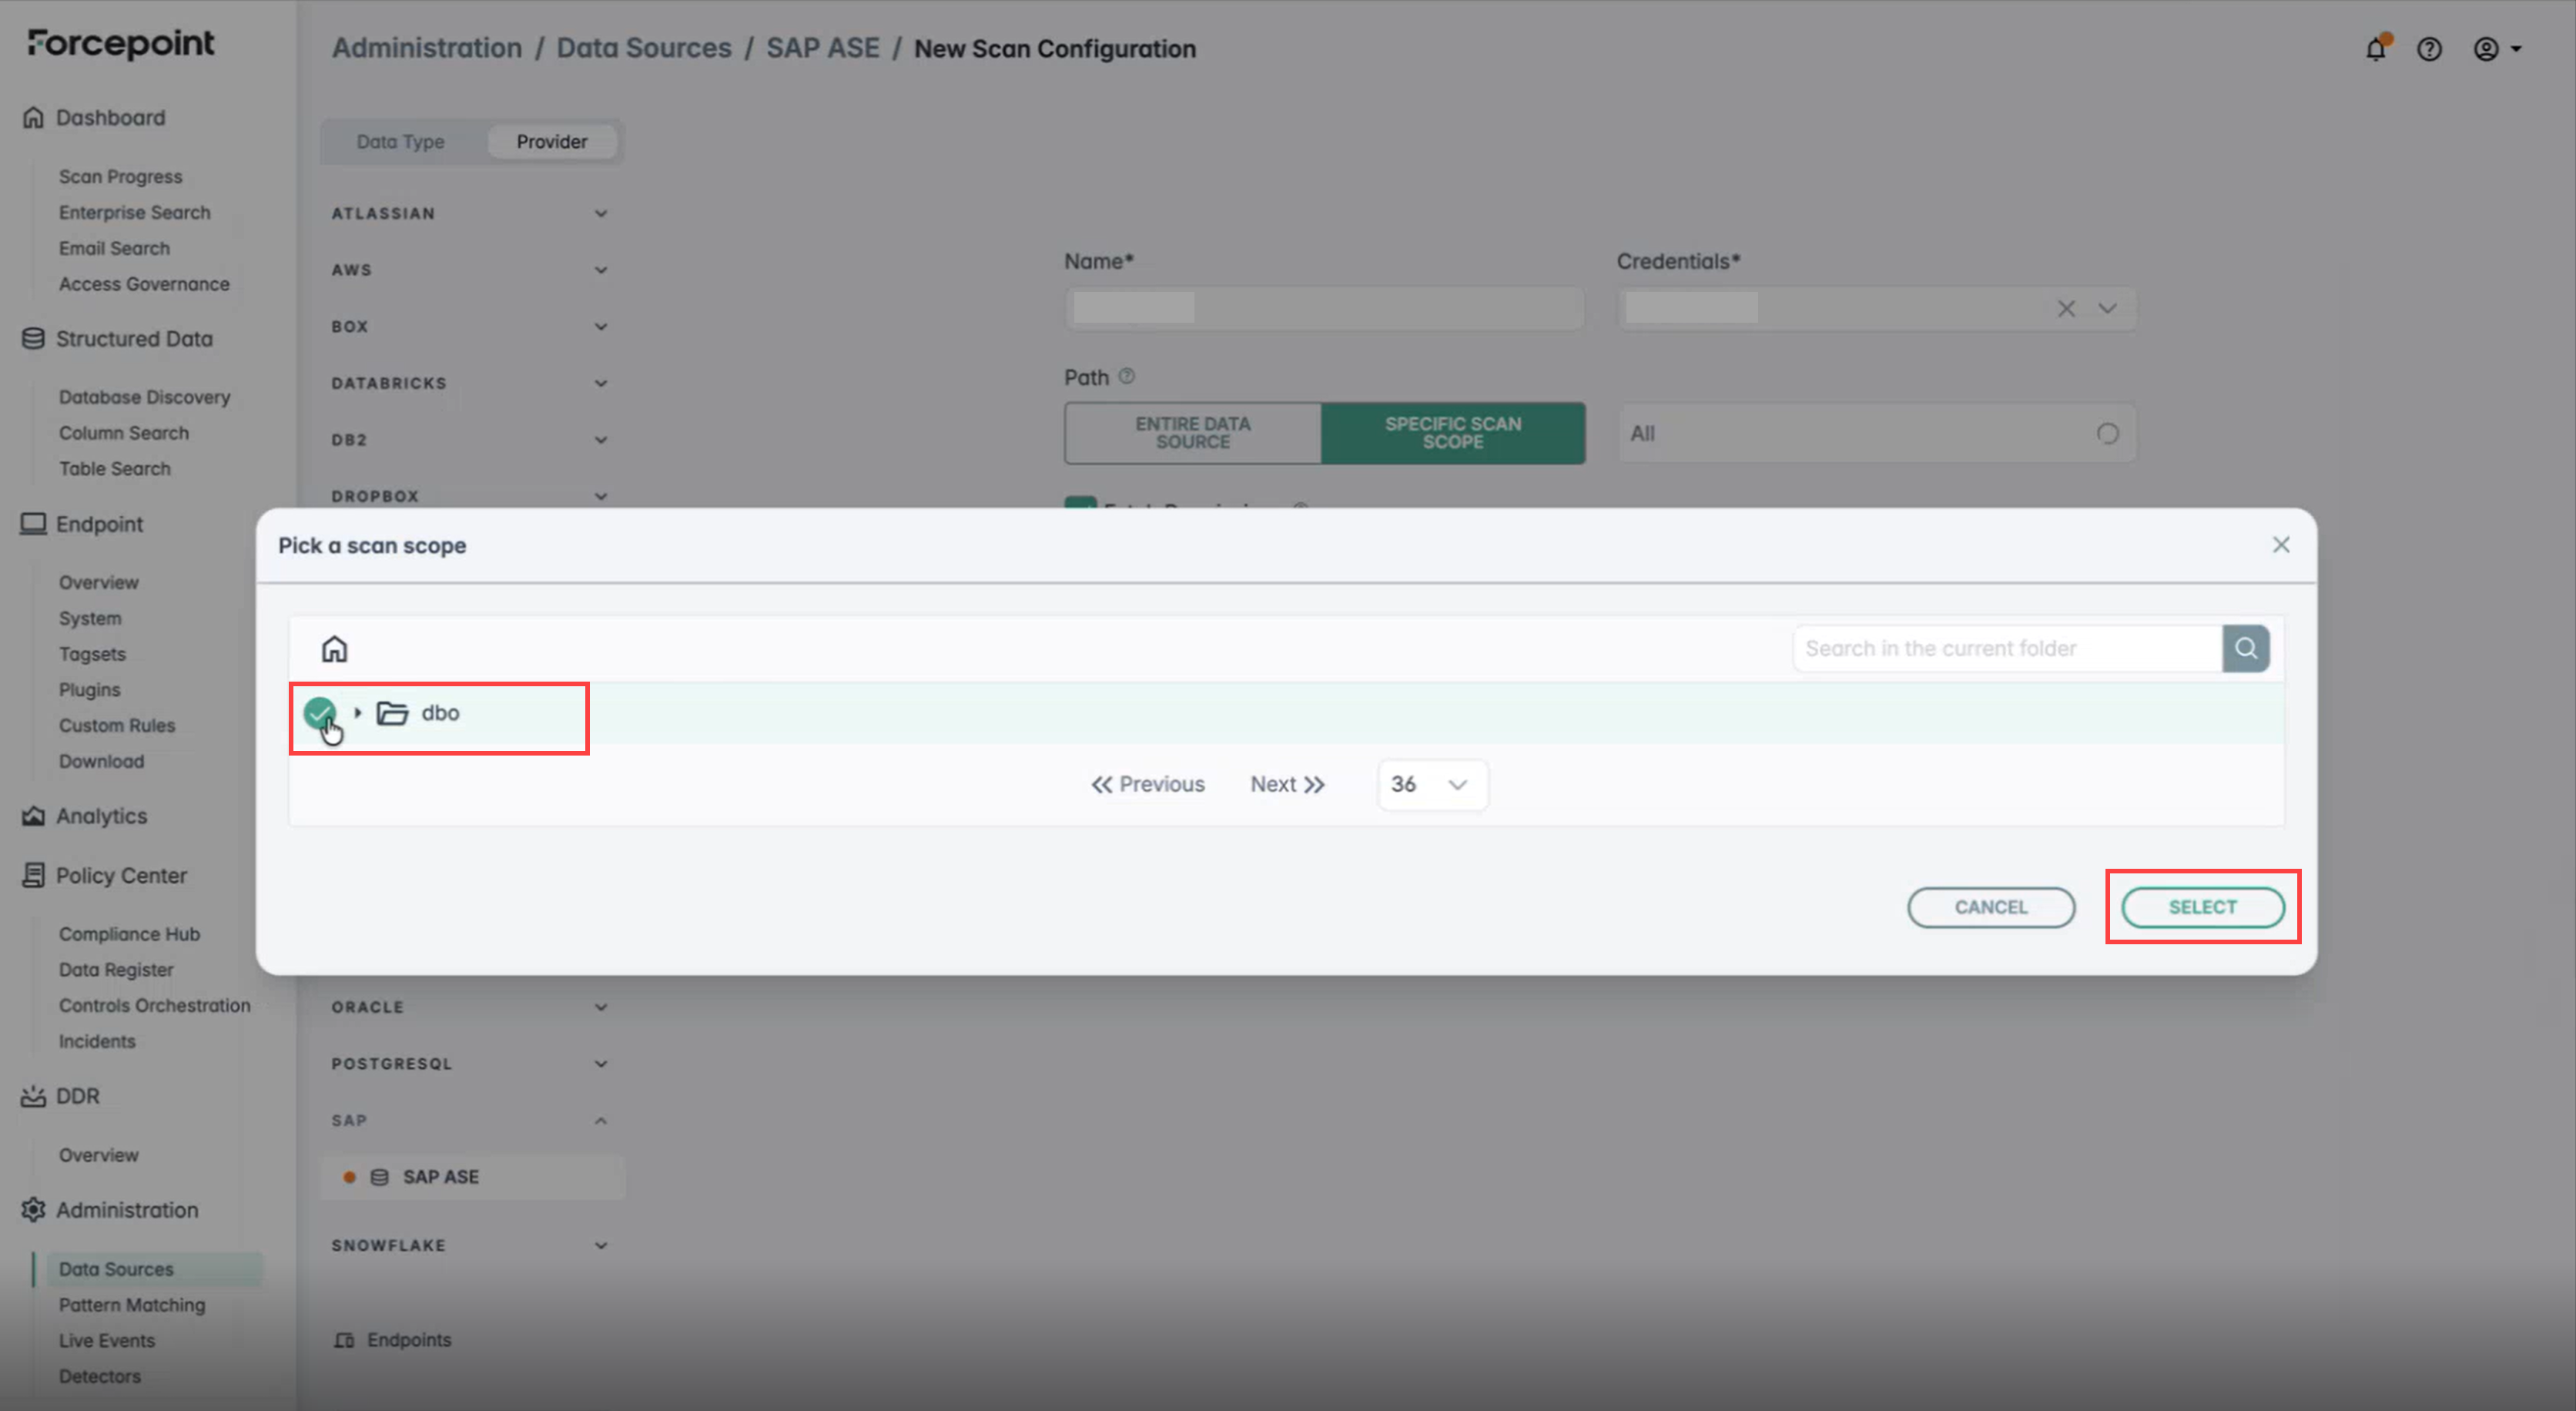
A window opens displaying the schema(s) present under the respective database. Select the desired items and click Select.
-
On the next screen, either:
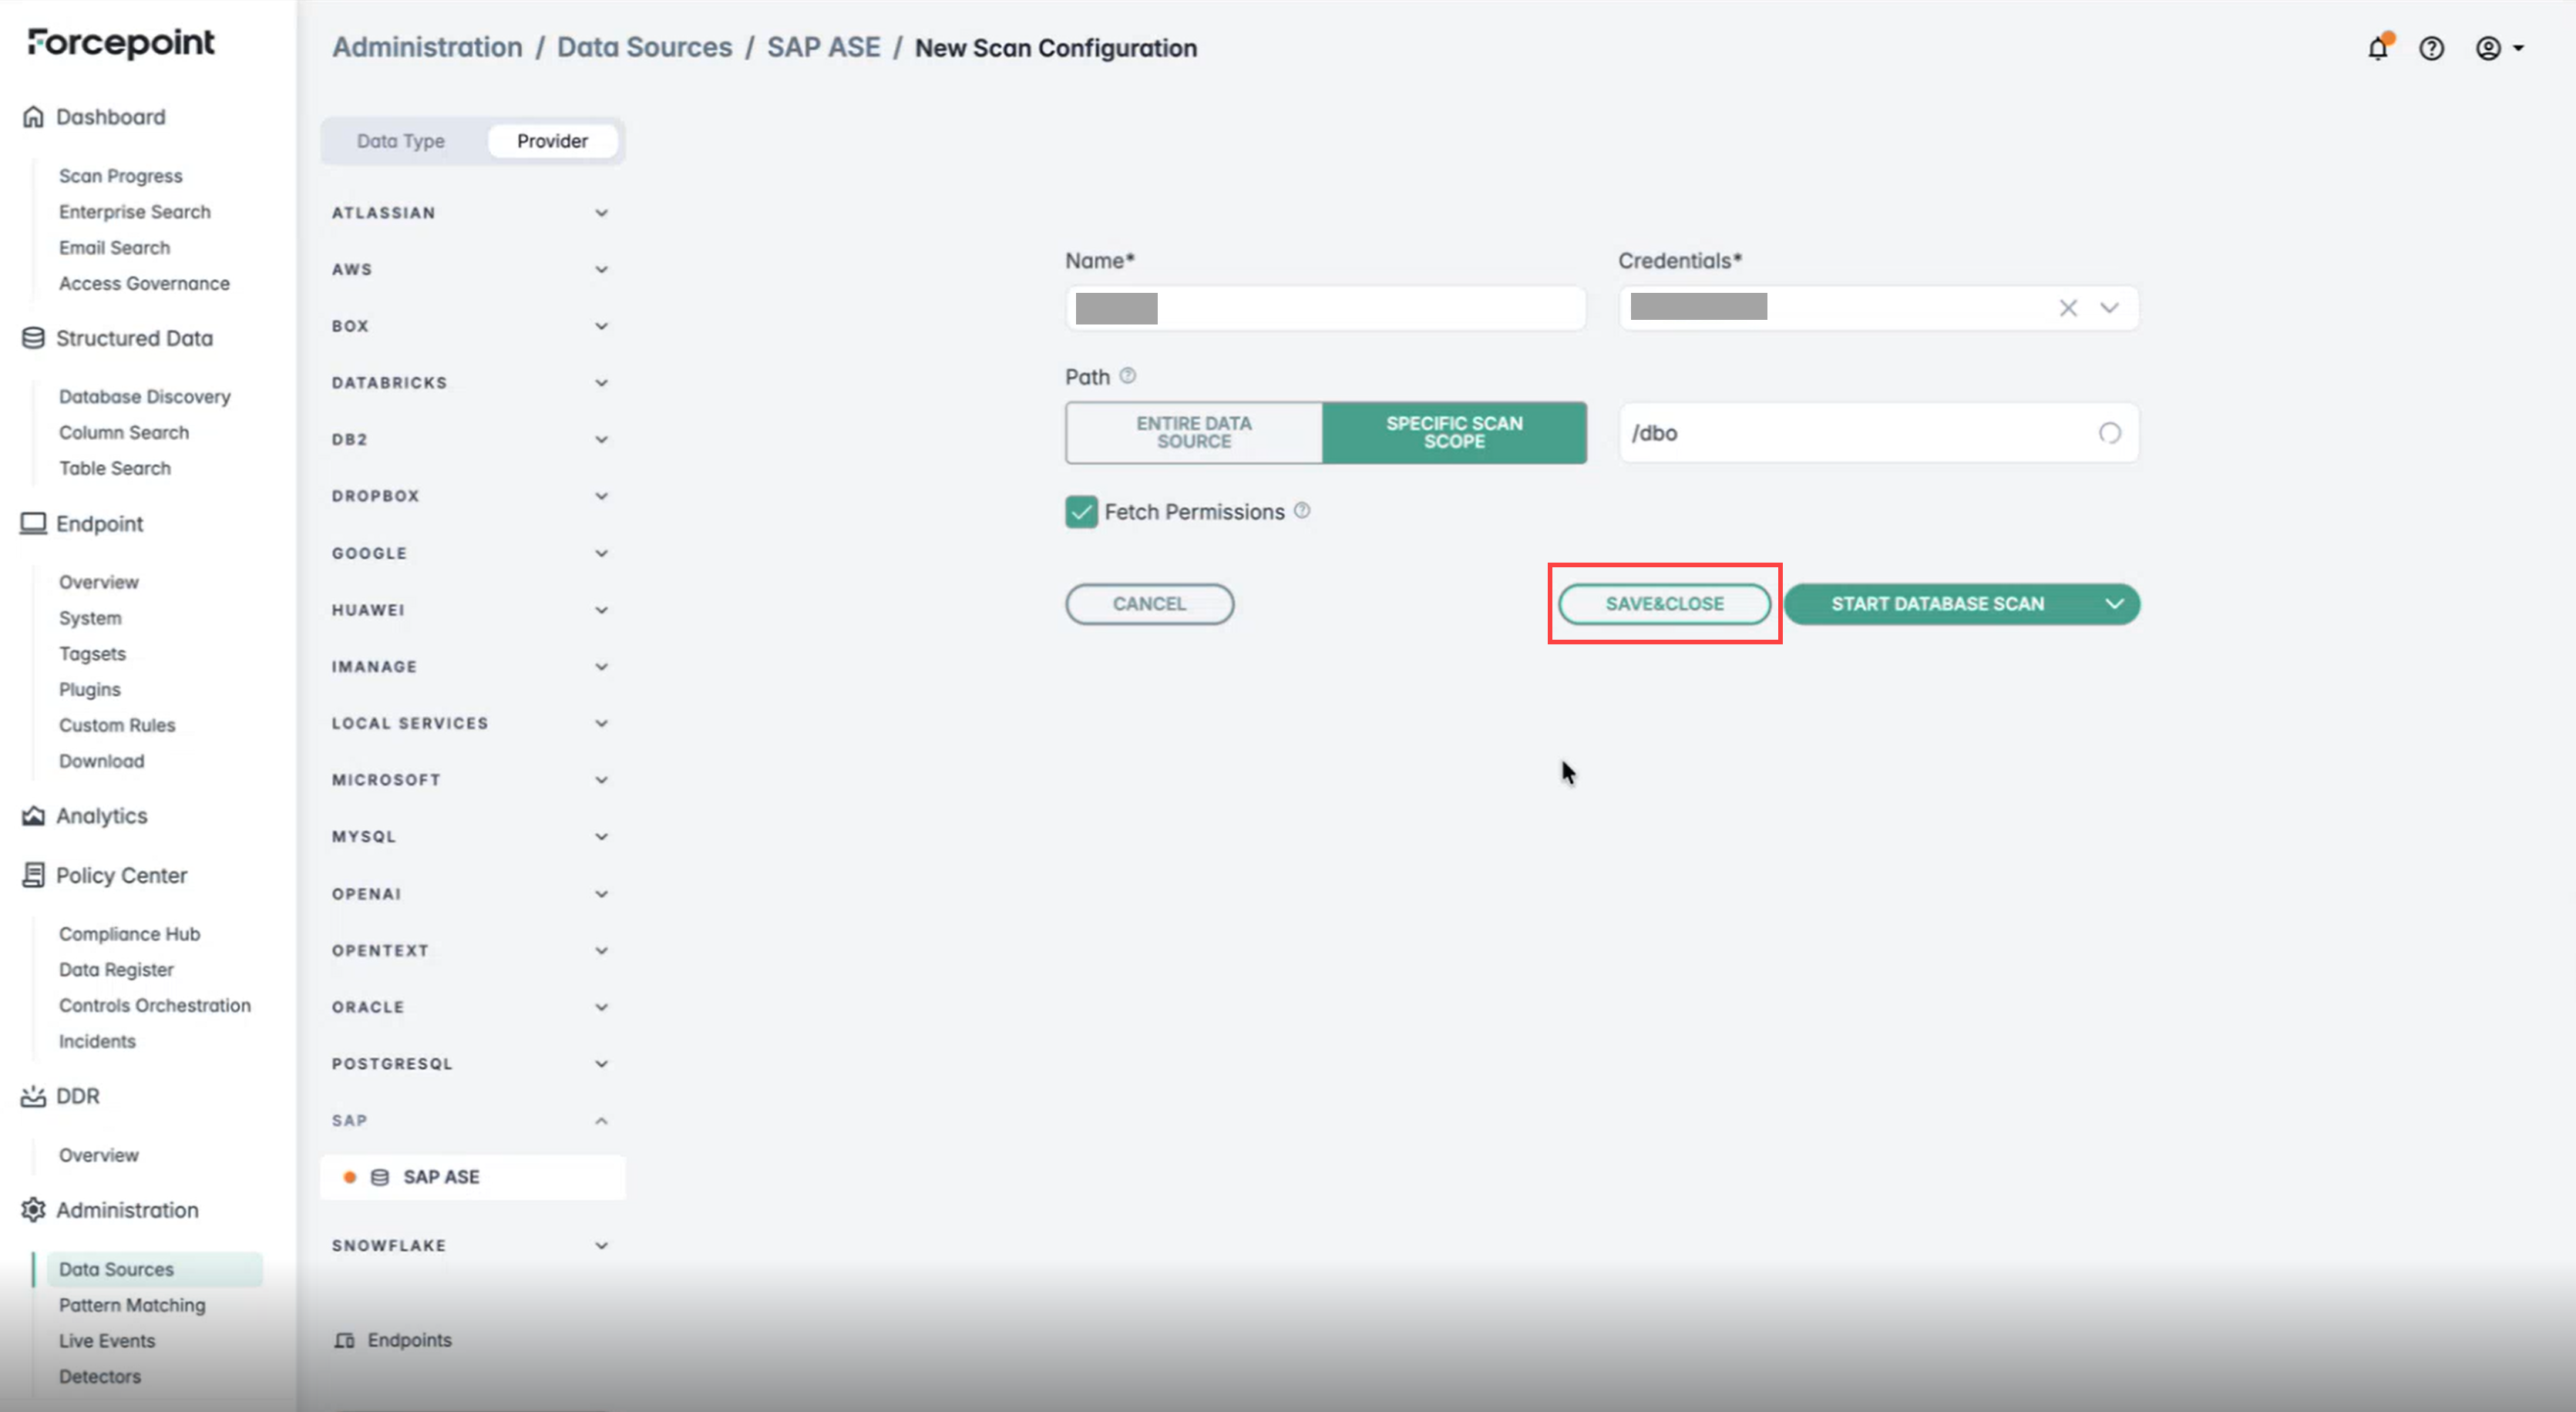
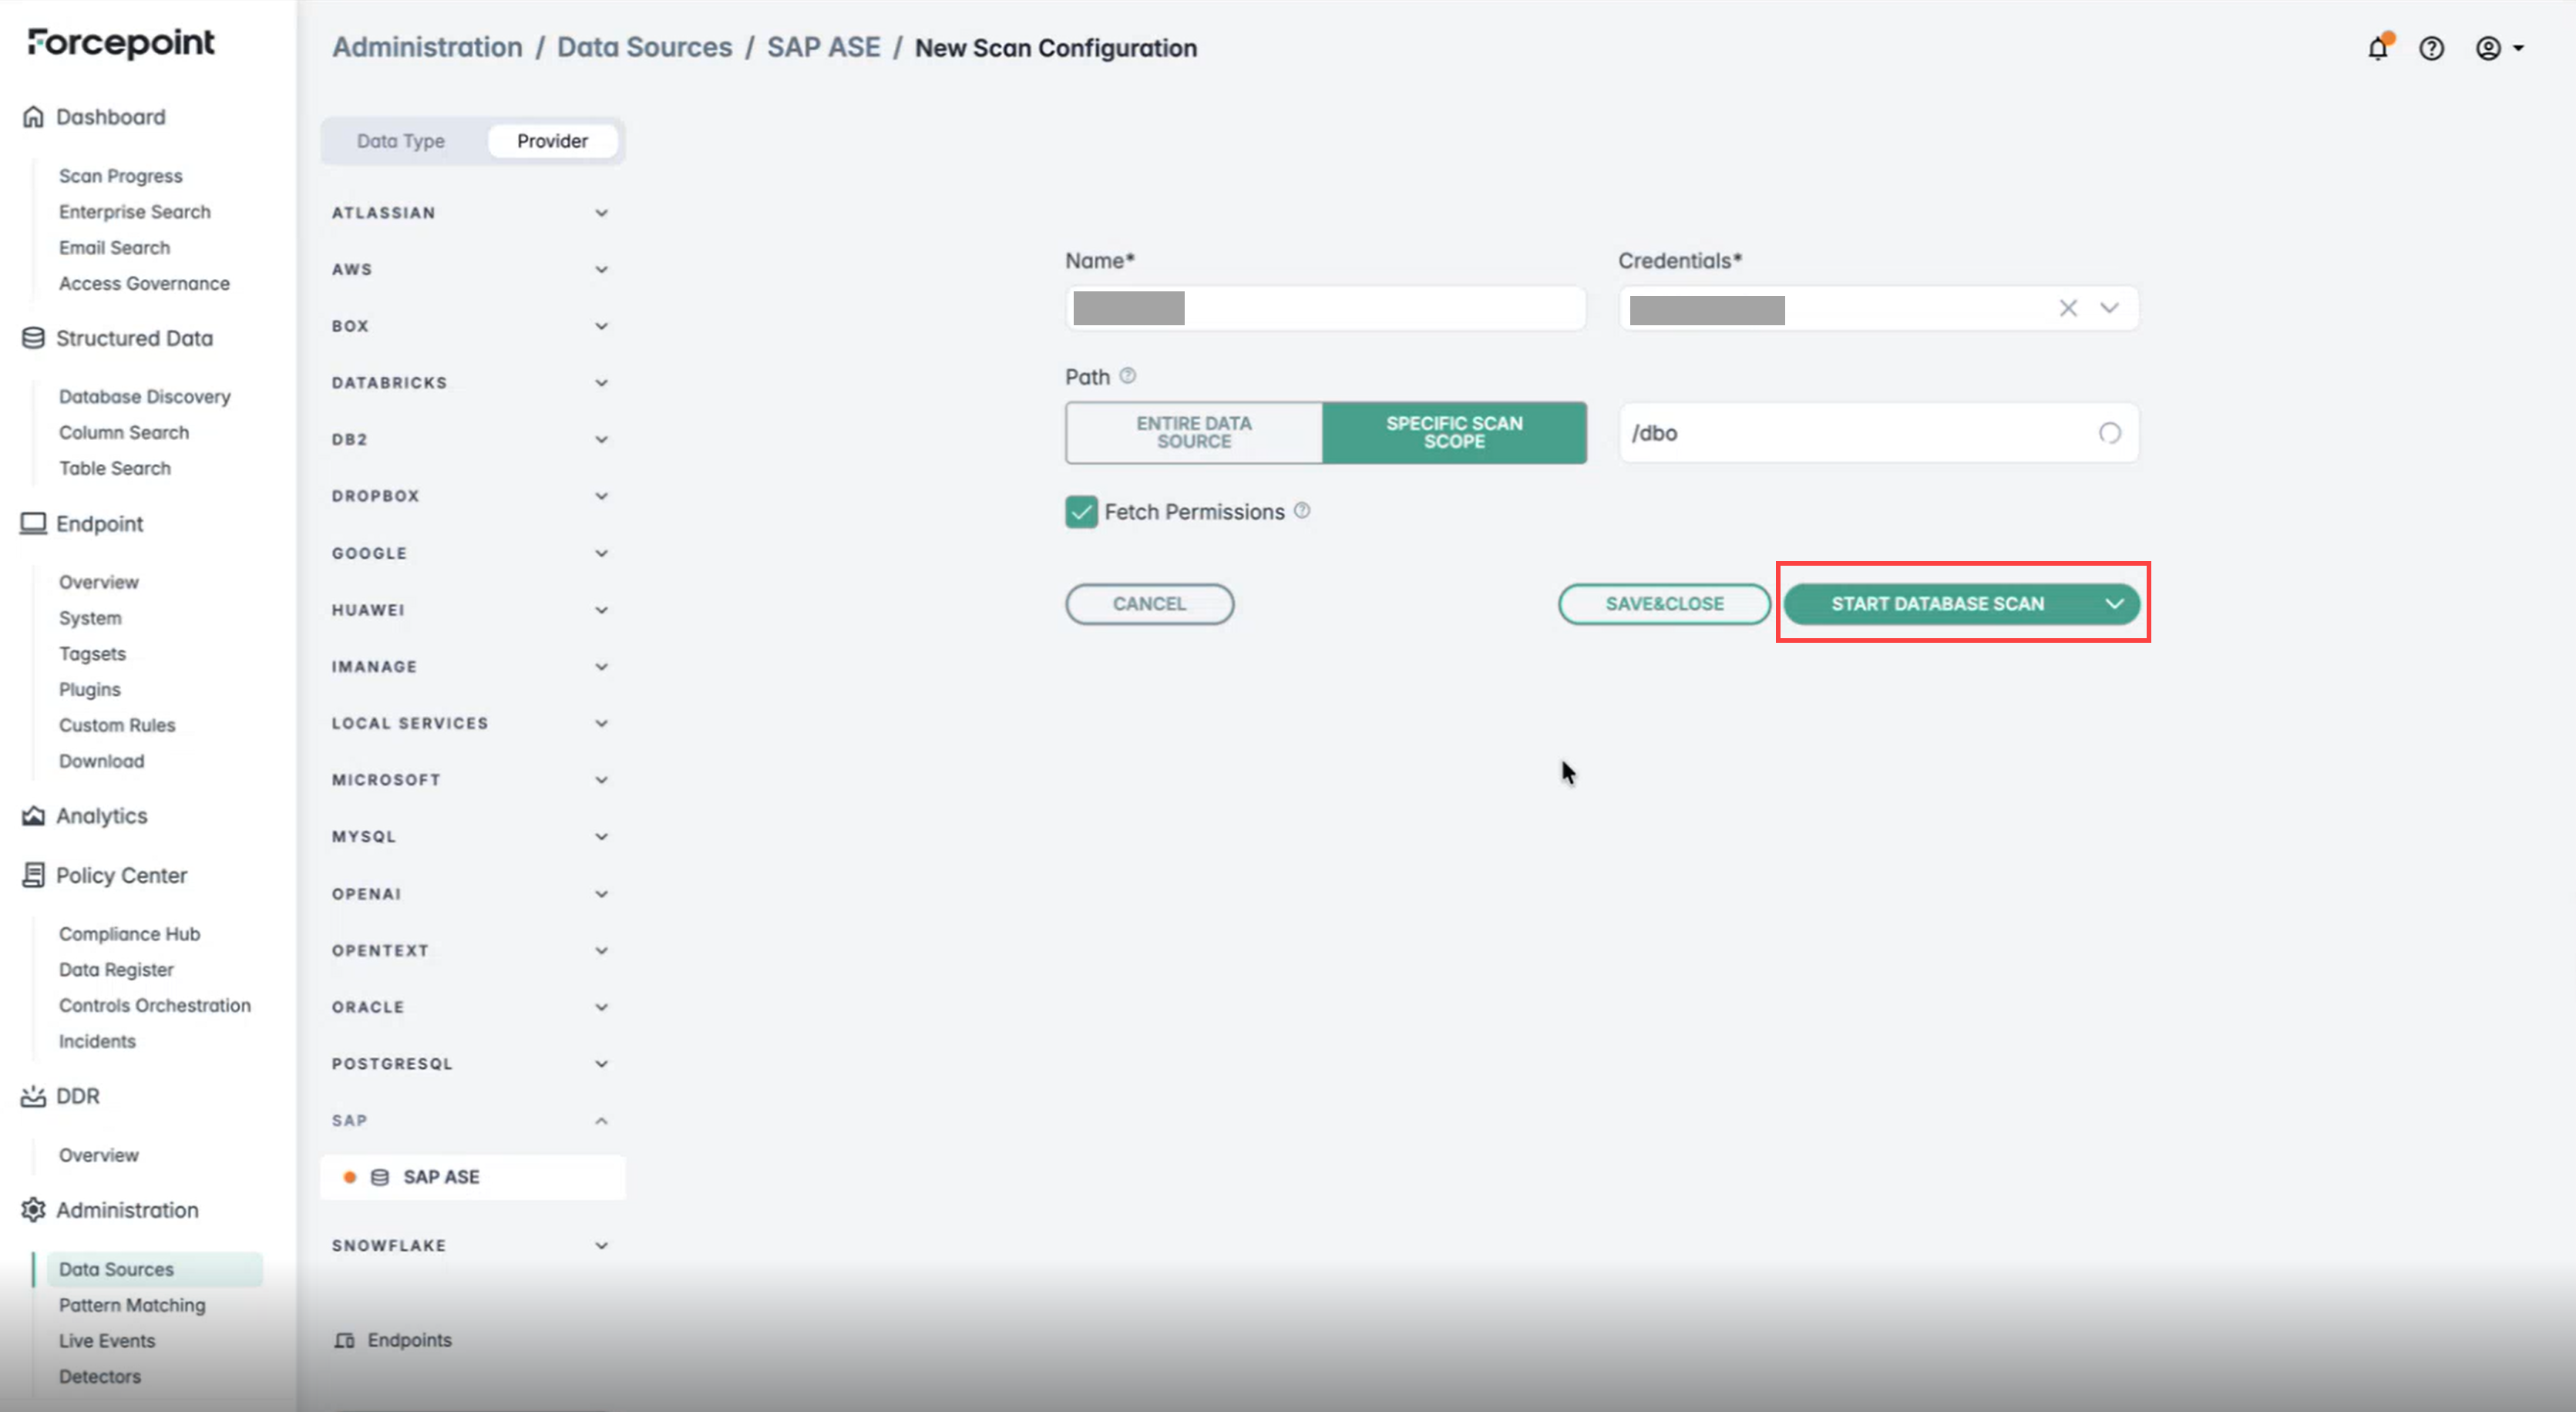
- Click SAVE & CLOSE to save the configuration for future scans without running it immediately.
- Click START DATABASE SCAN to initiate a scan immediately.
-
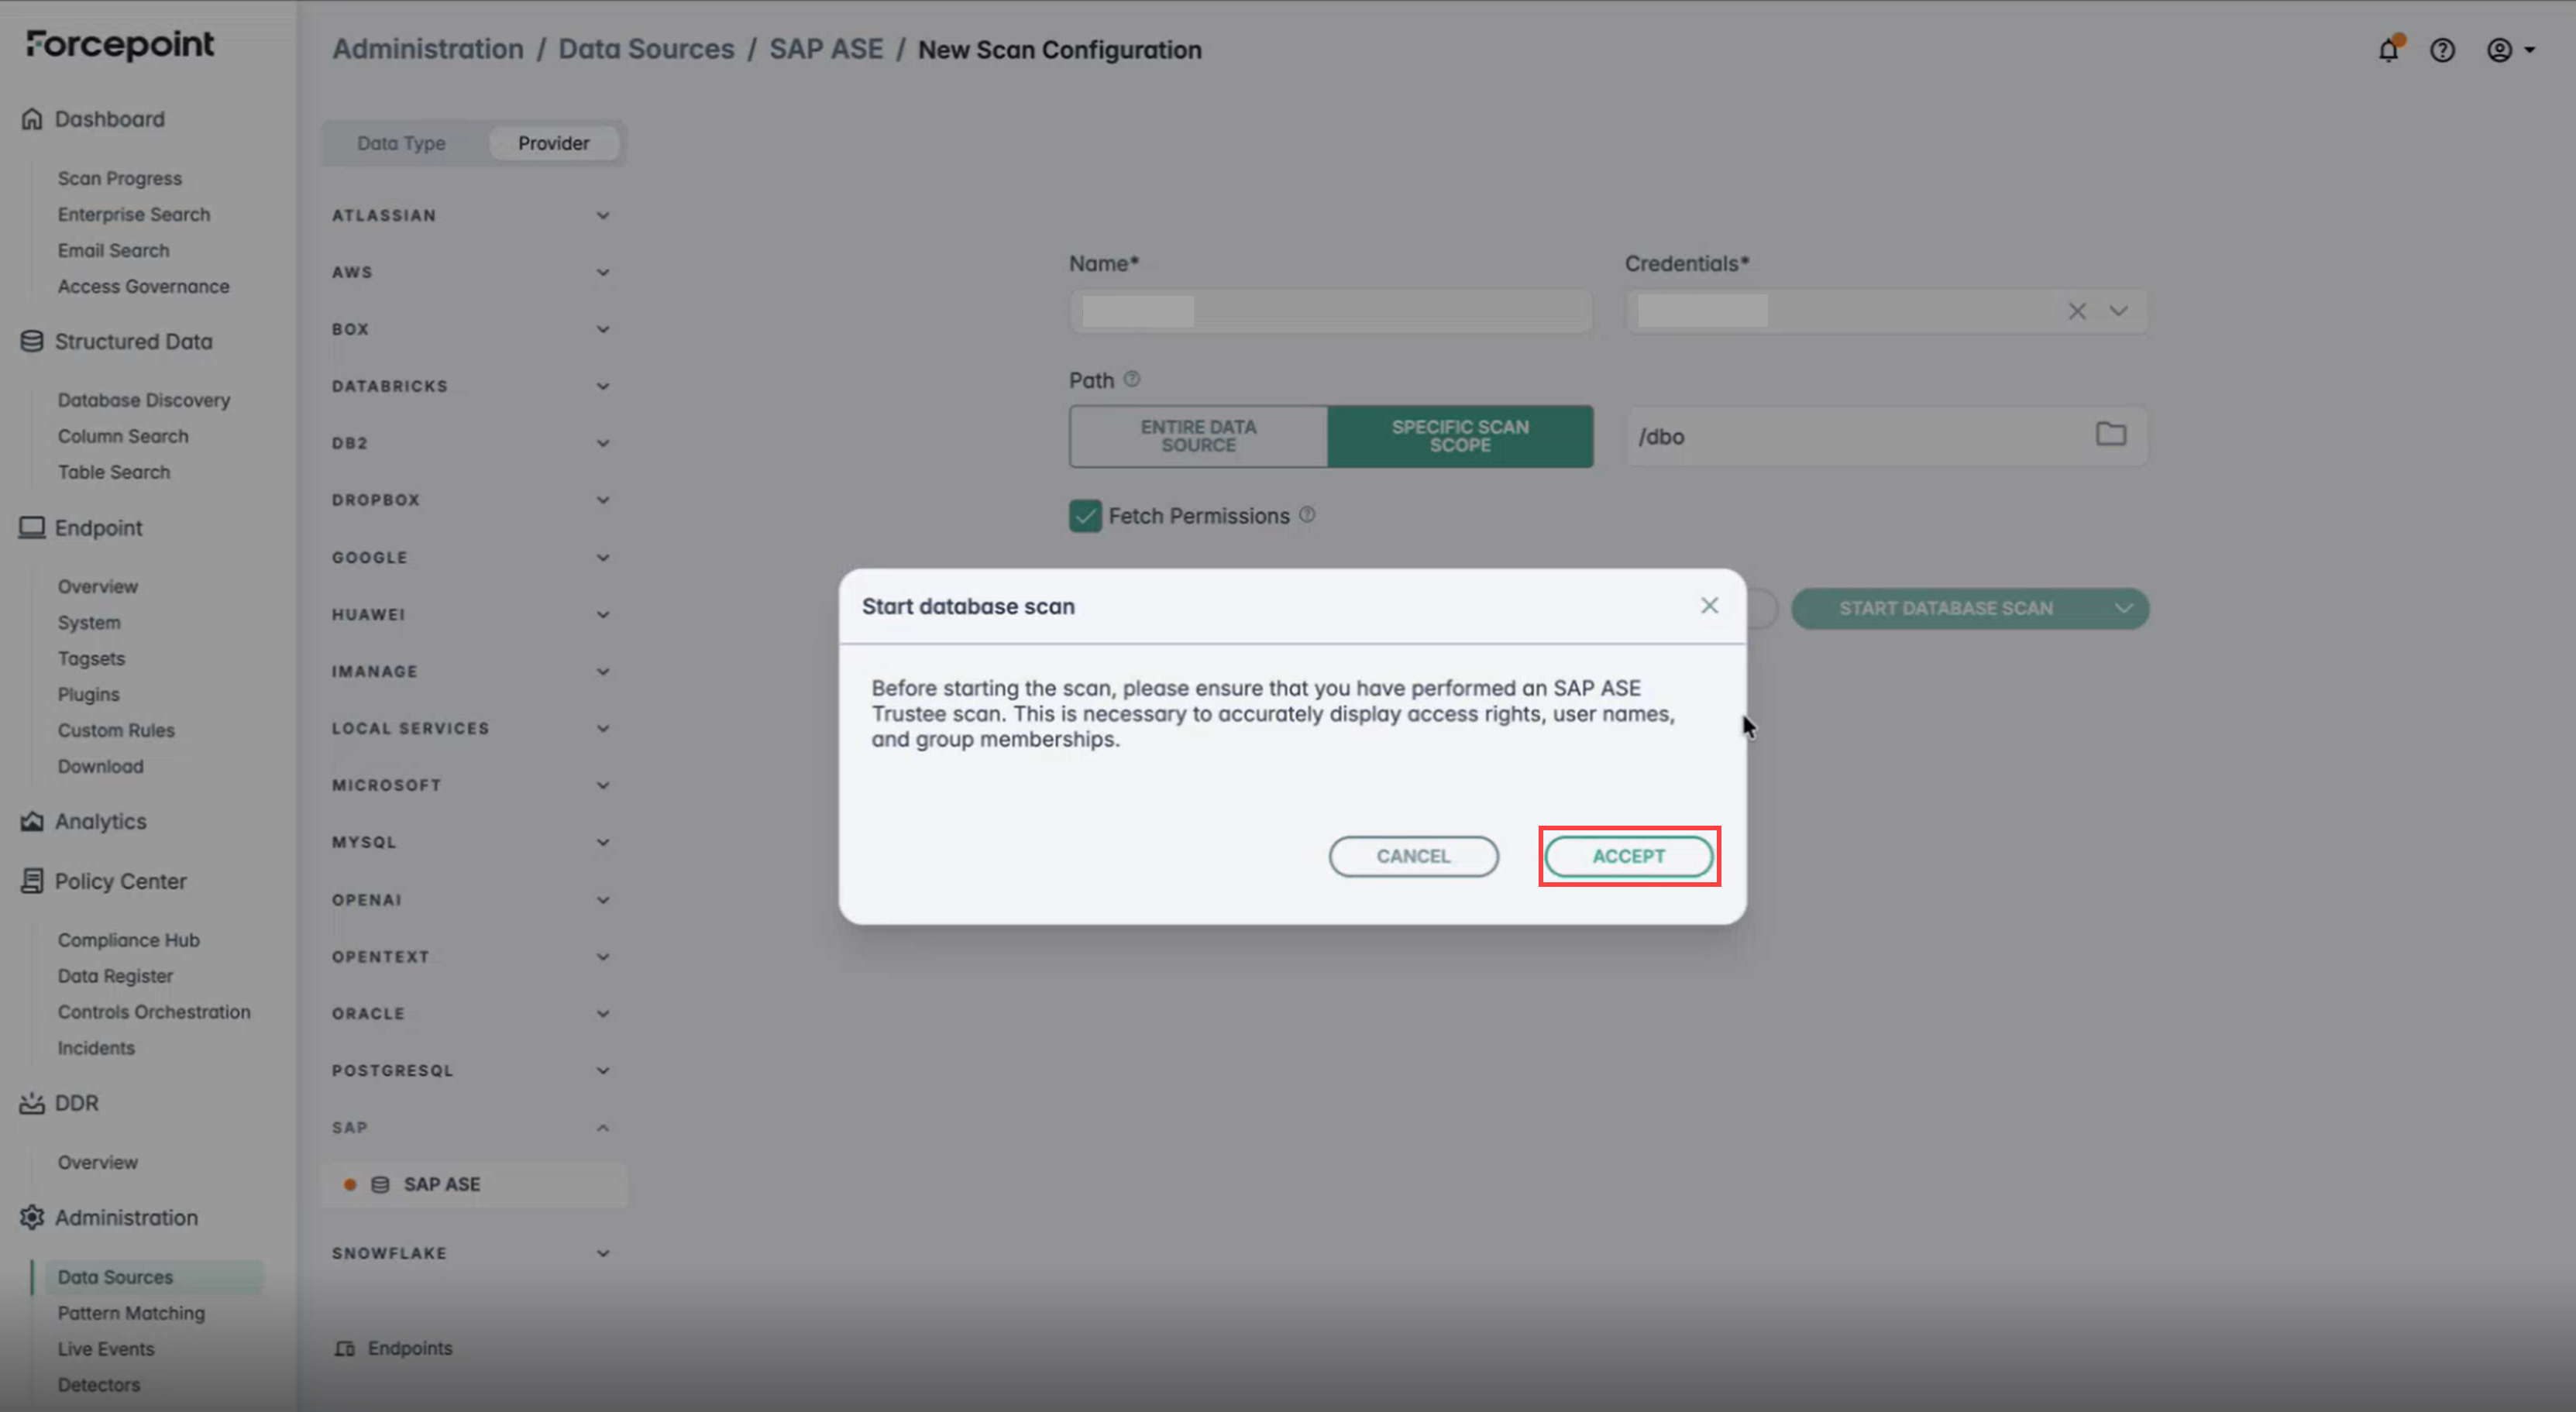
If you selected START DATABASE SCAN, a confirmation dialog appears. Click ACCEPT to start the scan.
-
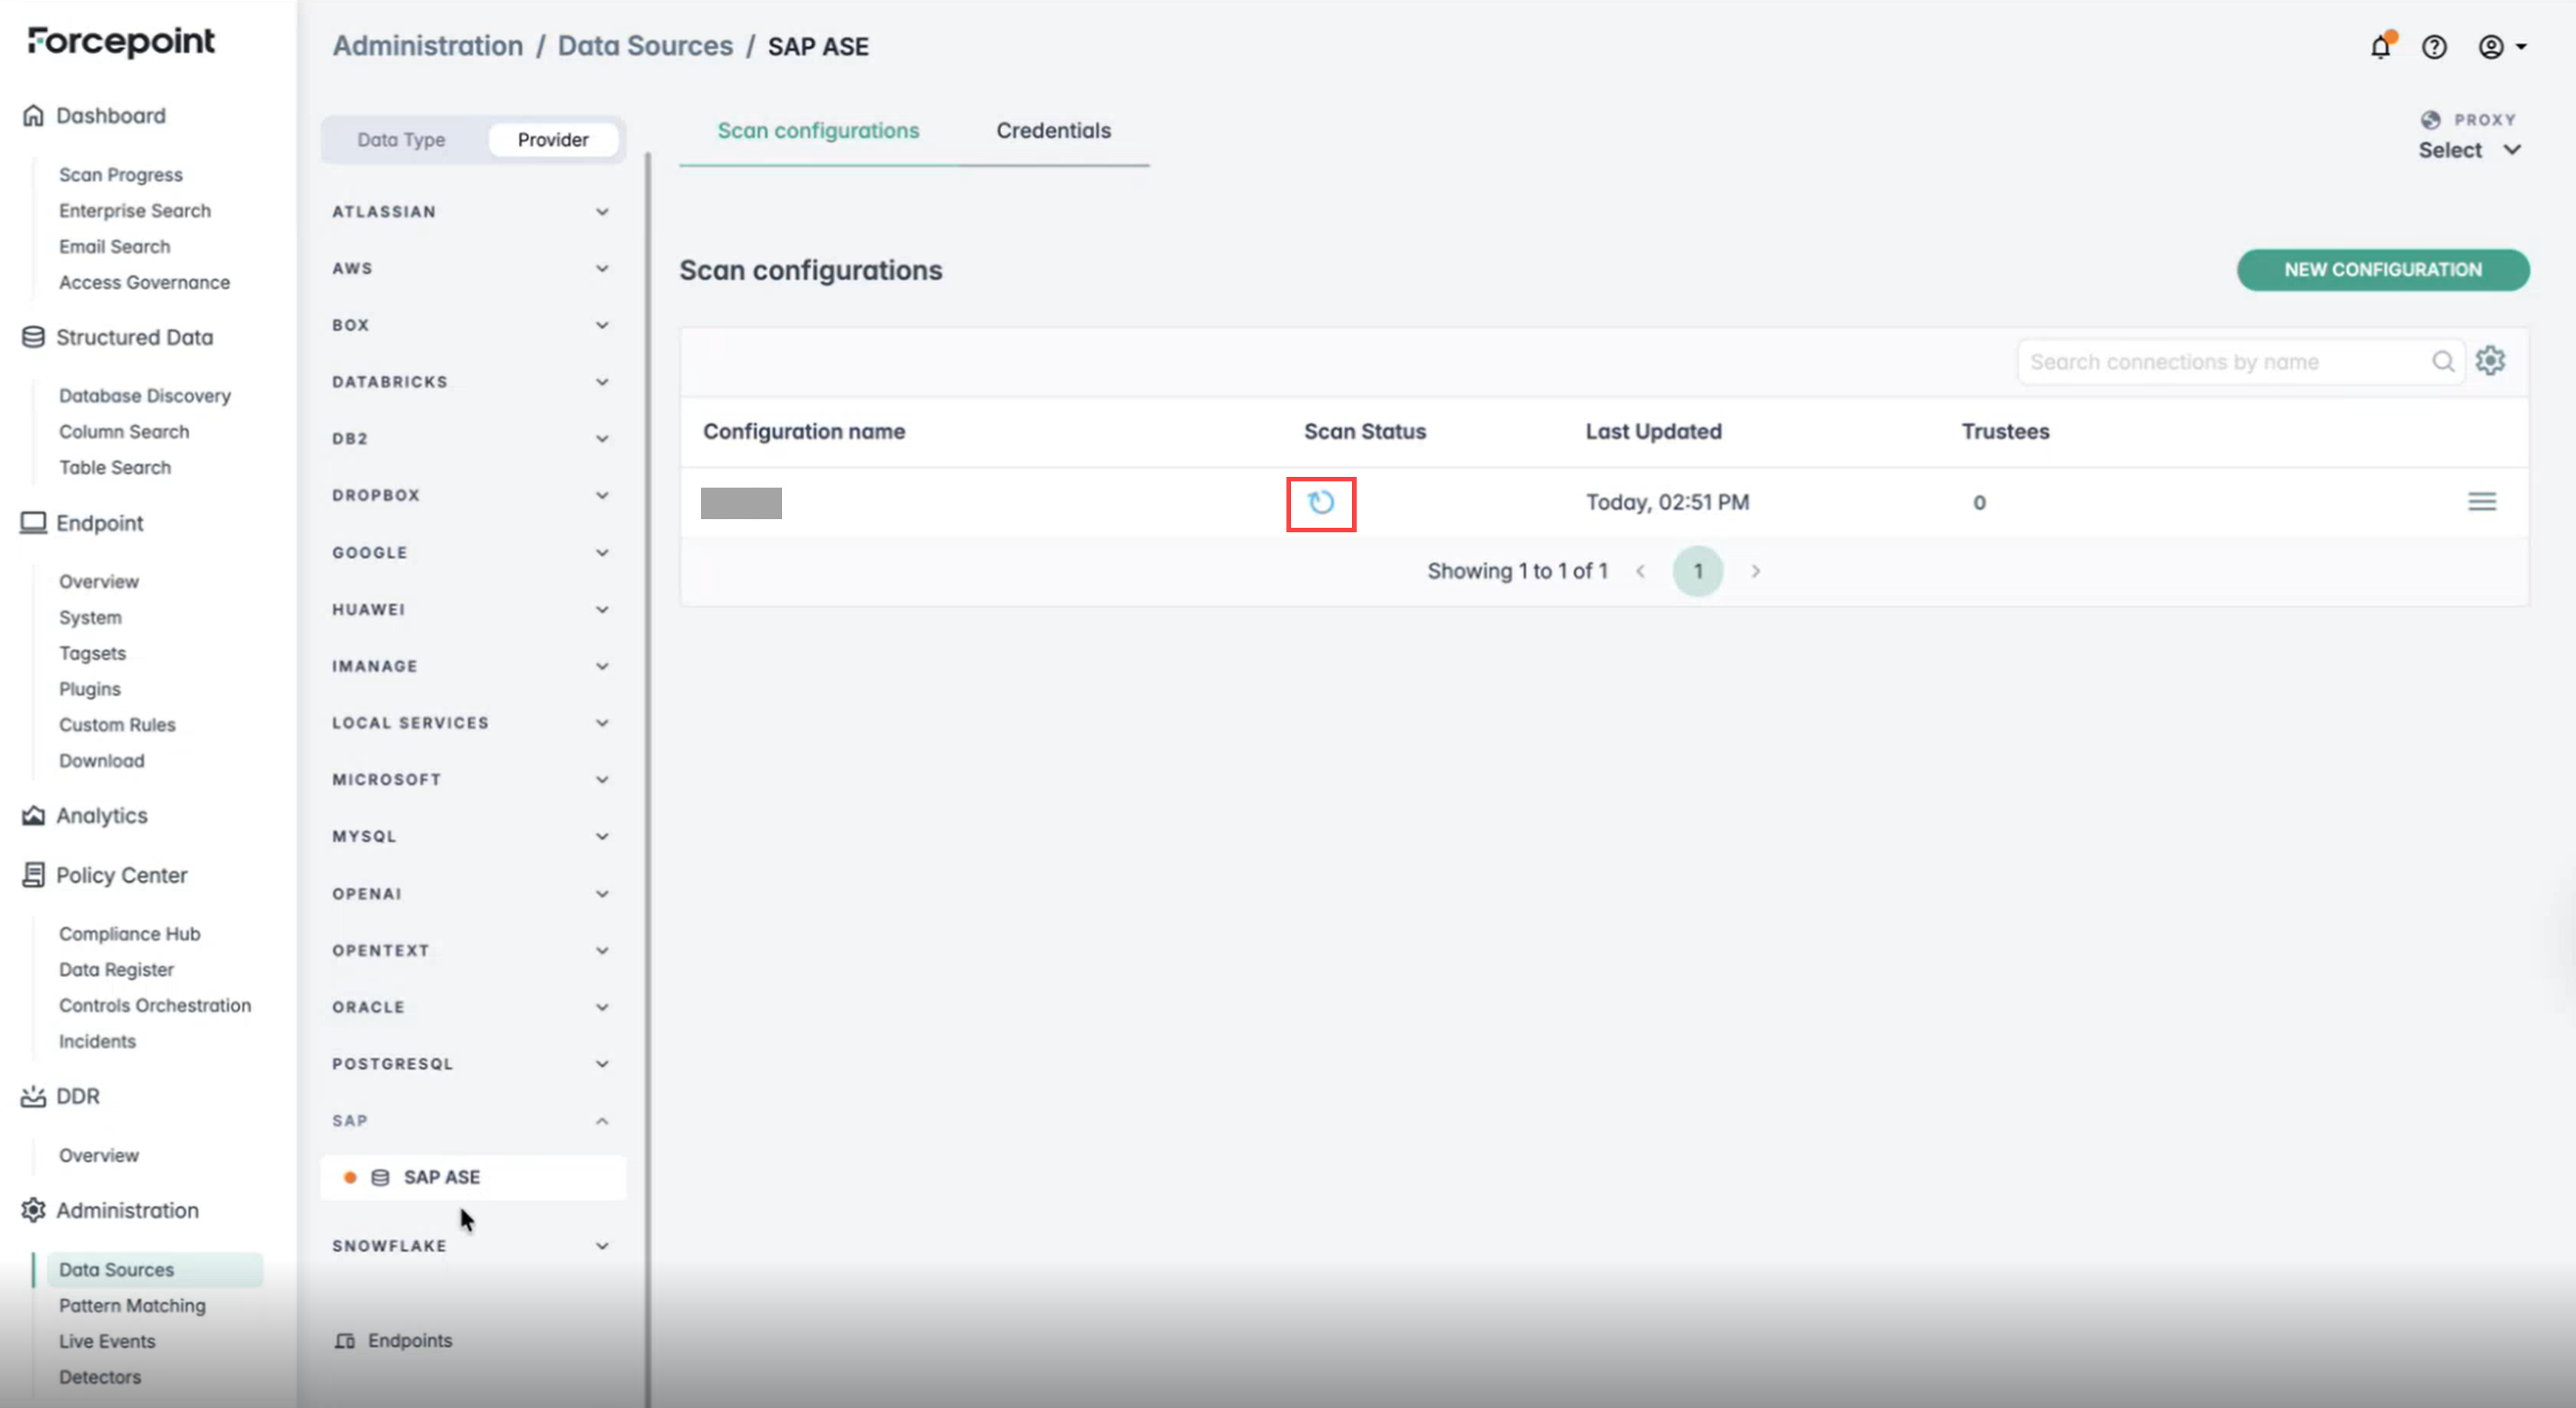
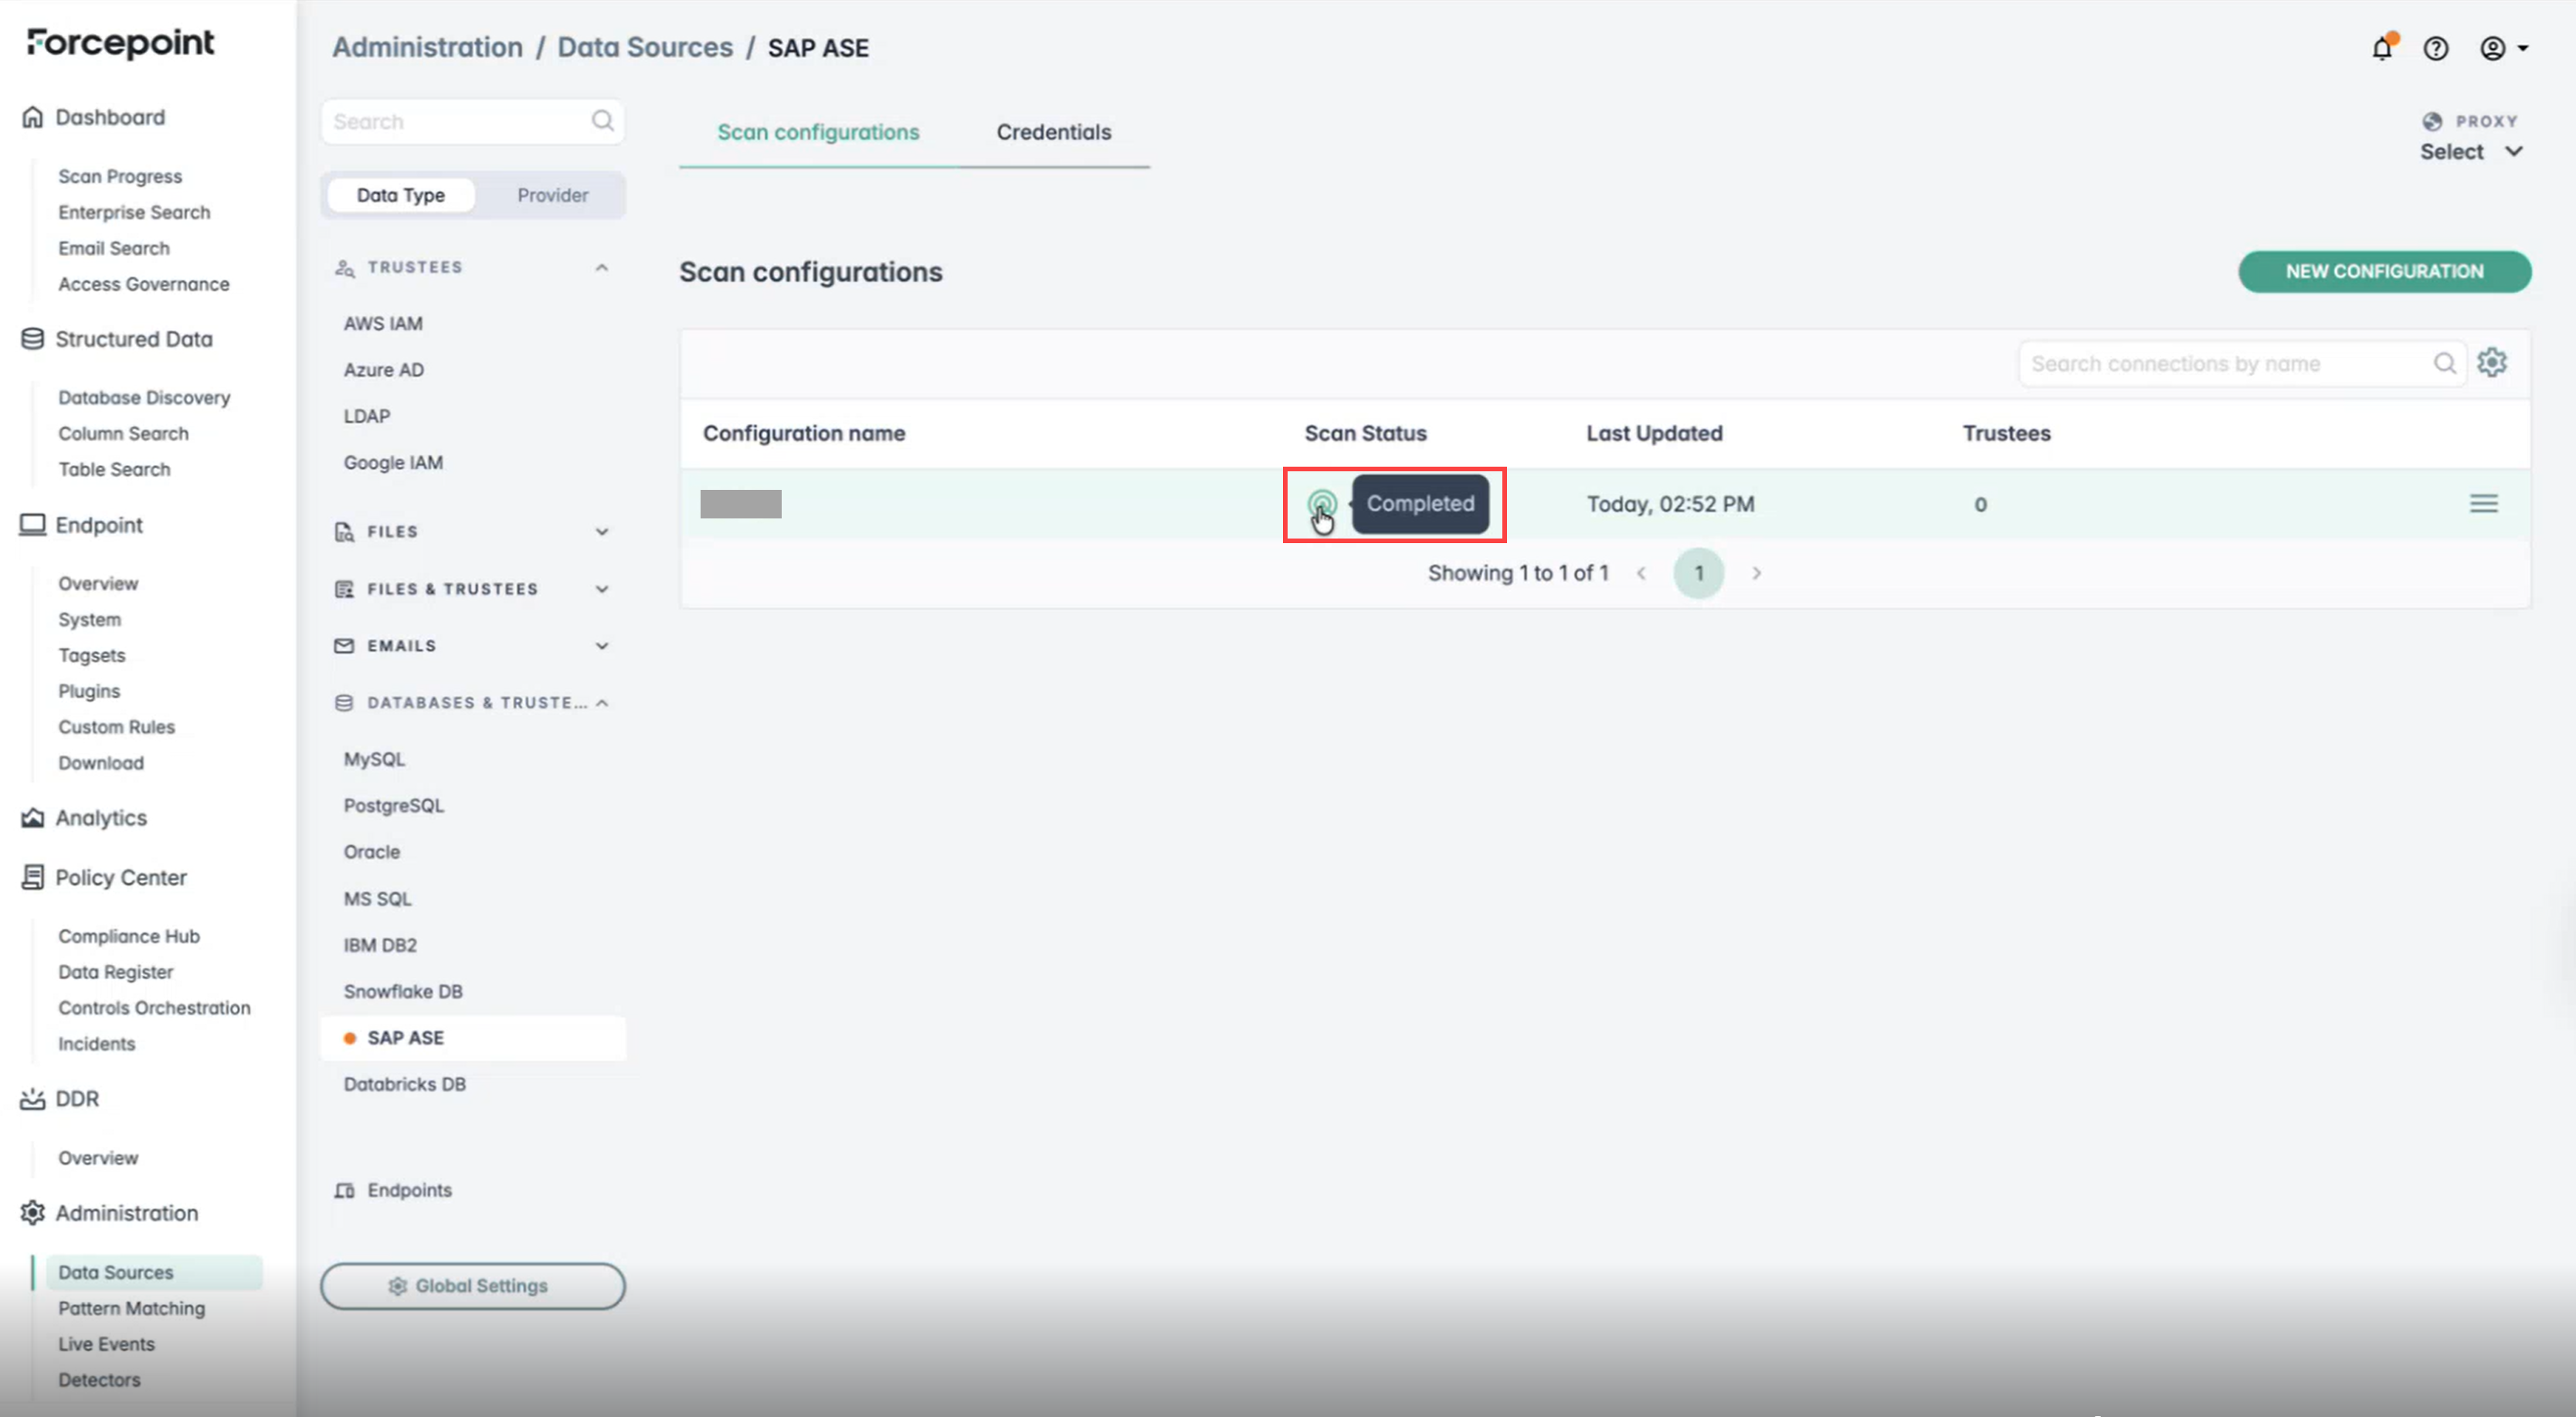
After the scan starts, hovering over the scan entry displays the status In progress.
-
Once the scan completes, click Completed to view the scan history.
Viewing Results in Database Discovery
Steps
-
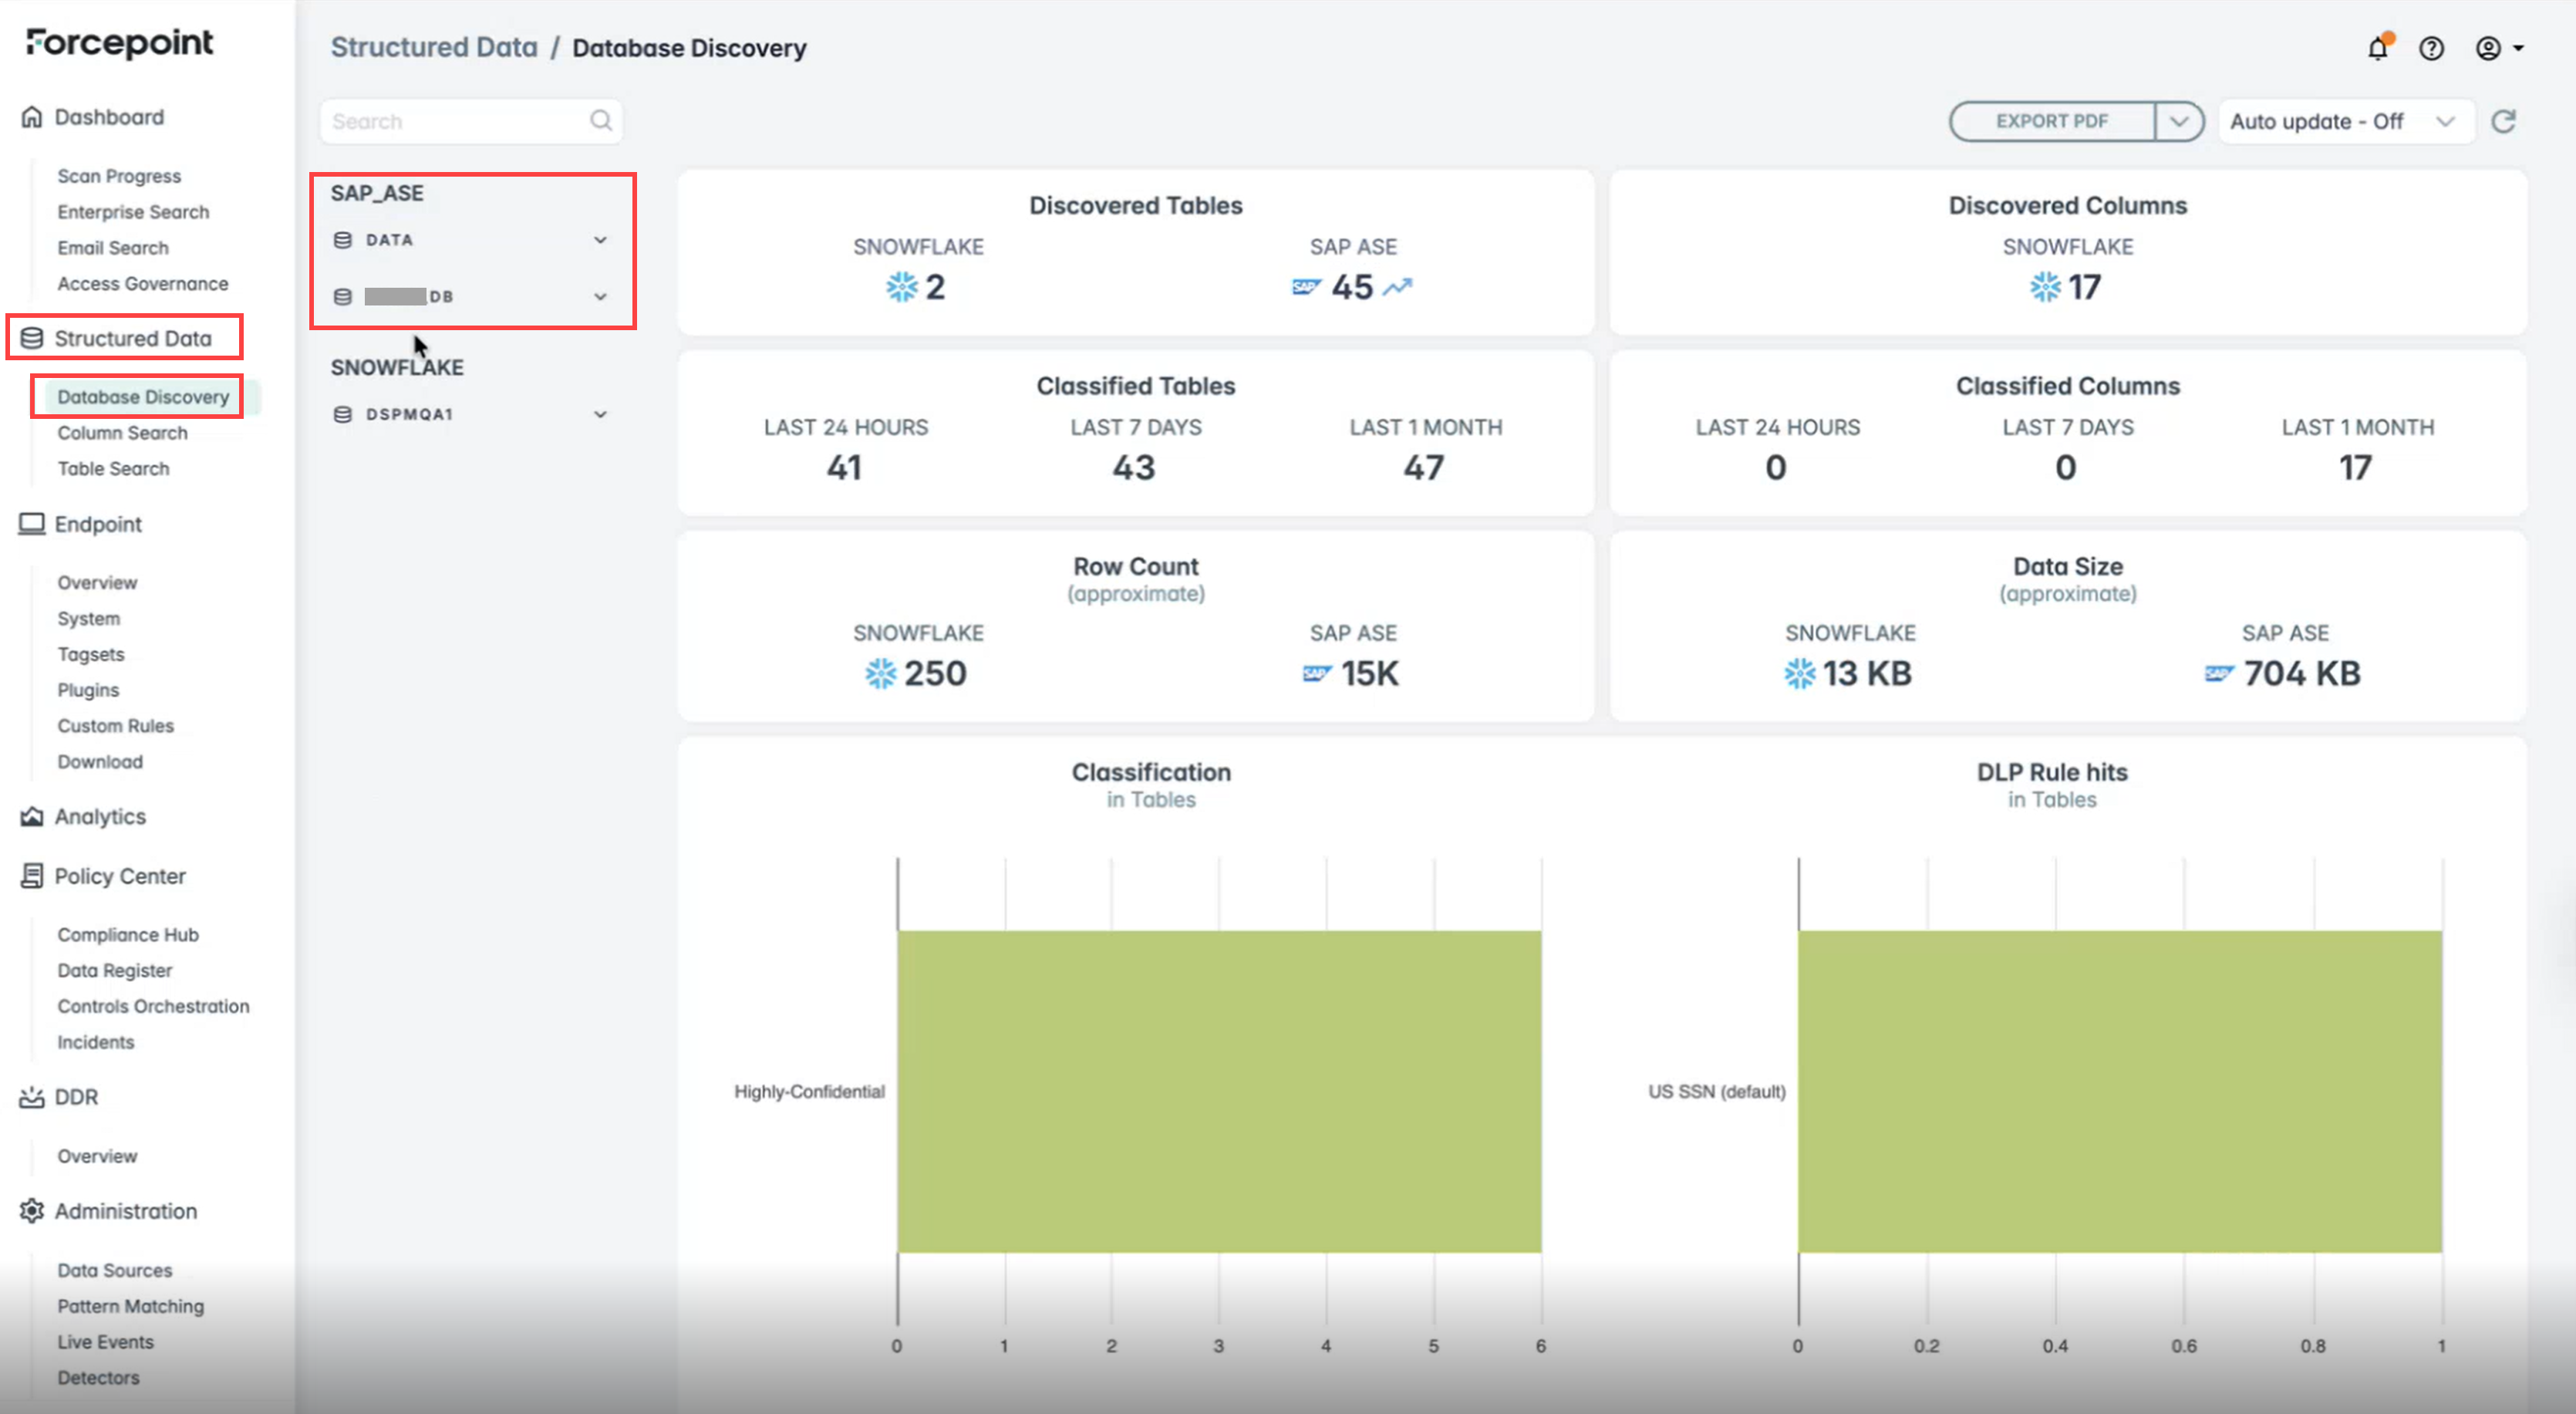
Navigate to .
-
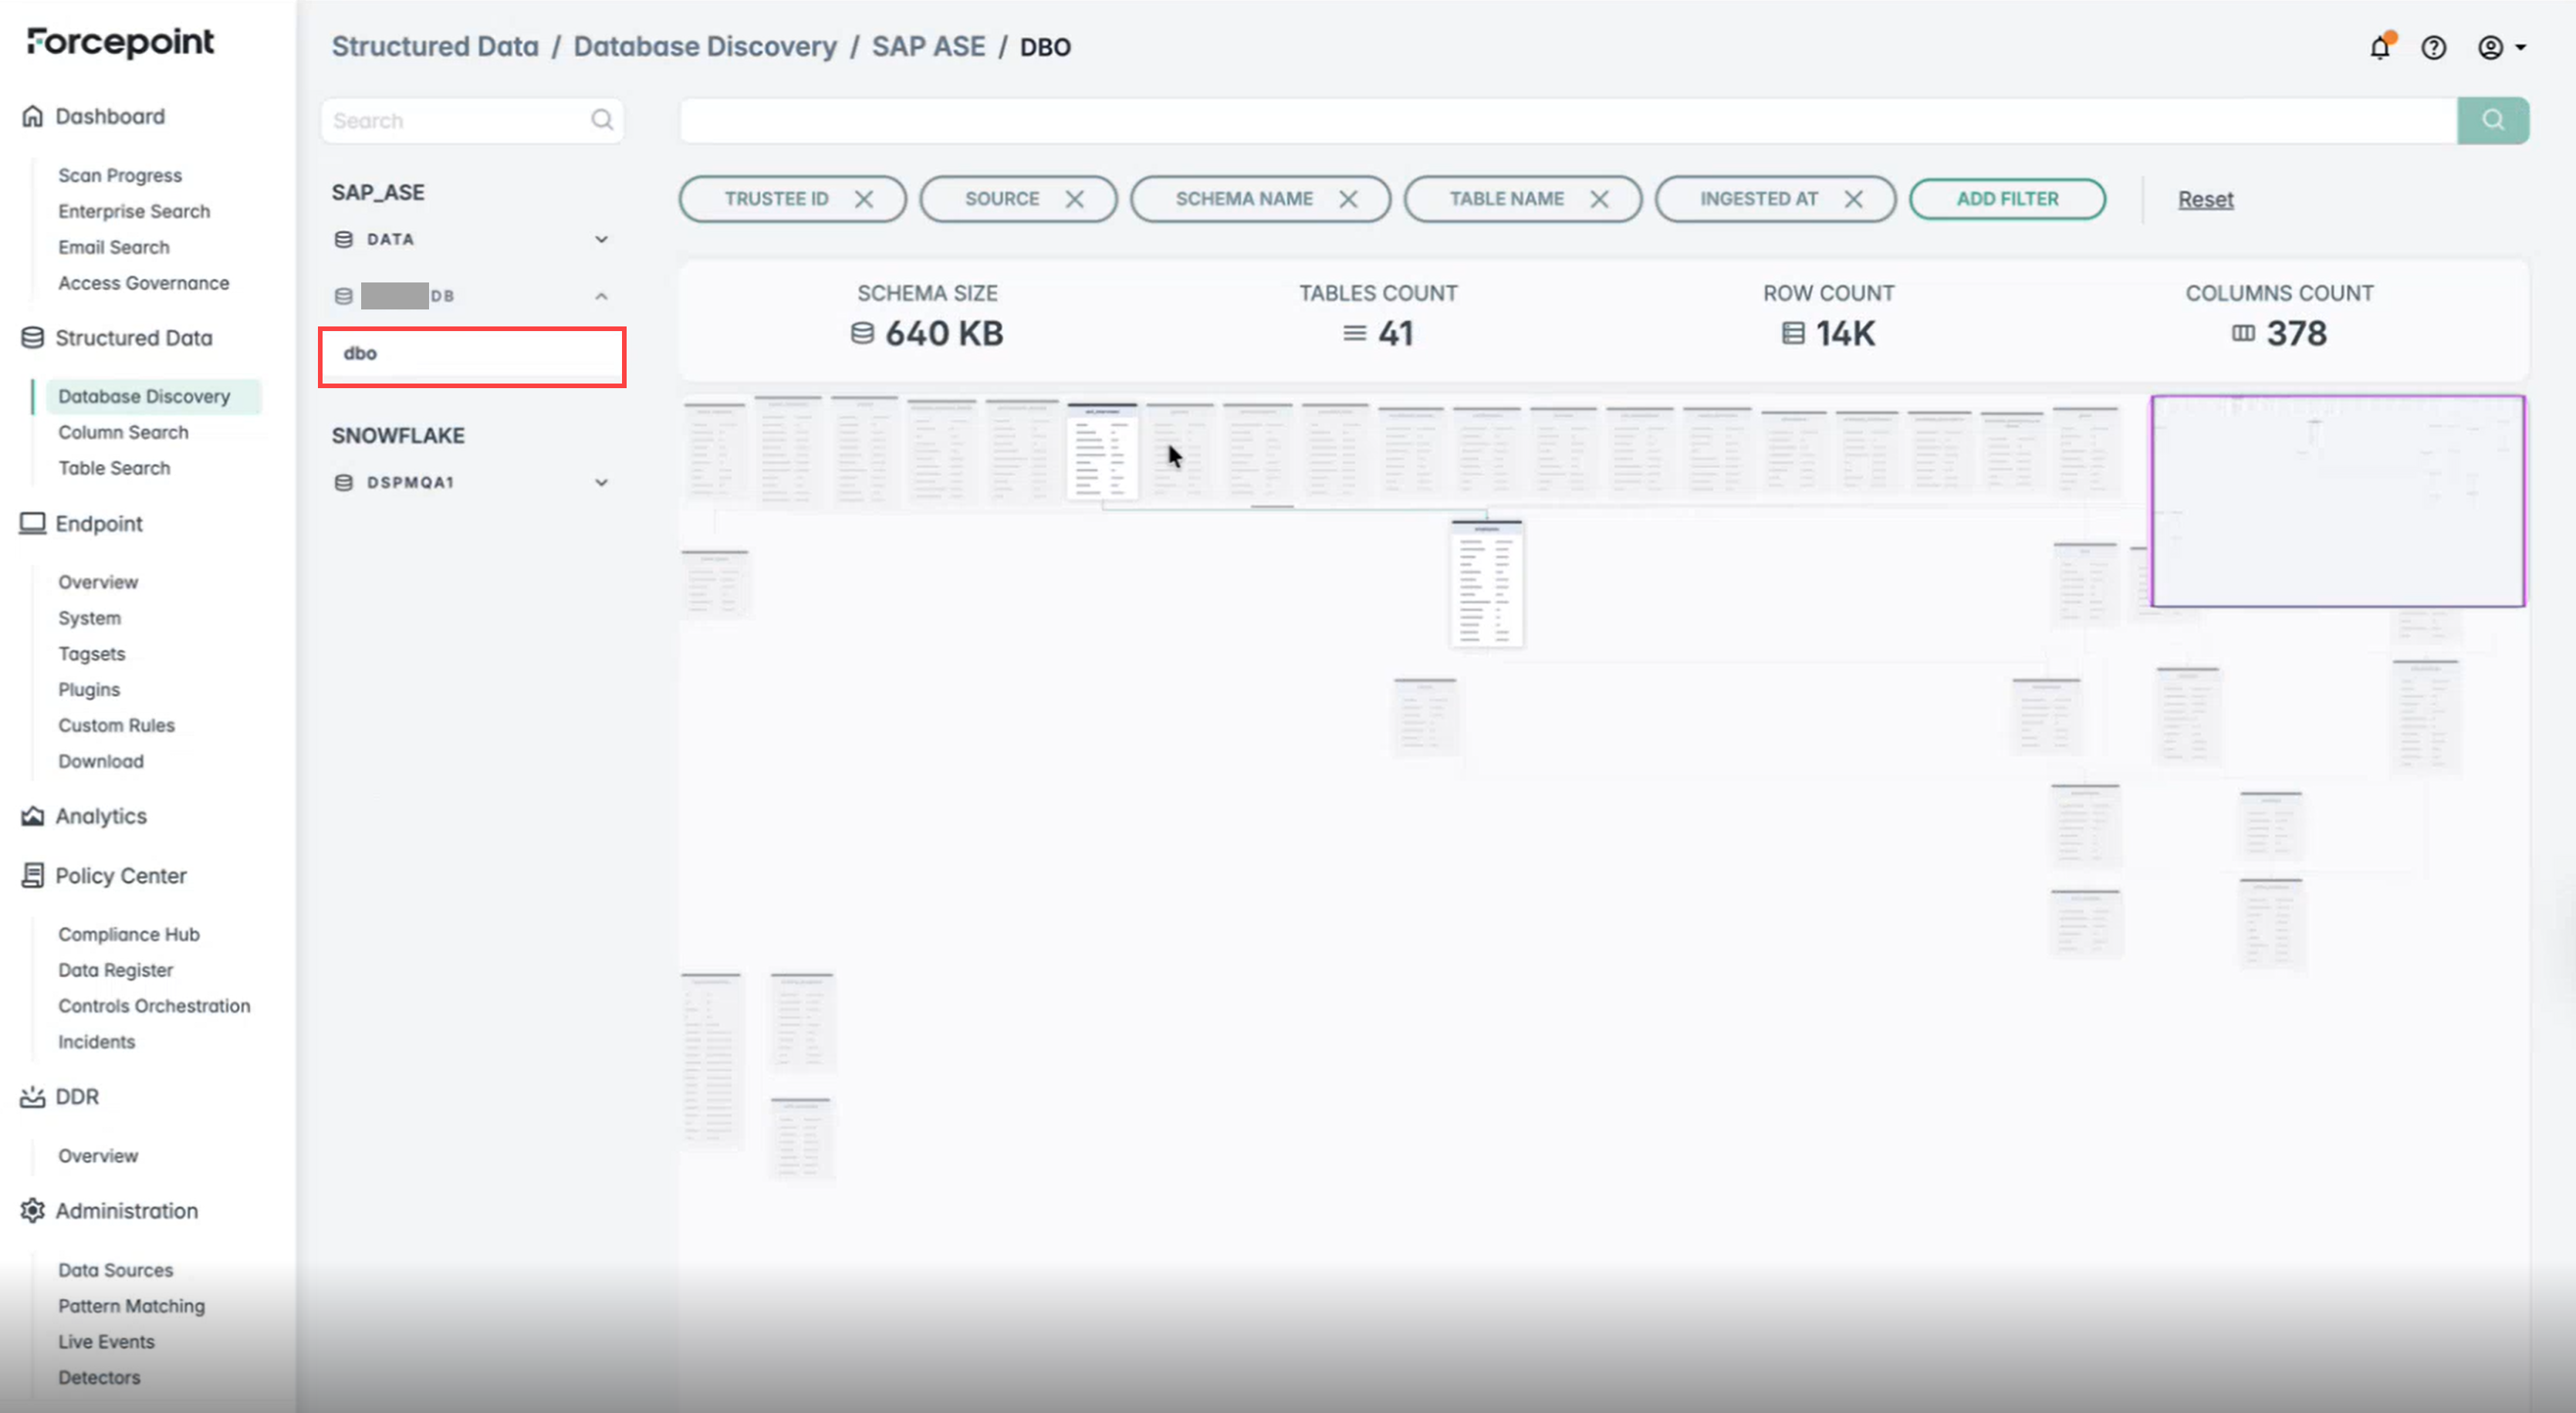
Click on the database name you scanned.
-
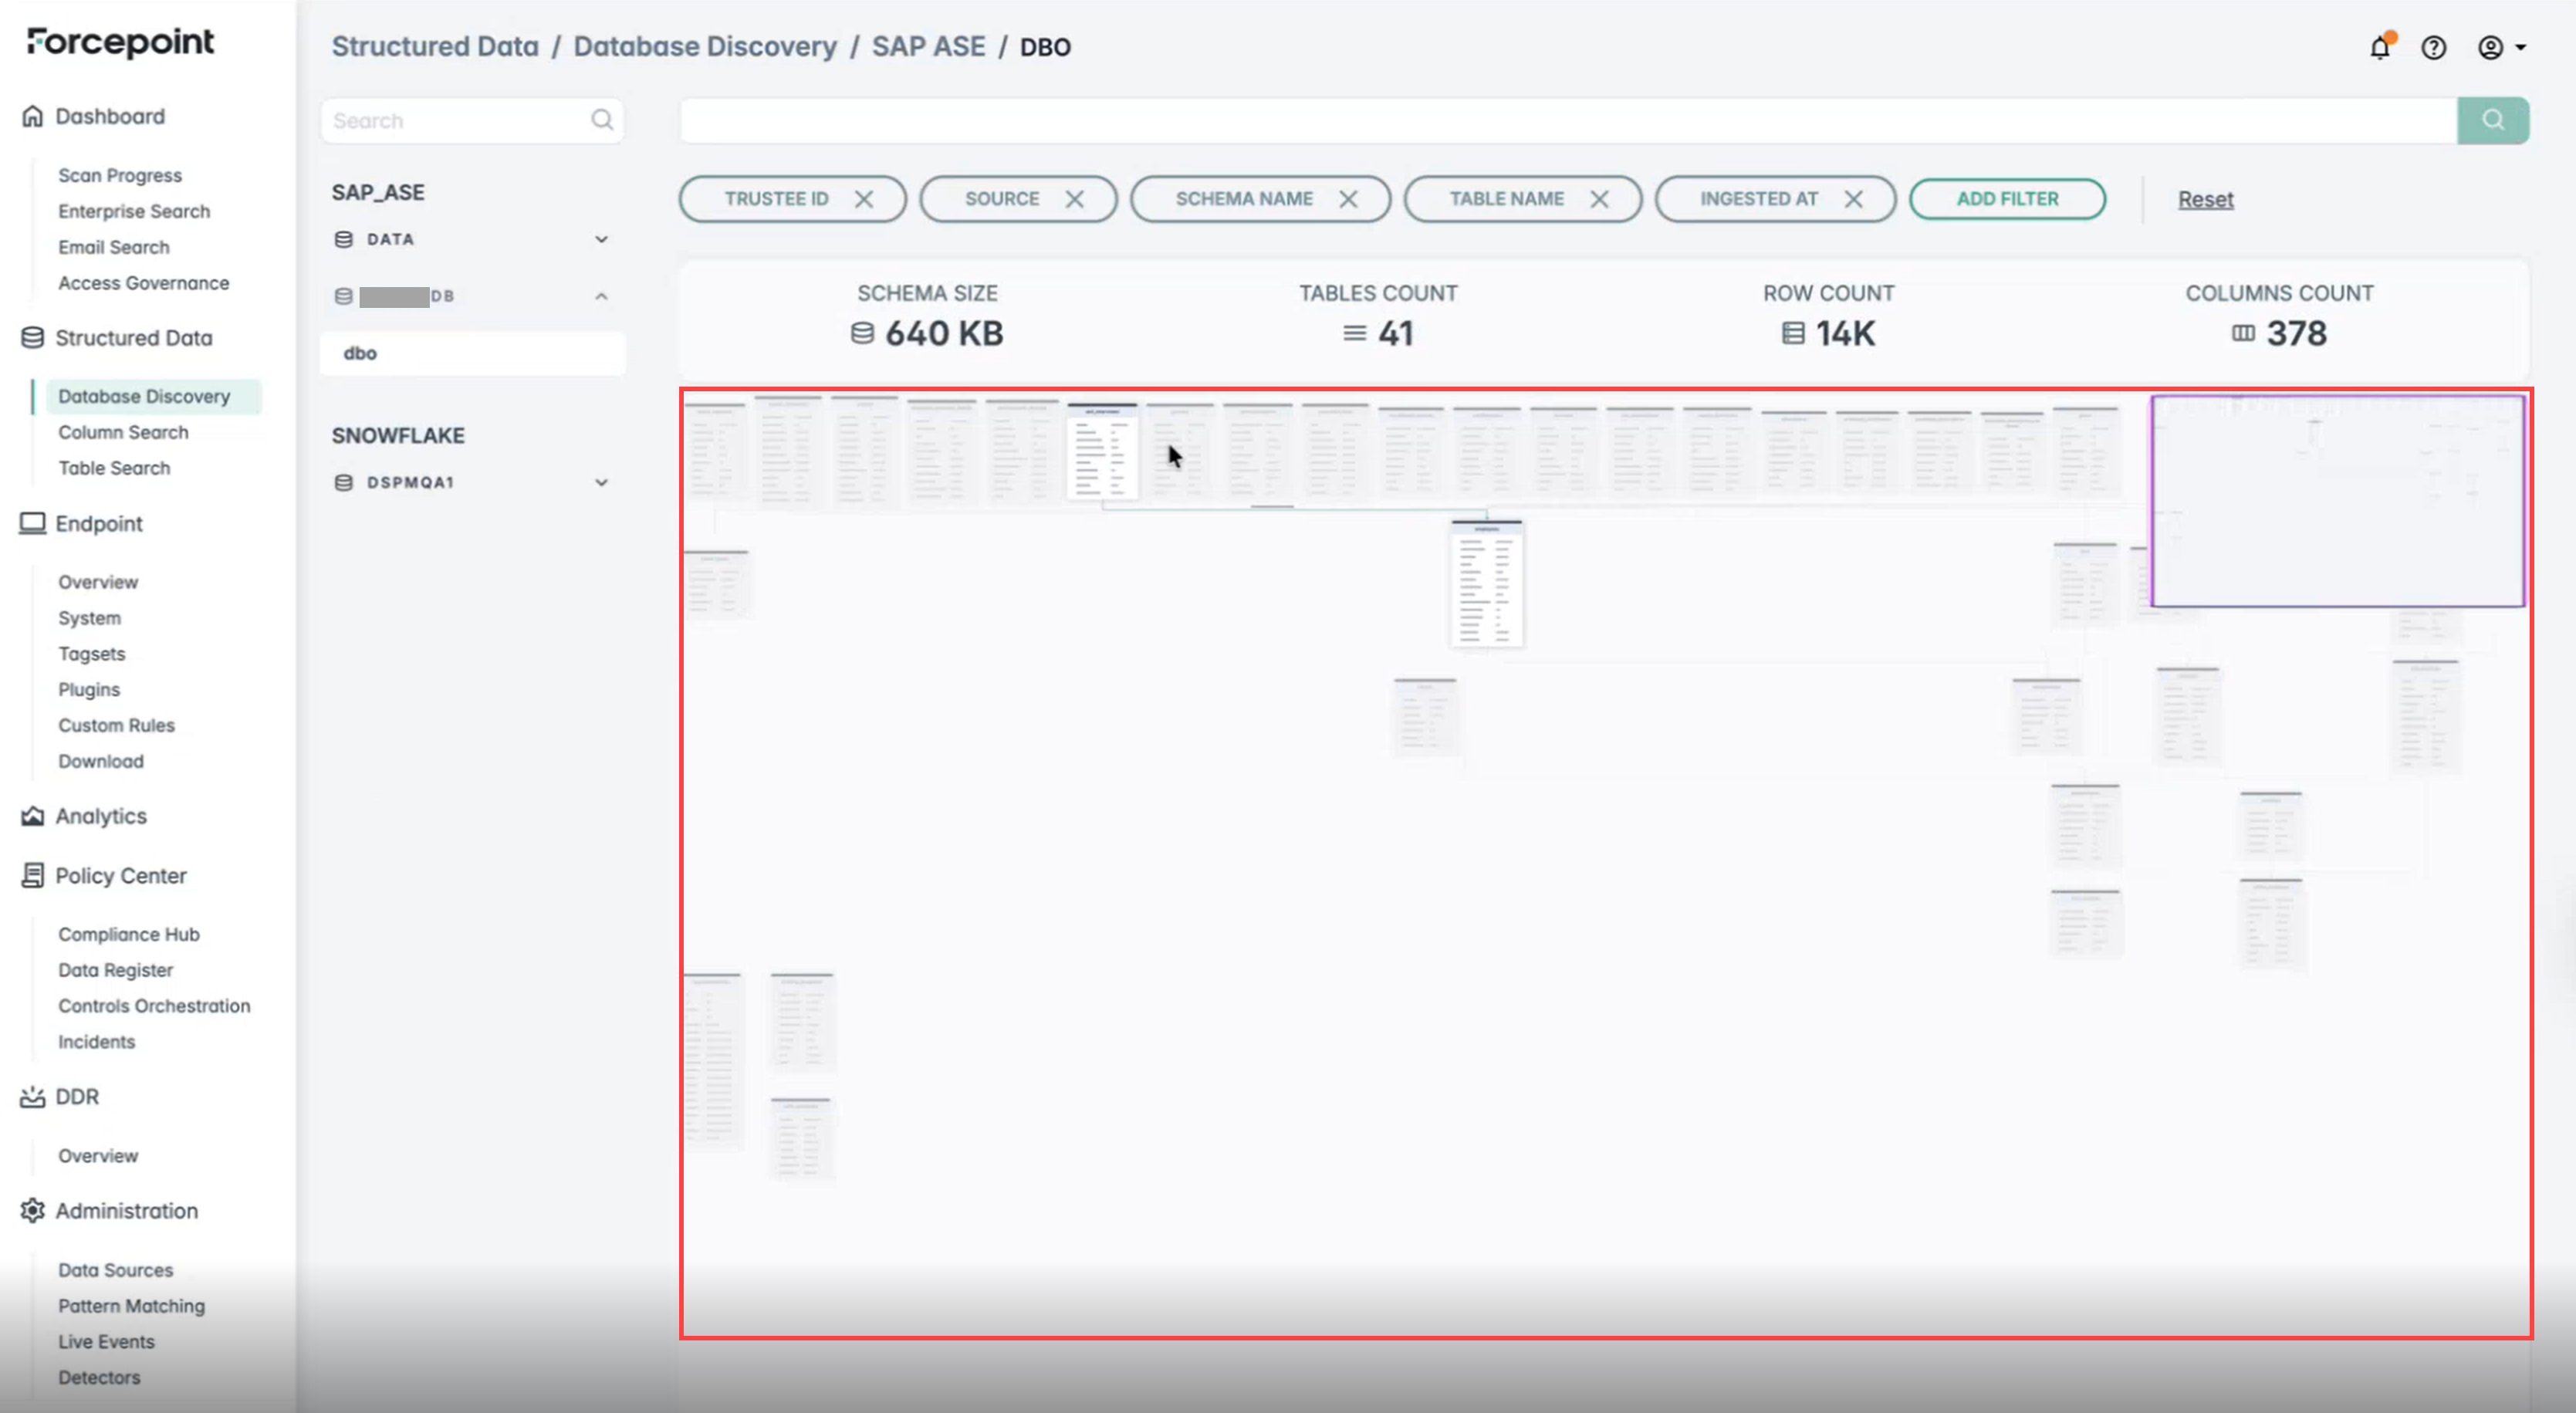
Selecting a database entry displays the schema structure. The ER diagram shows table relationships and primary key details.
-
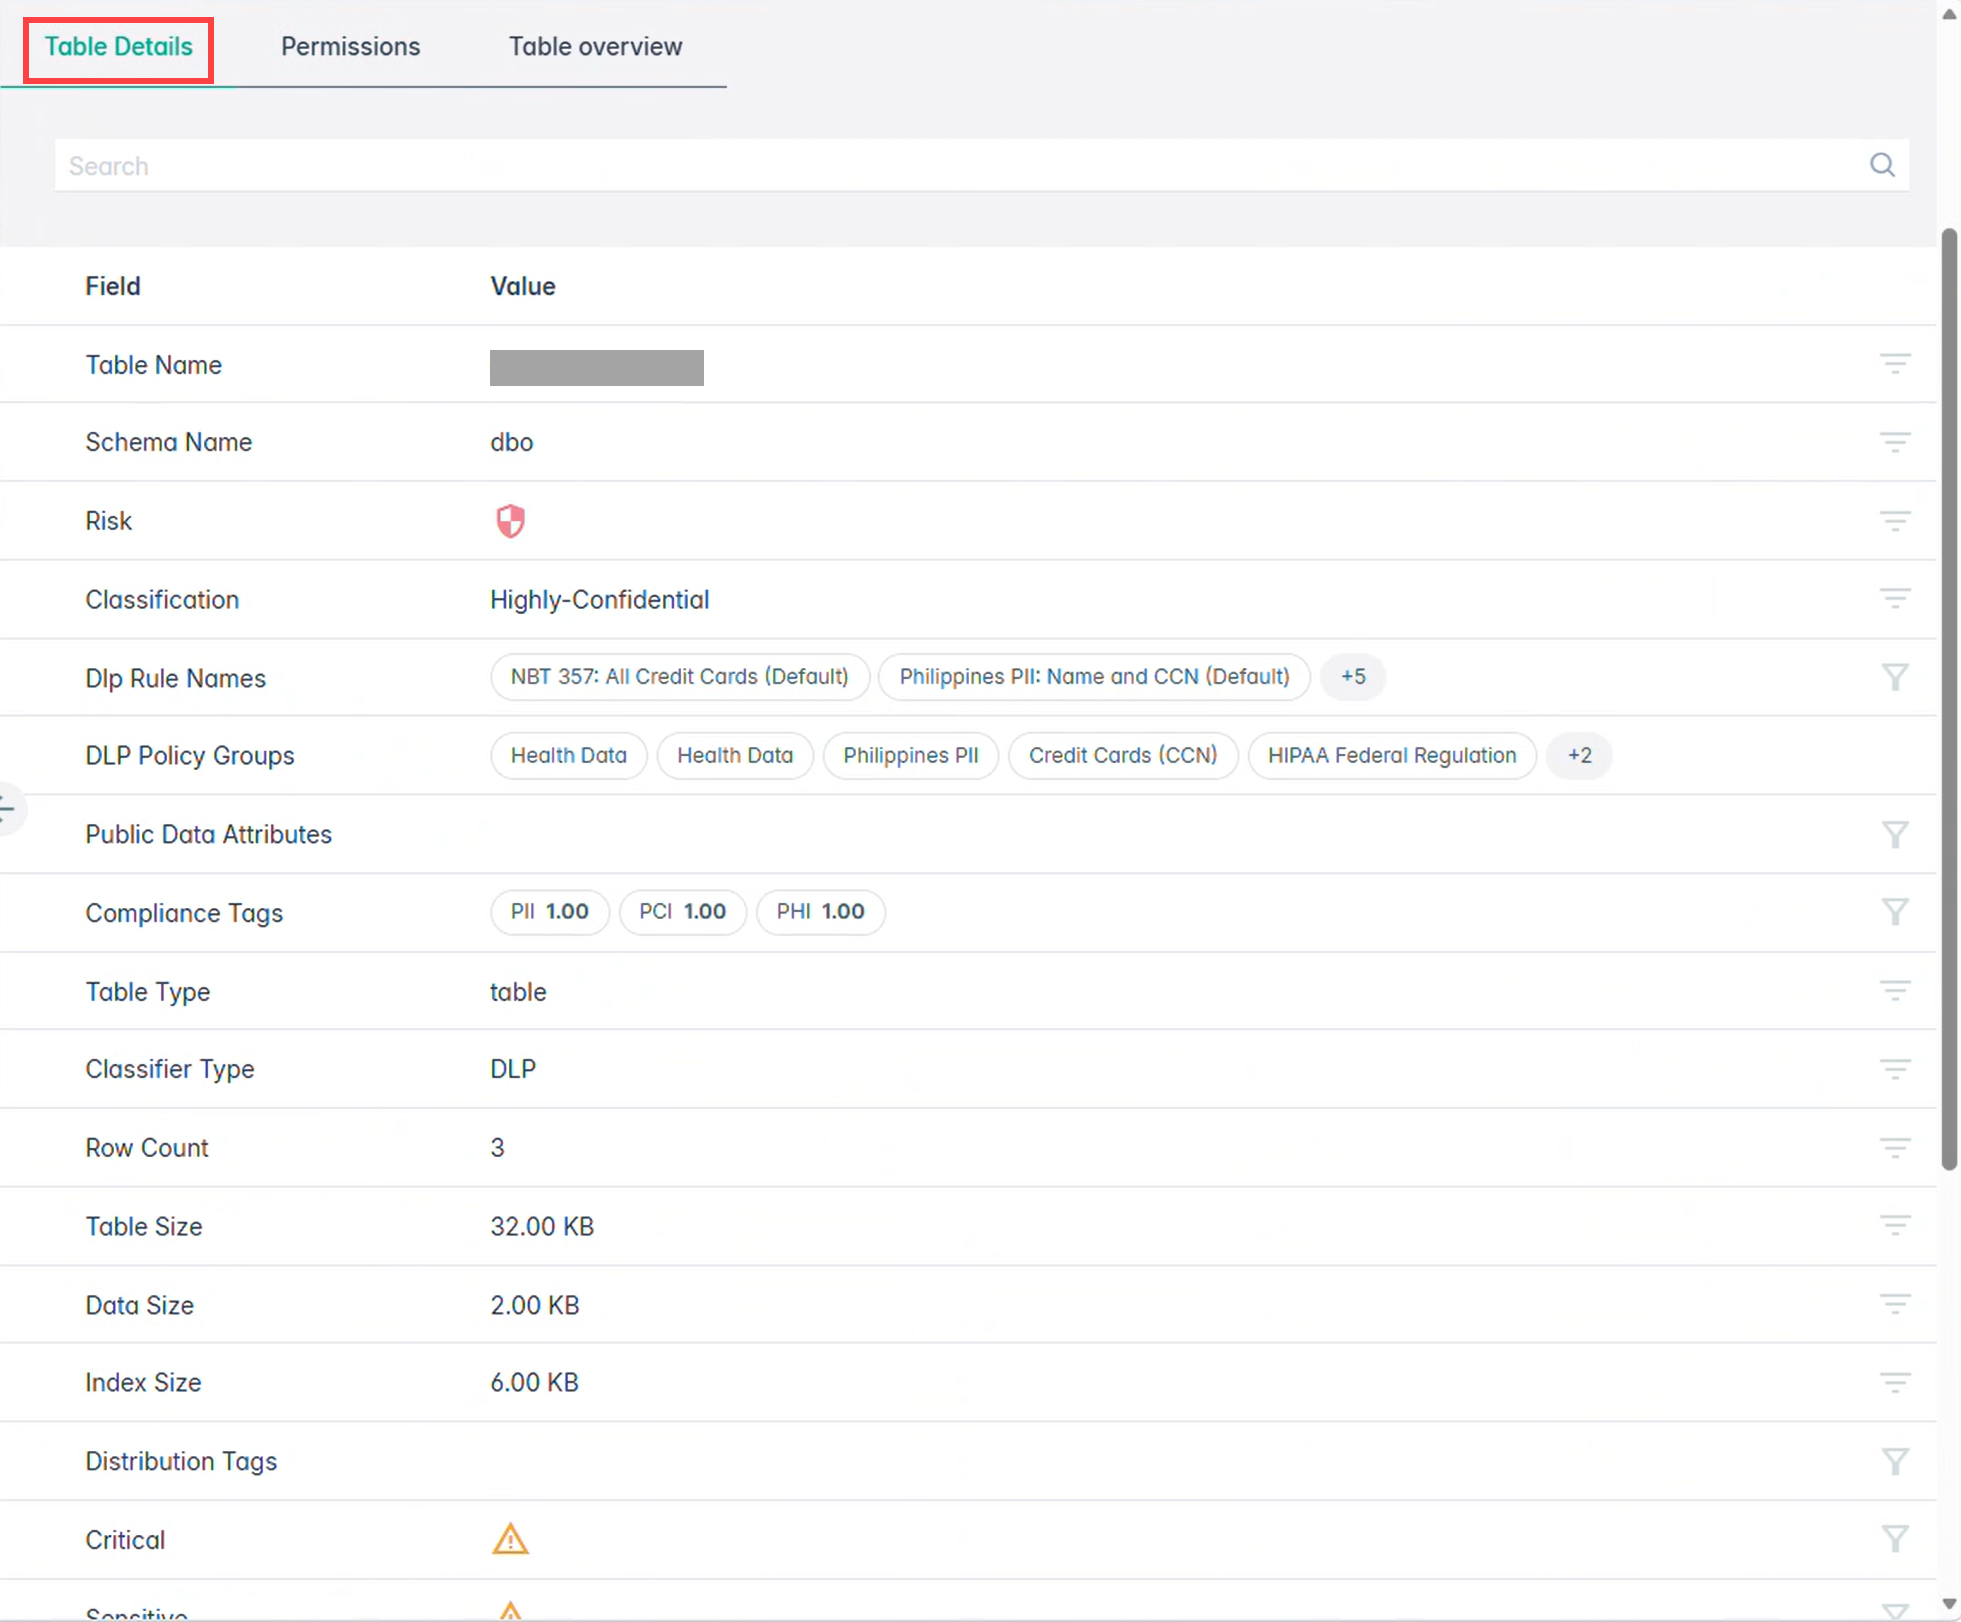
The Table details tab displays the following information:
- Table Name
- Schema Name
- Risk
- Classification
- DLP Rule Names
- Public Data Attributes
- Compliance Tags
- Table Type
- Classifier Type
- Row Count
- Table Size
- Data Size
- Index Size
- Distribution Tags
- Critical
- Sensitive
- Source
- Detector Hits
- Keyword Hits
- Scan ID
- Database ID
- ID
- Configurations ID
- Ingested At
-
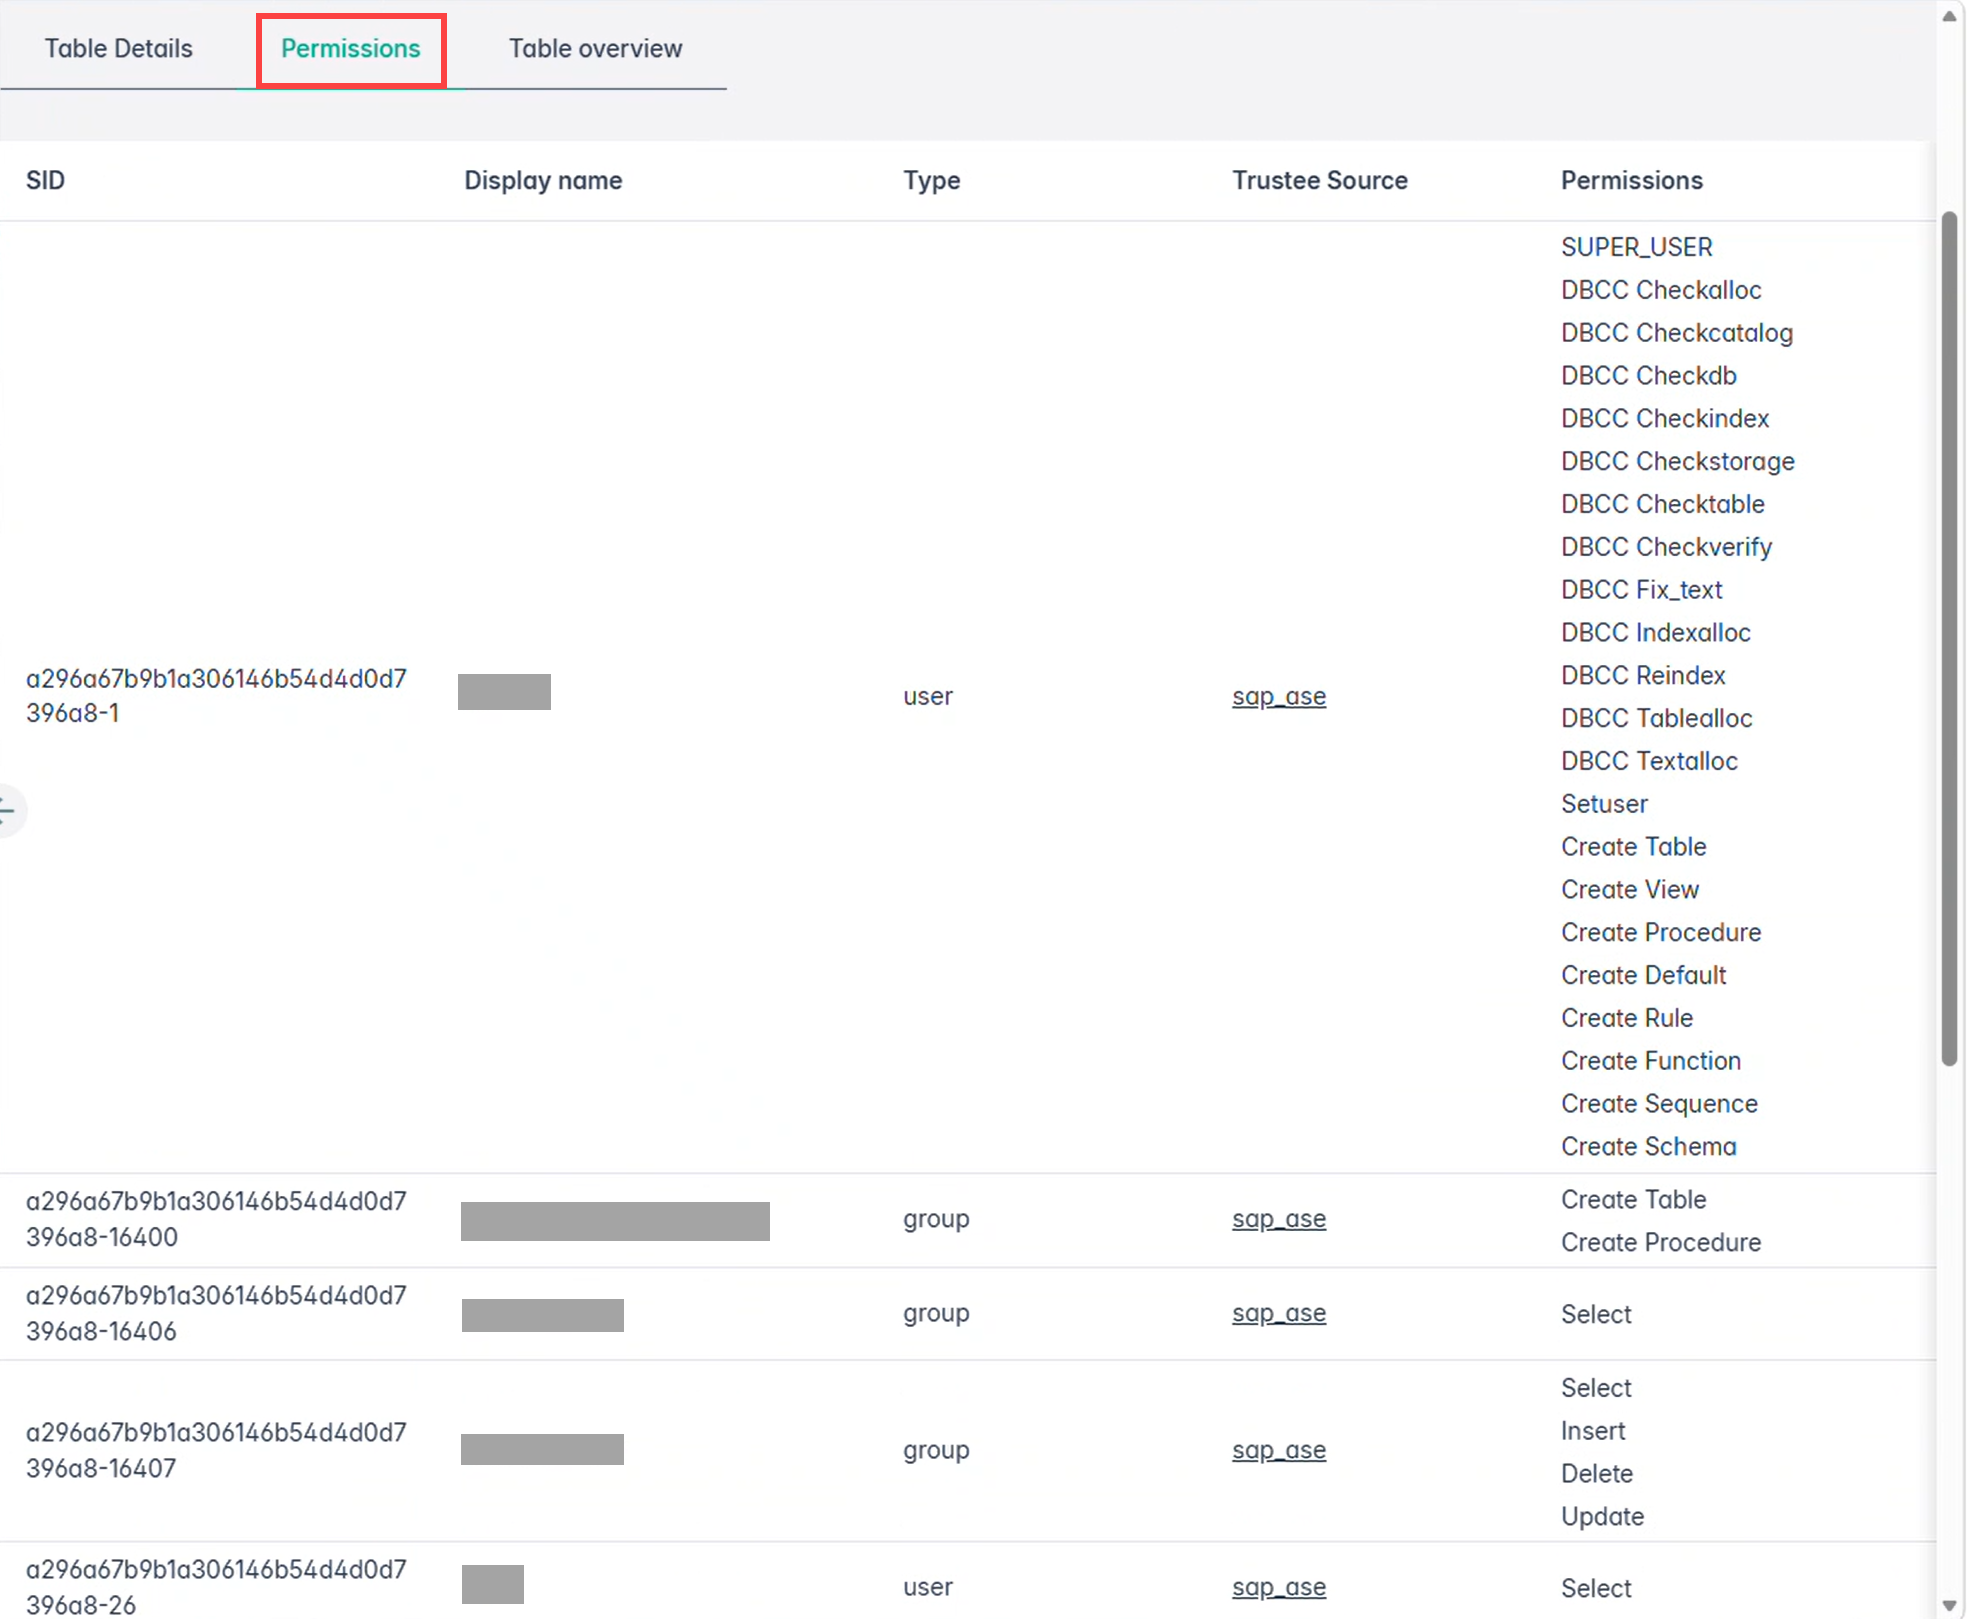
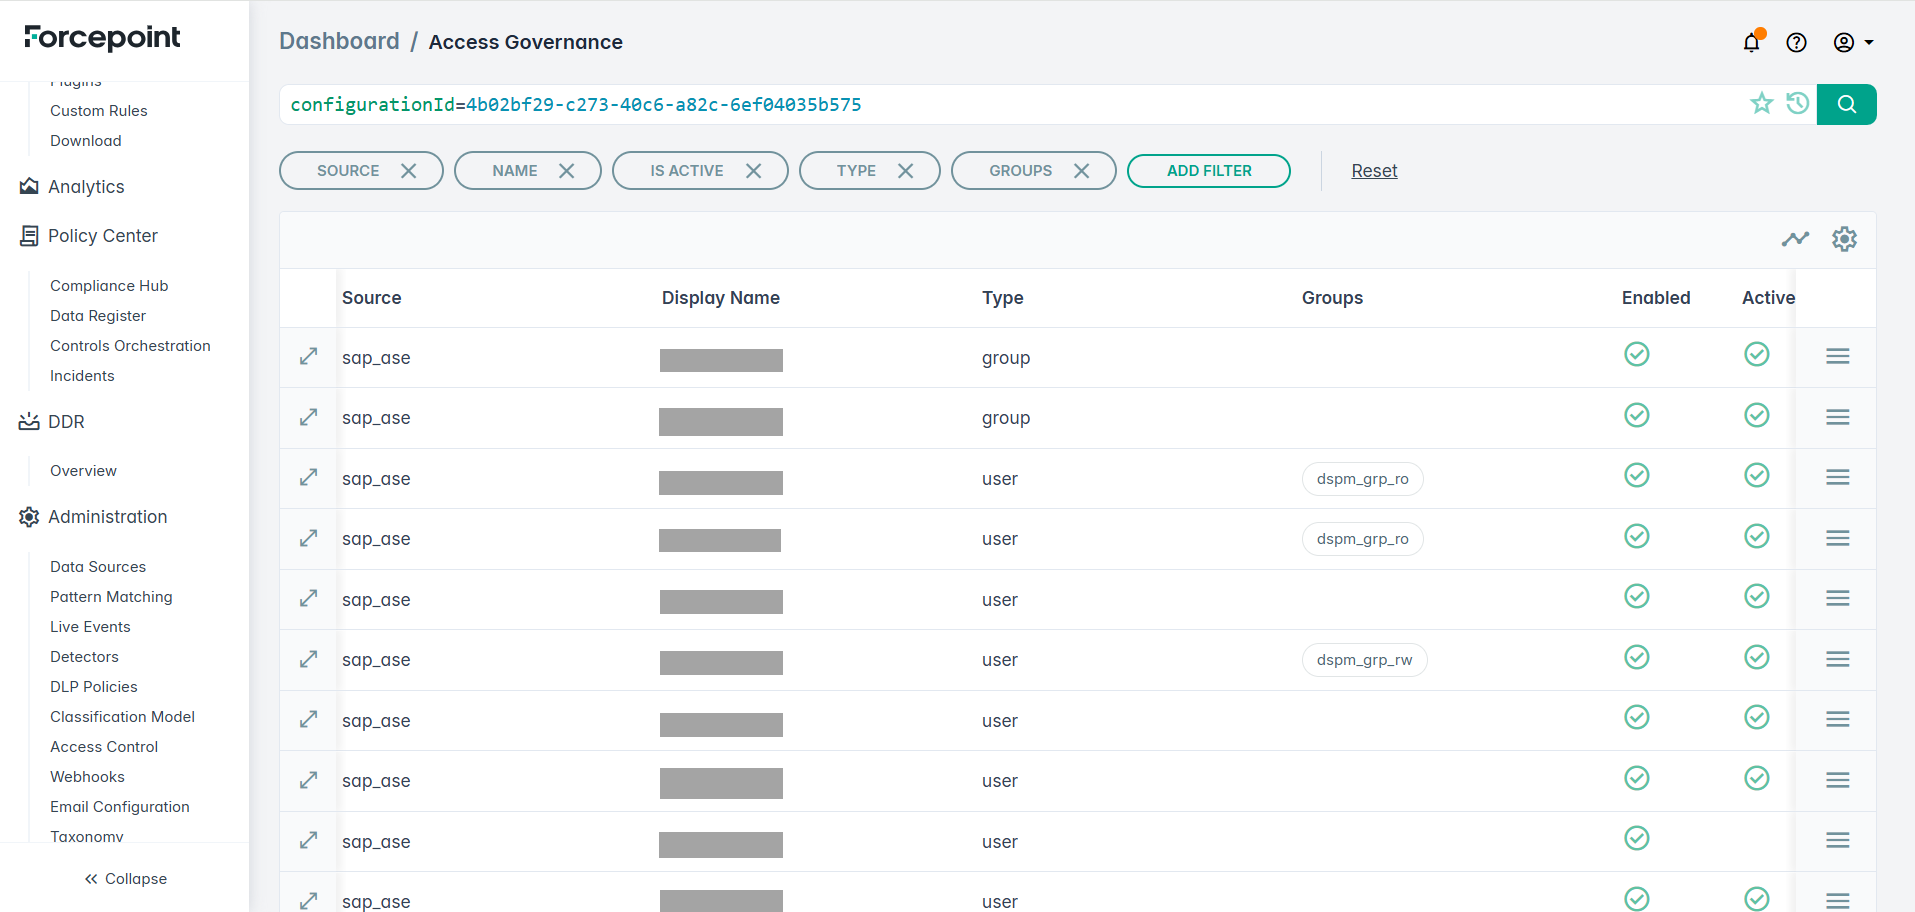
The Permissions tab displays the following information:
- SID
- Display Name
- Type
- Trustee Source
- Permissions
- Externally Shared
-
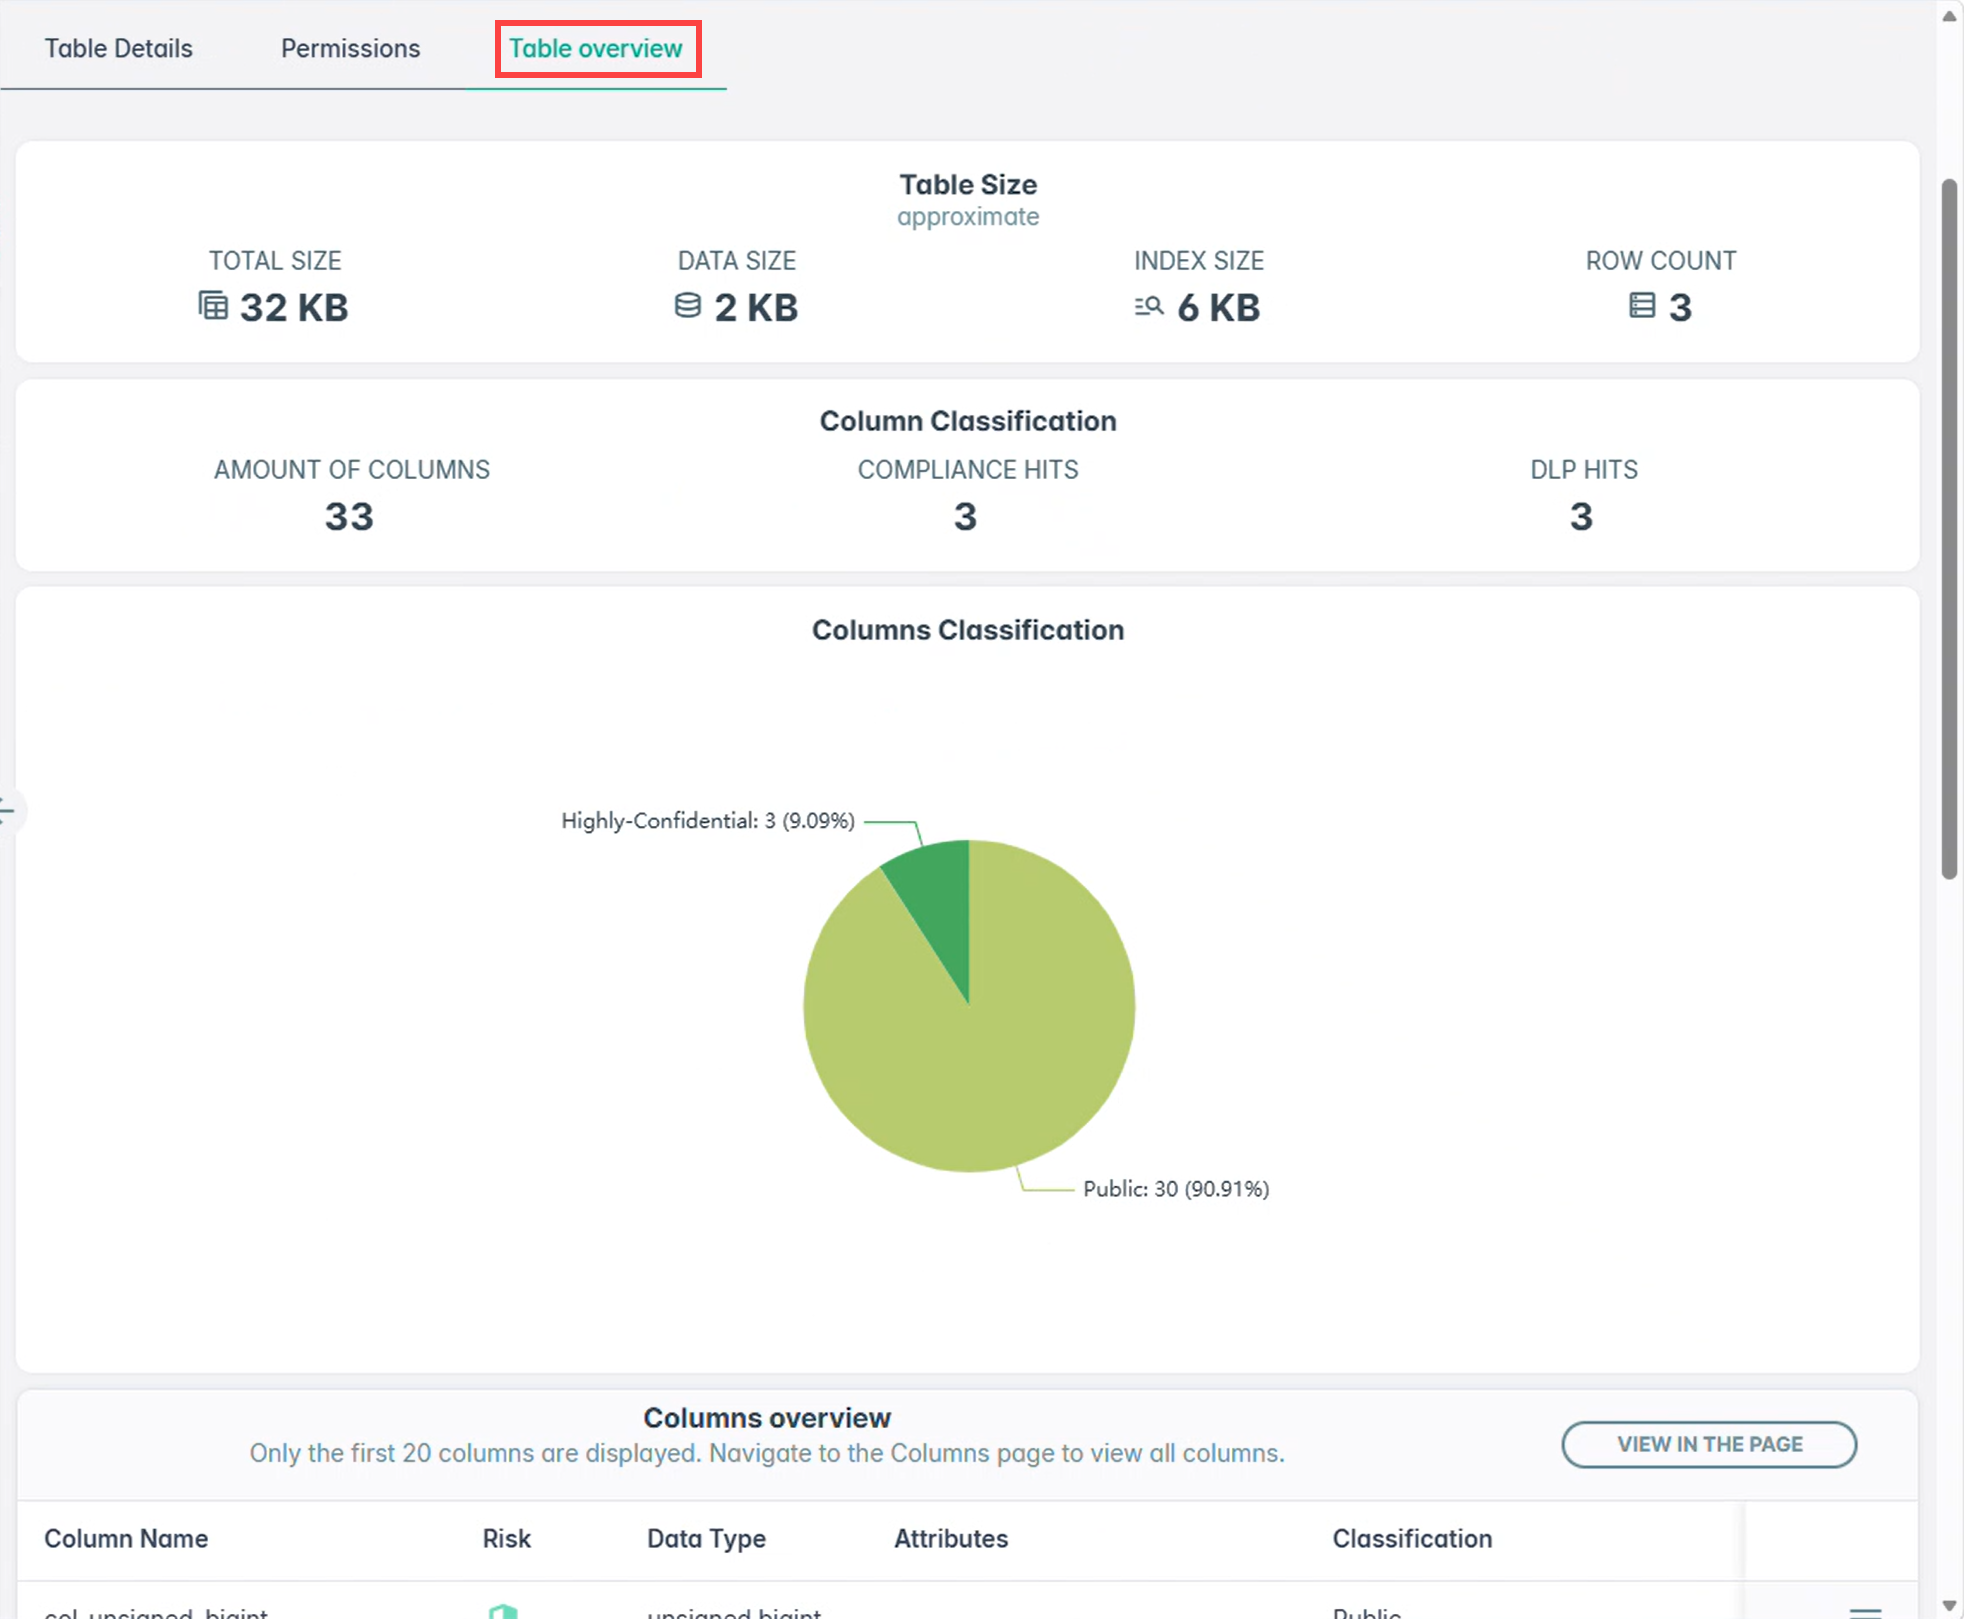
The Table Overview tab displays the following information:
- Table Size (approximate)
- Total Size
- Data Size
- Index Size
- Row Count
-
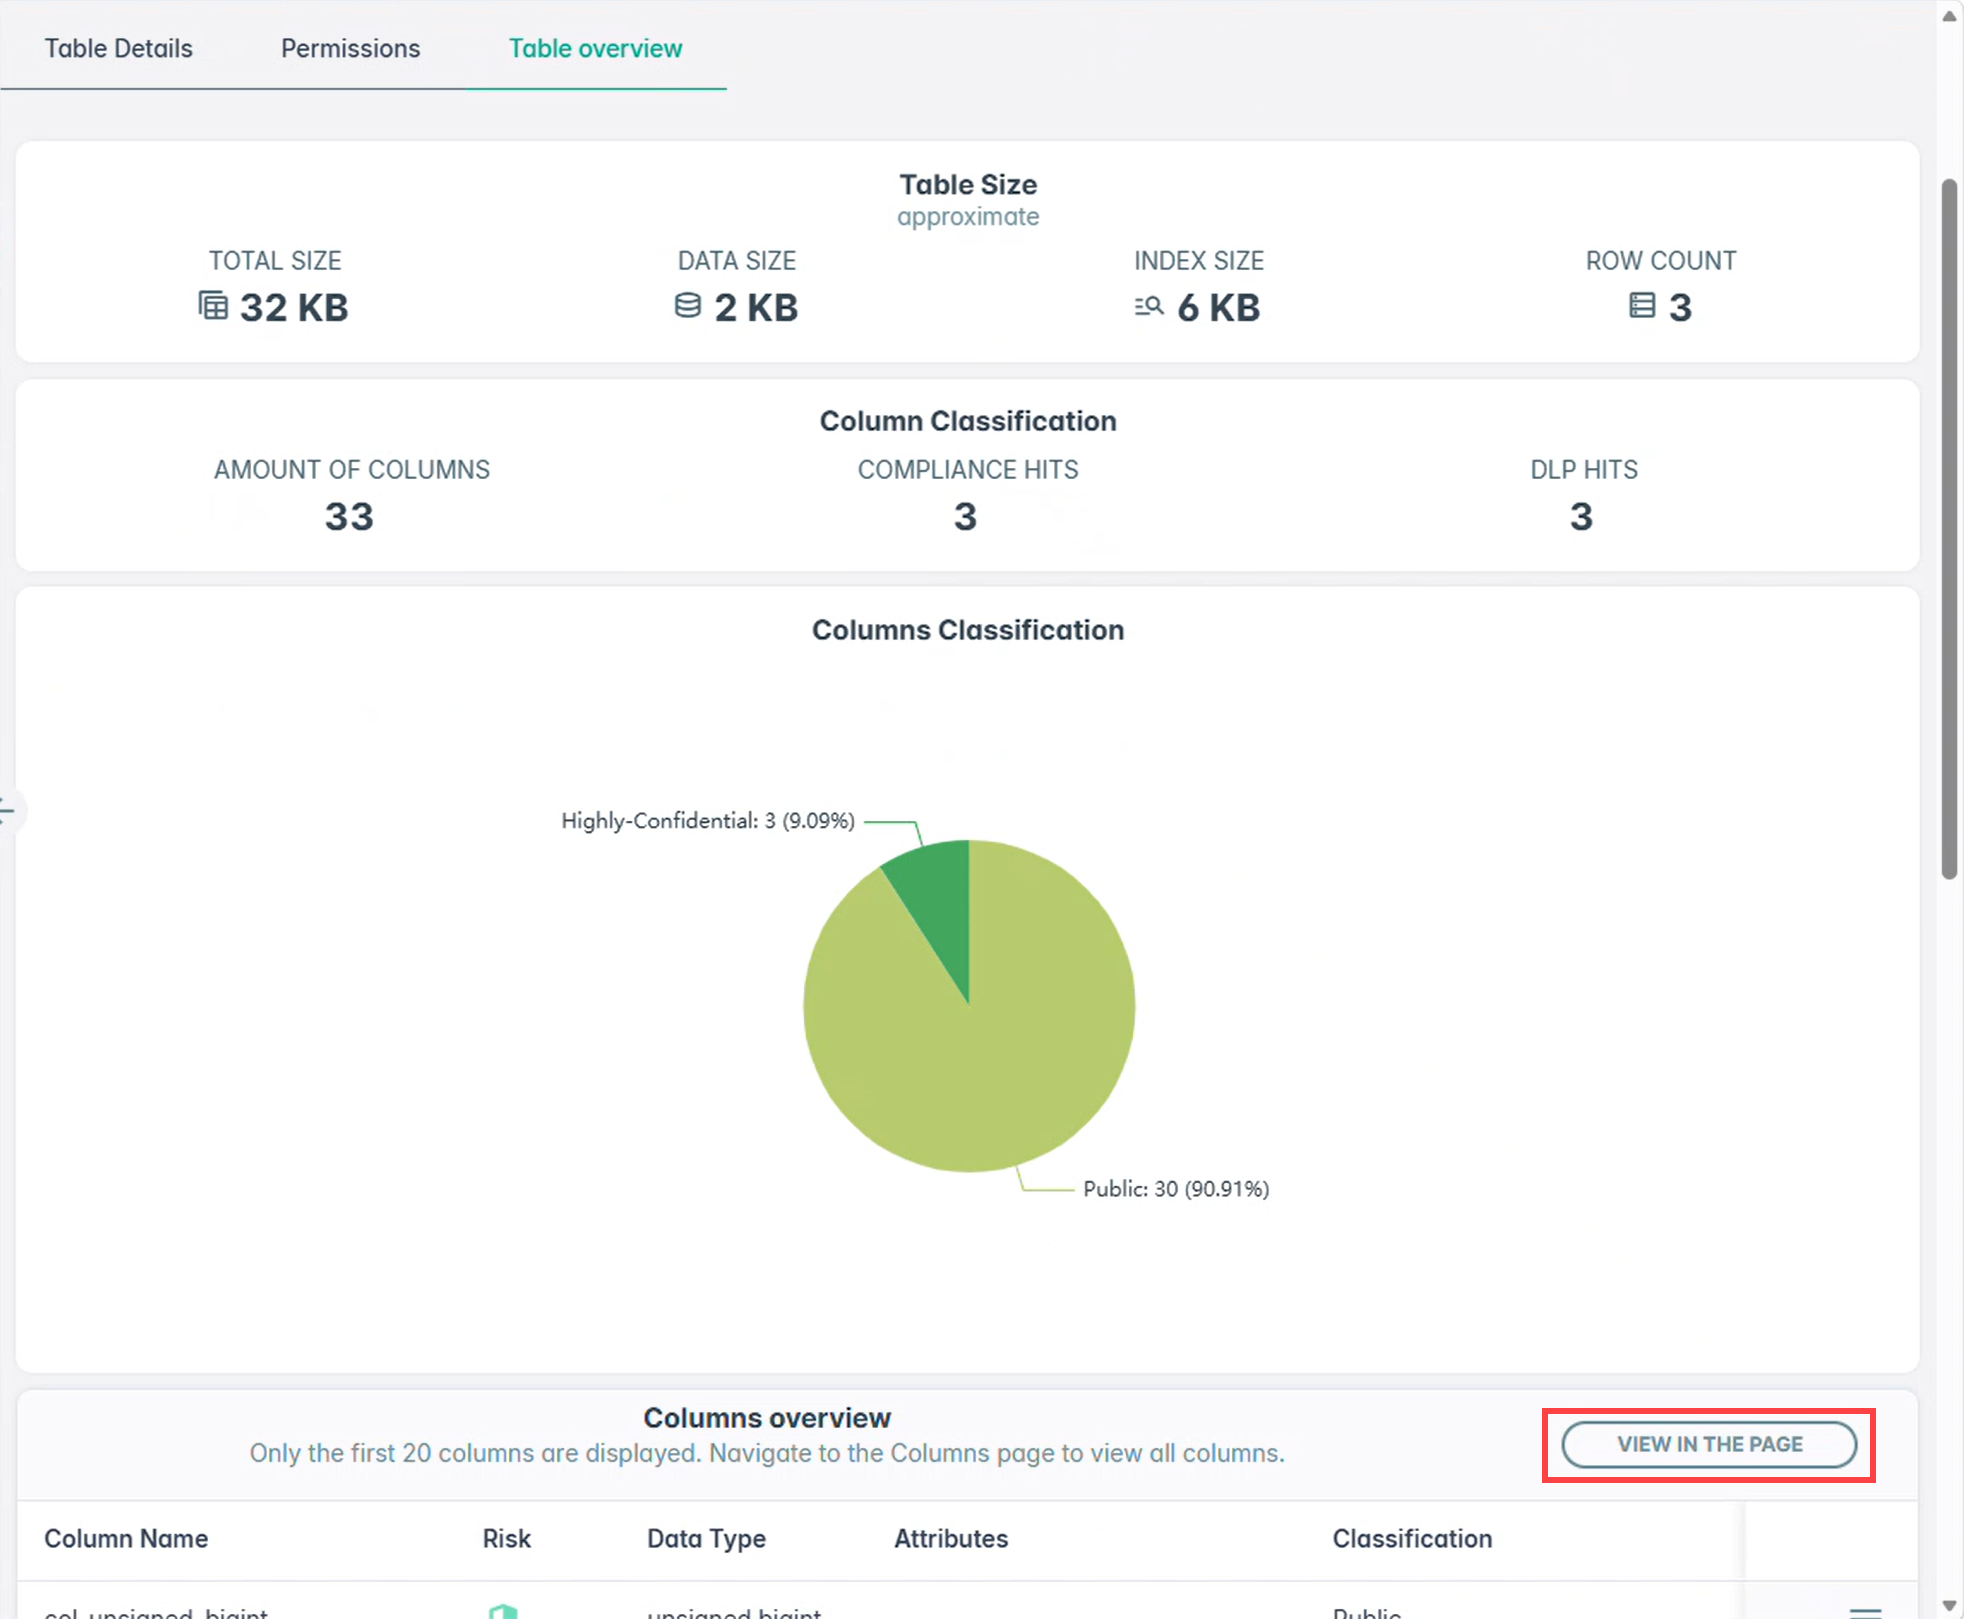
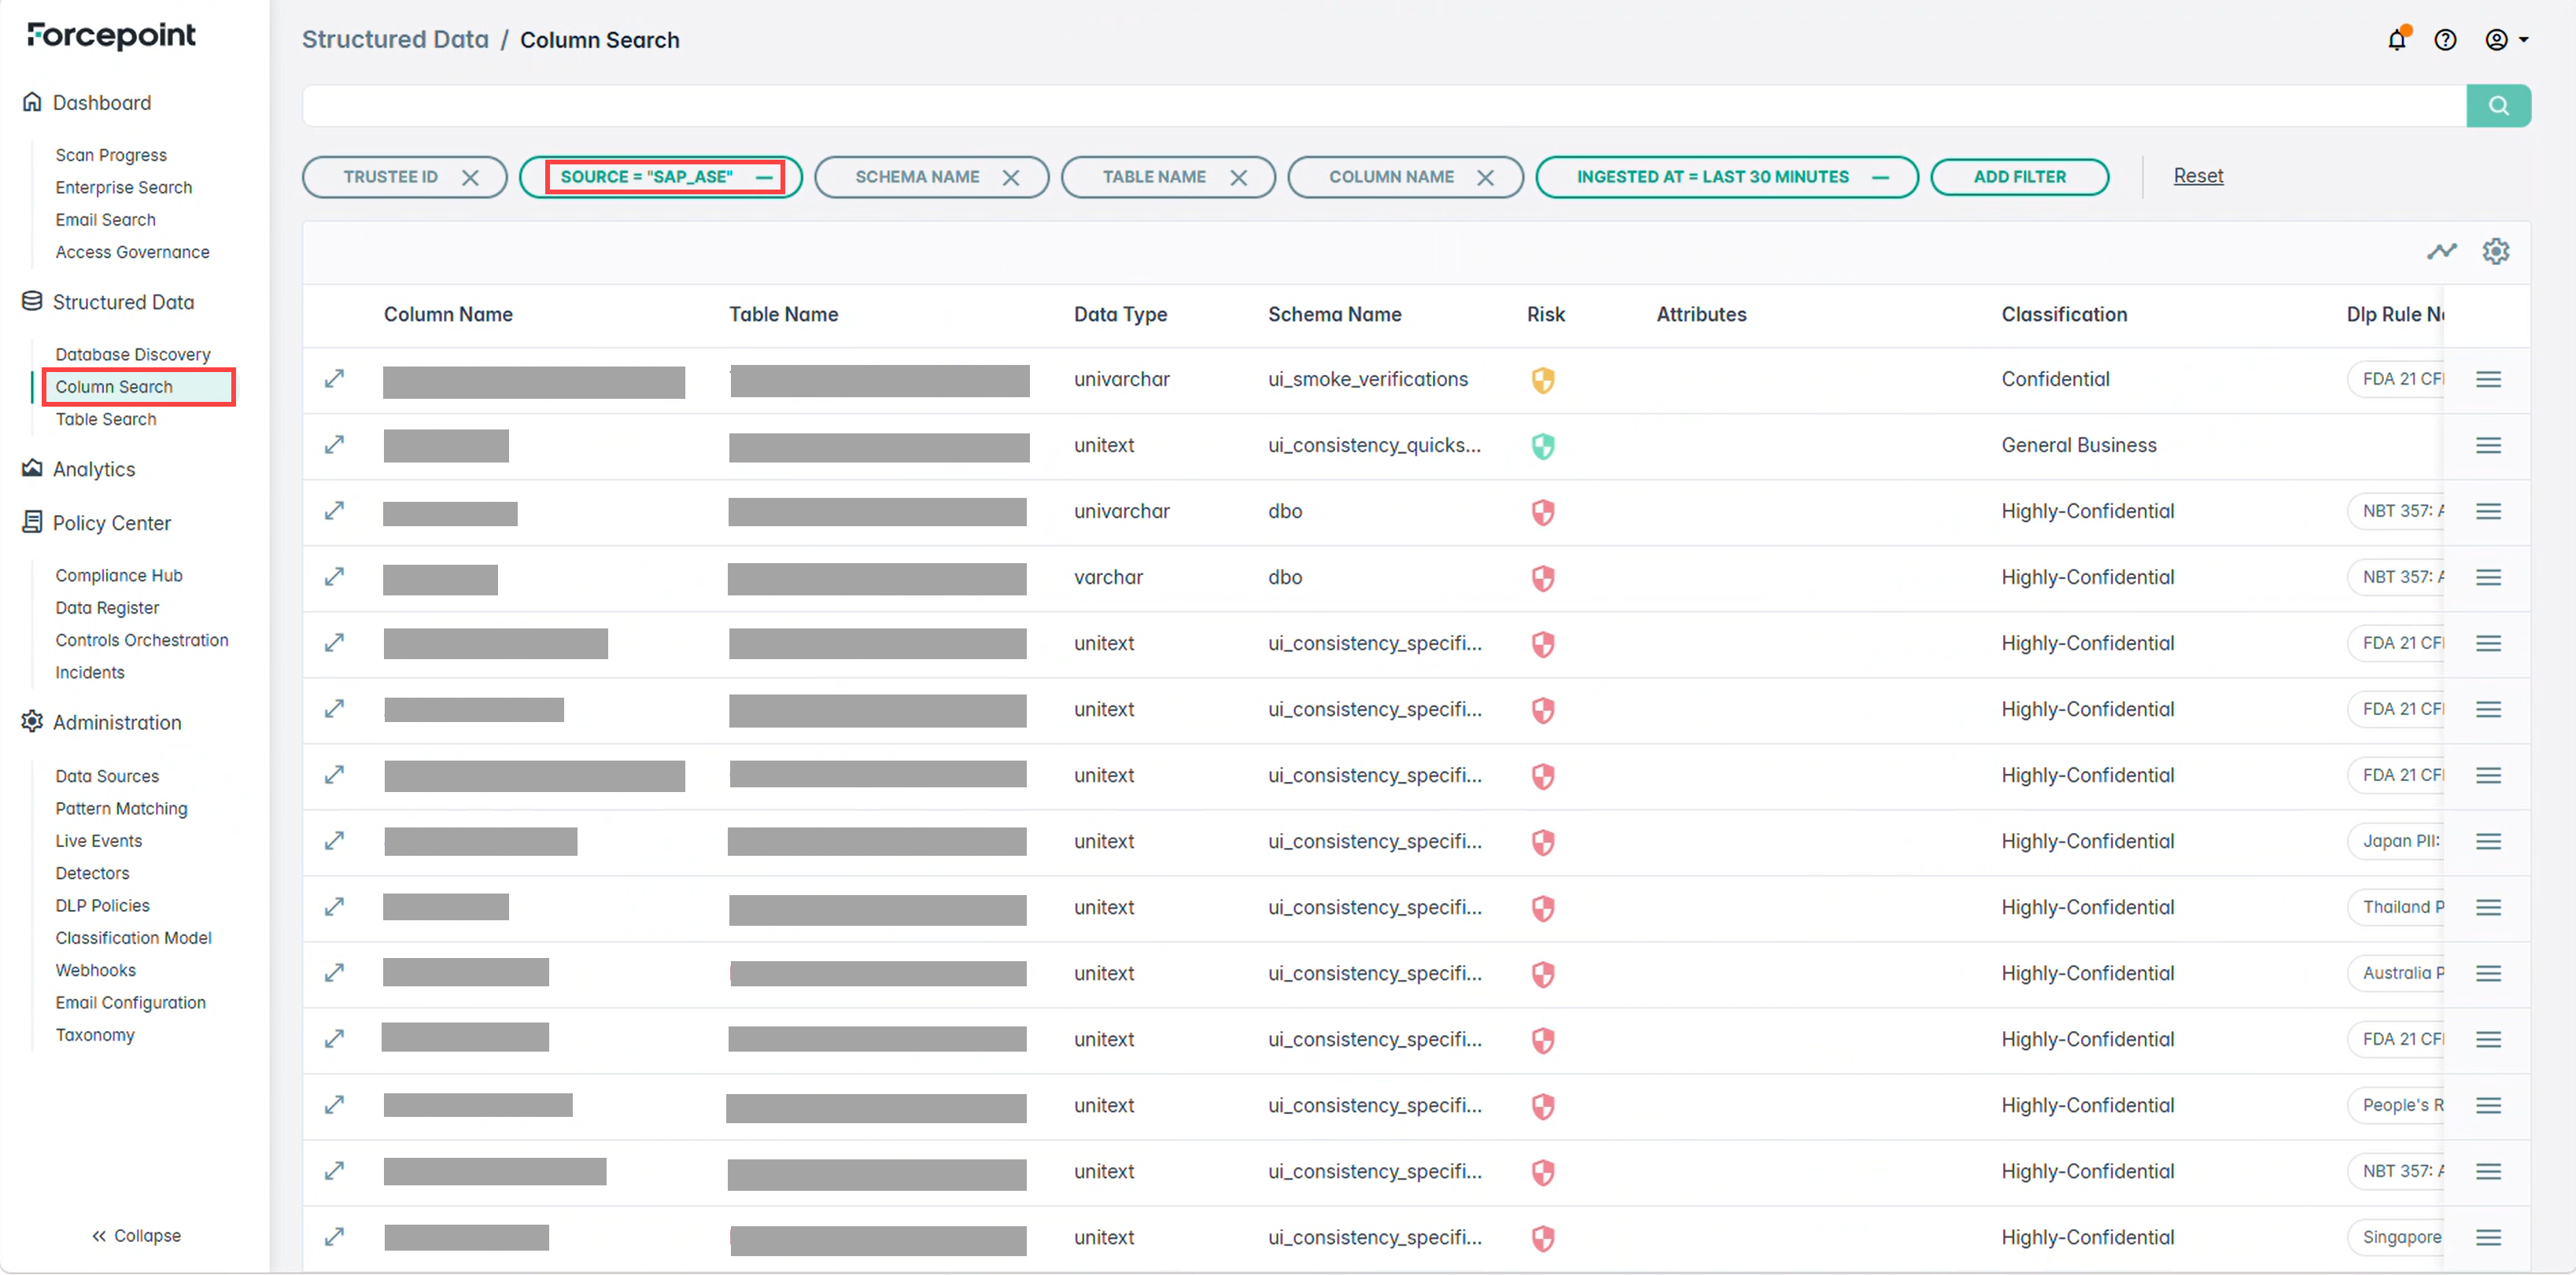
You can click on VIEW IN THE PAGE on Columns overview to navigate to Column Search to view filtered
results specific to the table.
-
Alternatively, you can also navigate to Column Search directly from the left navigational panel to view filtered results specific to the table.
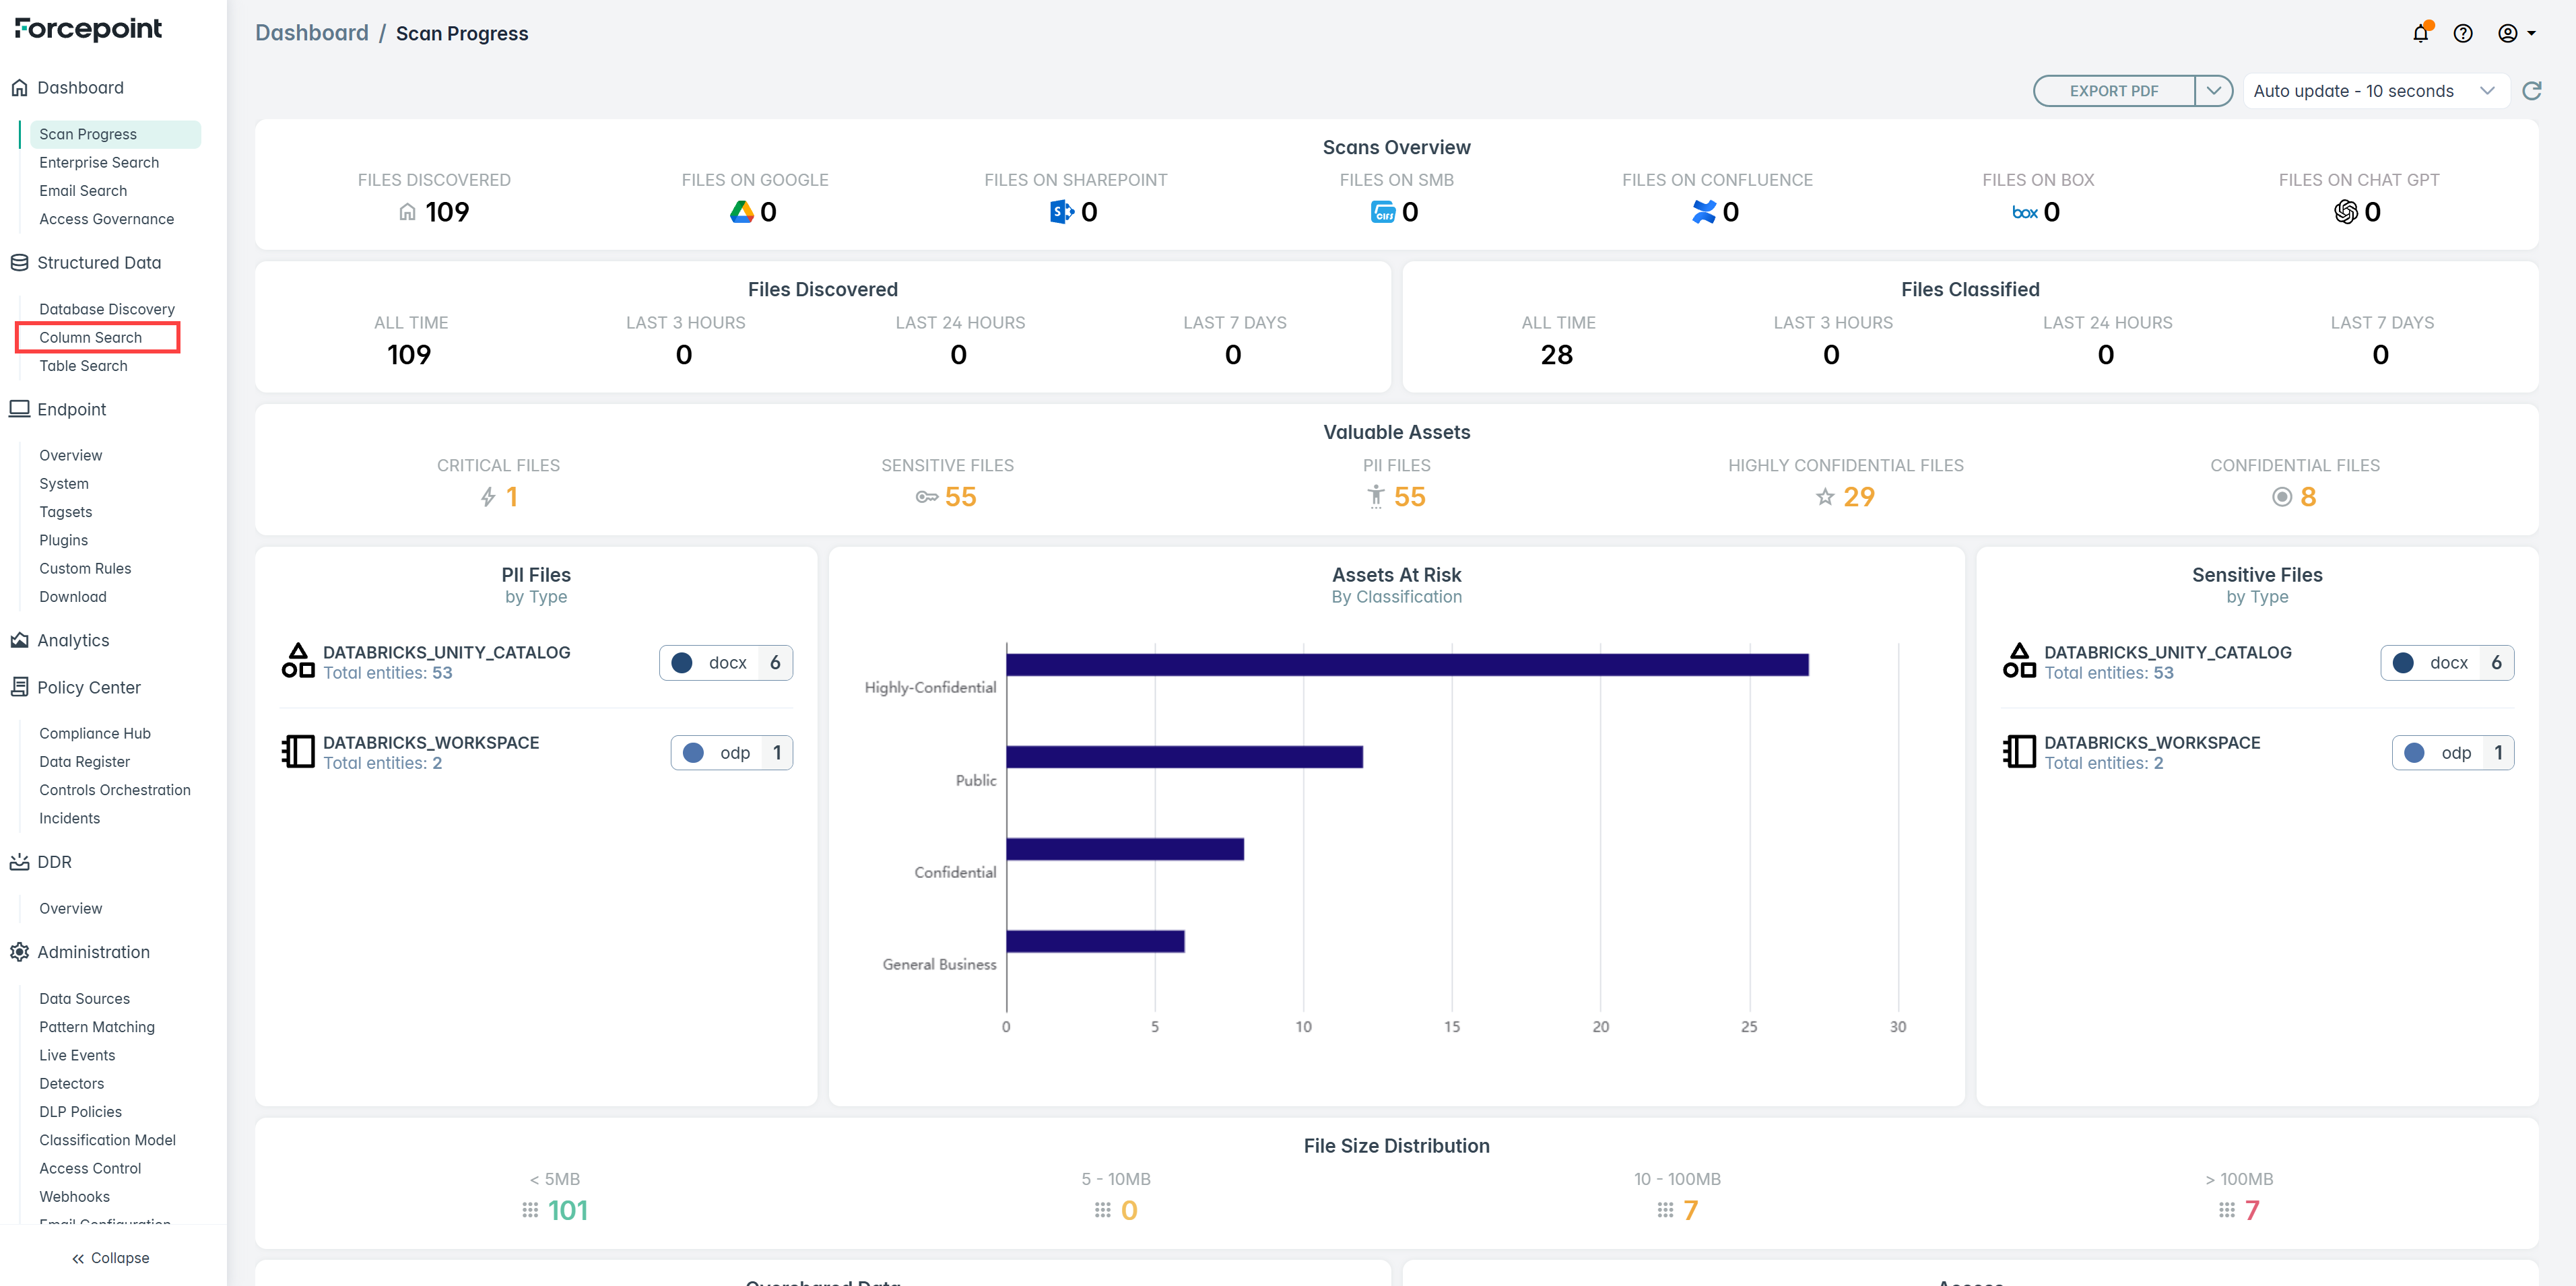
-
Filter by SAP ASE to scope the results.
-
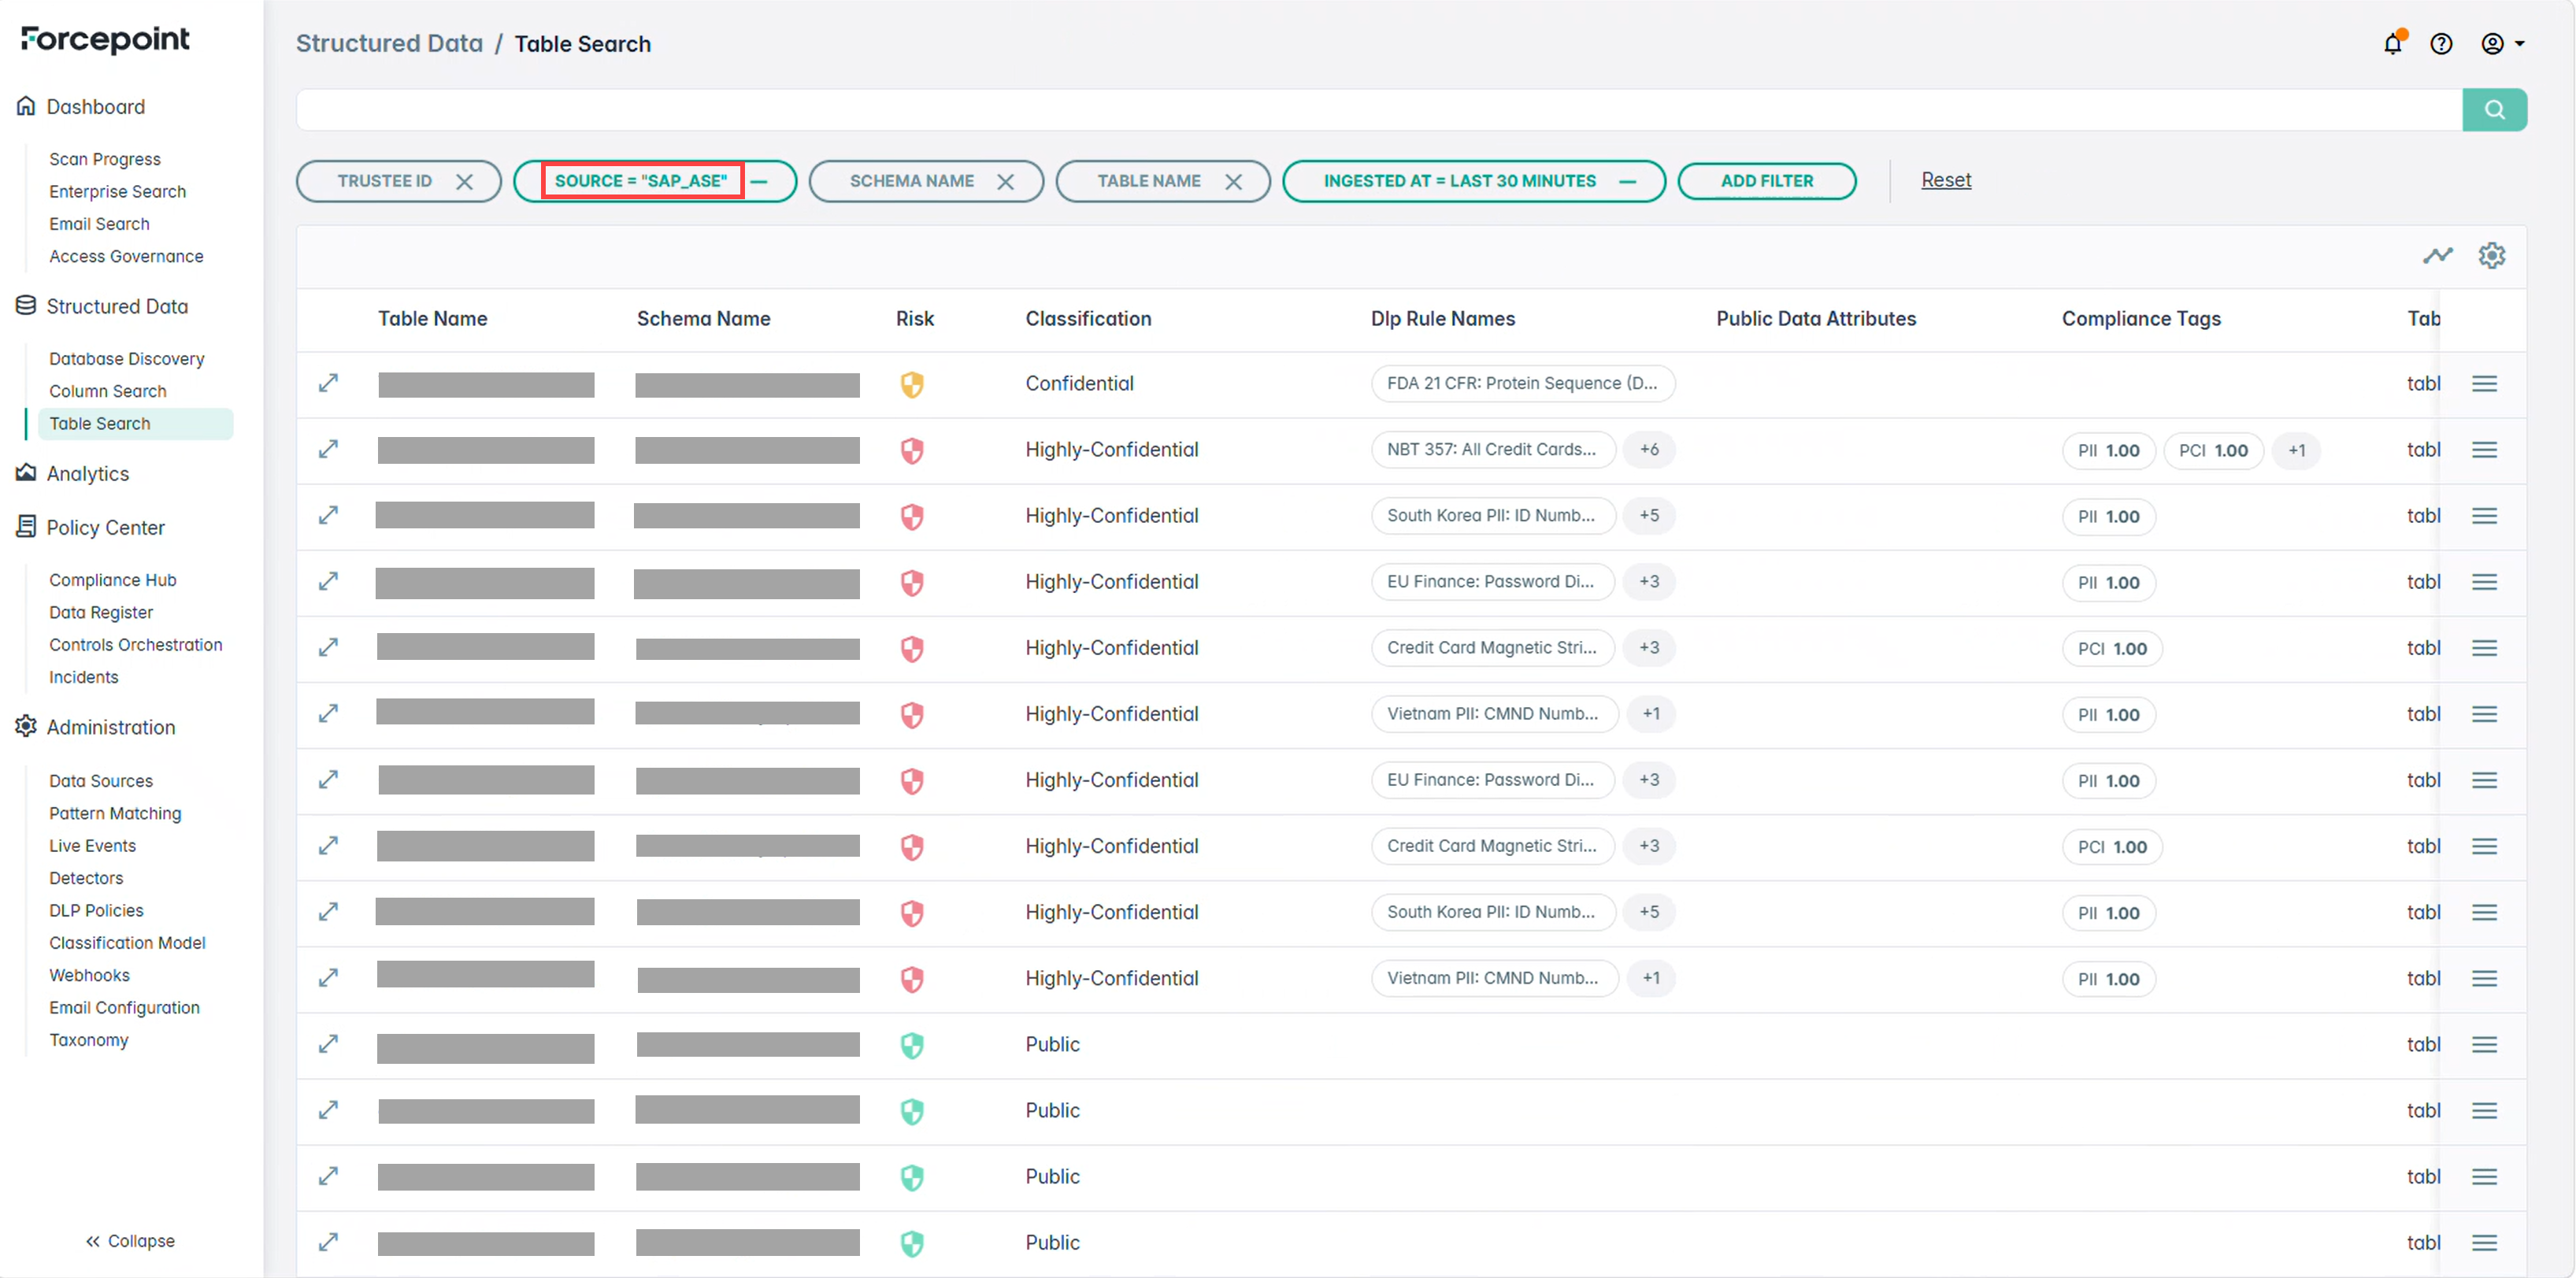
Navigate to Table Search to view detailed table information for every configured data source and its associated scans.
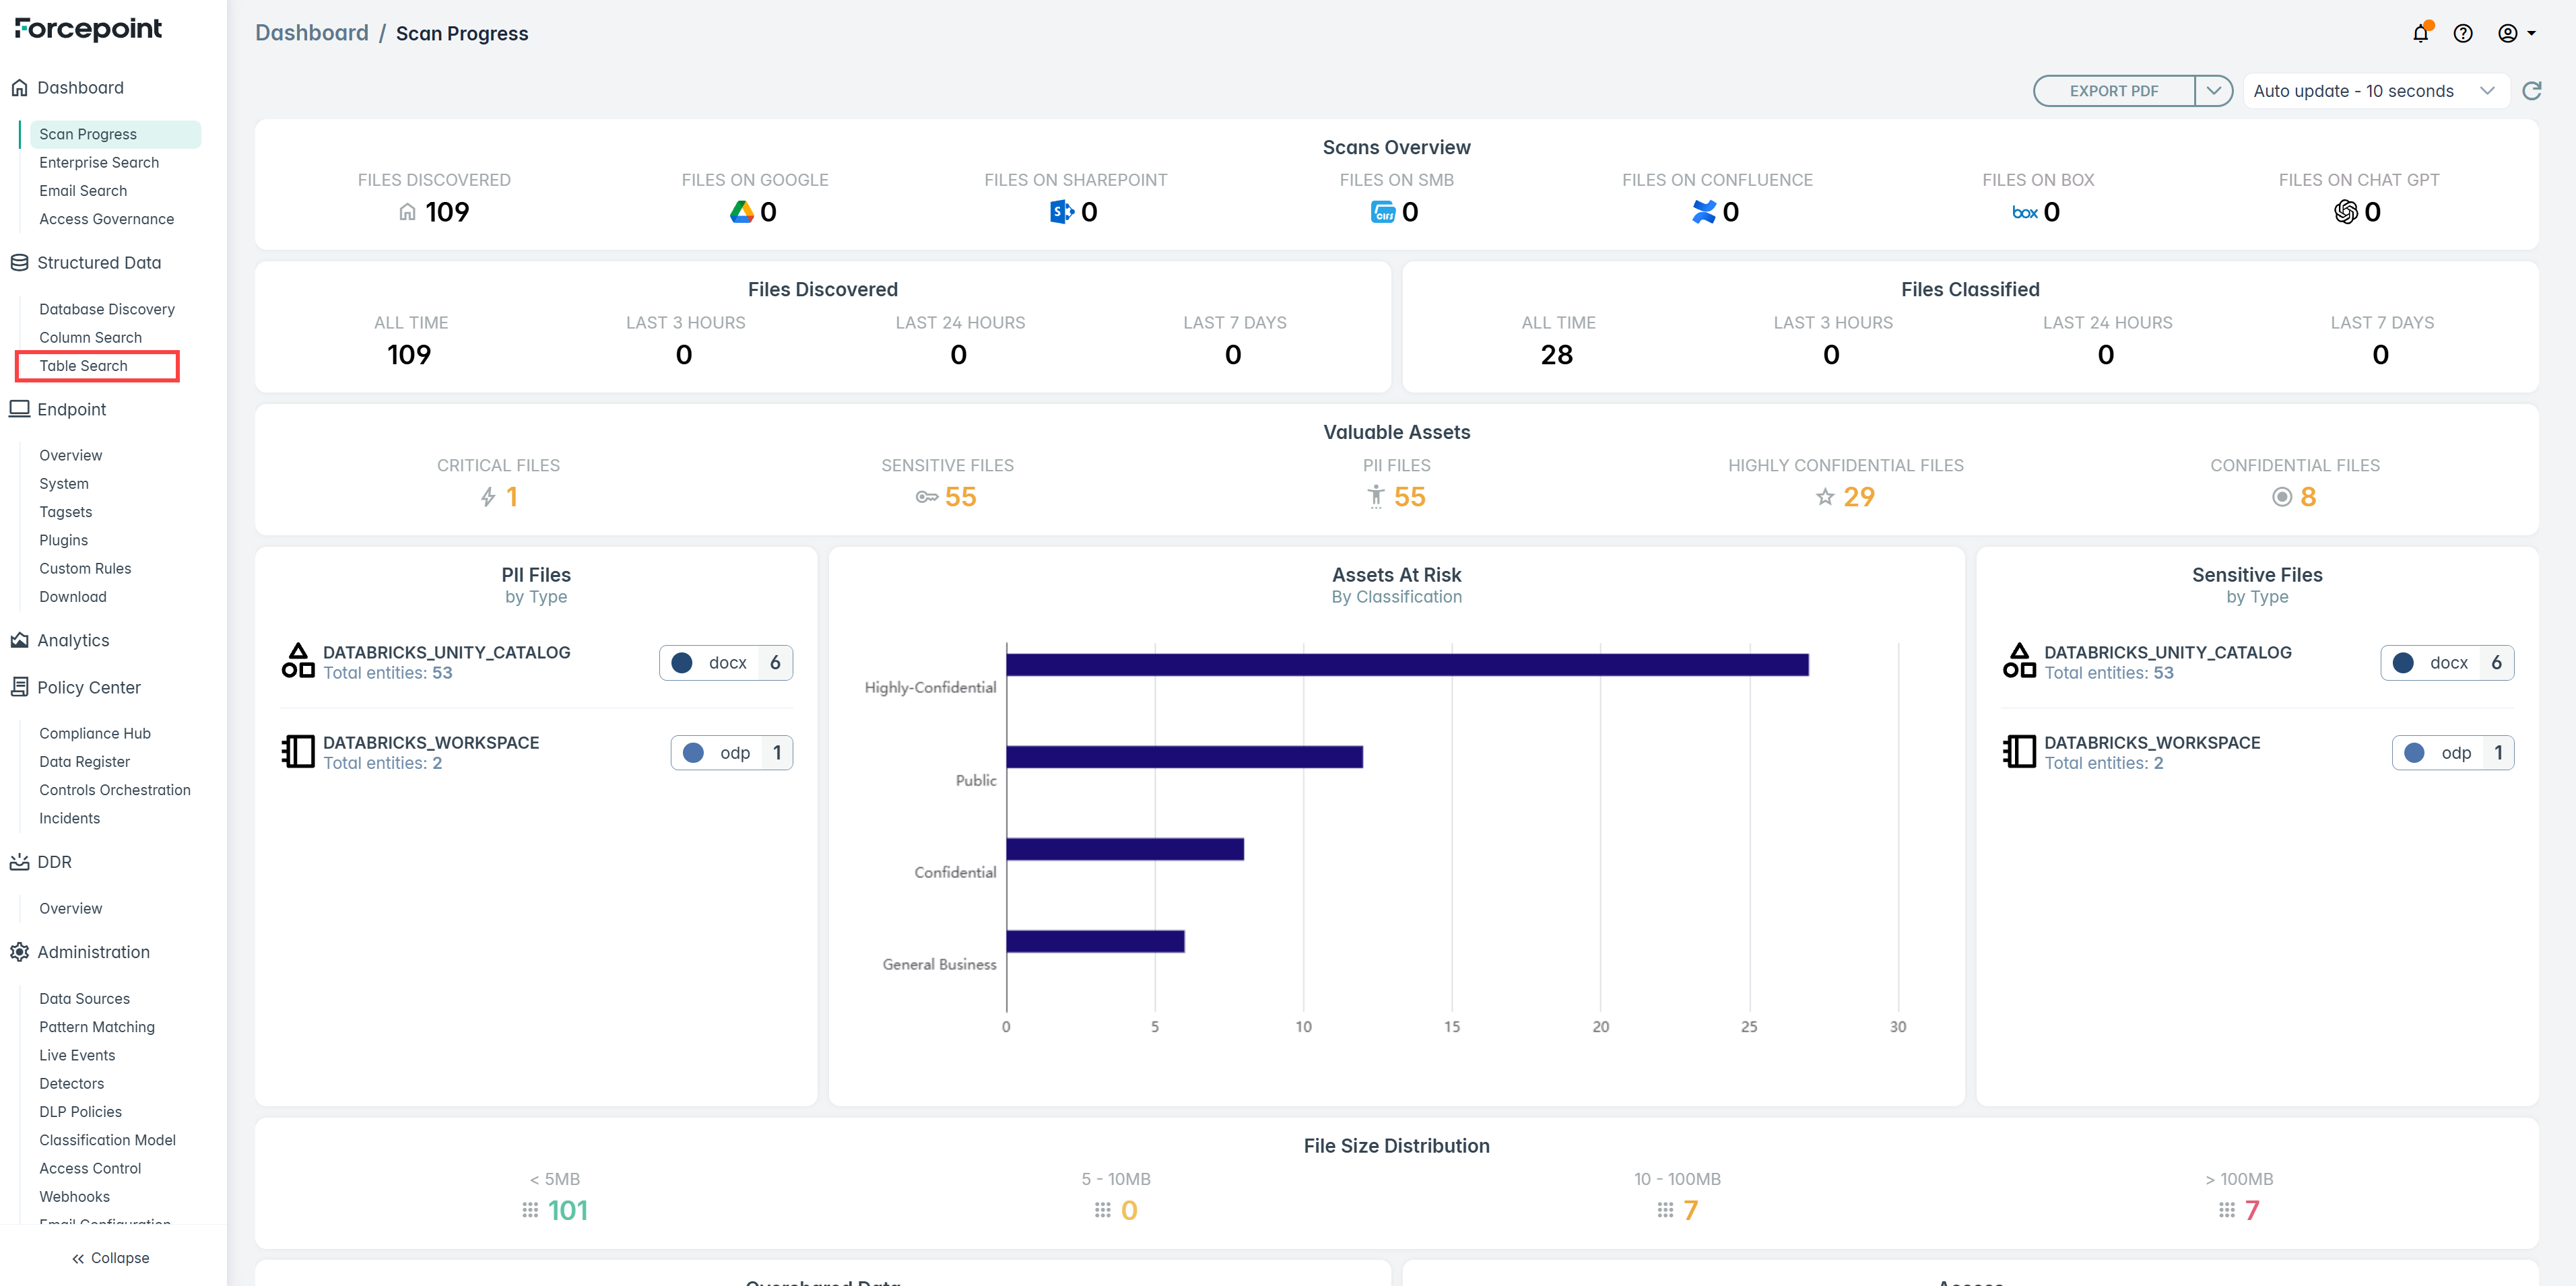
-
Filter by SAP ASE to scope the results.
Running a Trustee Scan
Before you begin
Note: Before performing a trustee scan, ensure the required permissions are configured for the scanning account. Refer to Minimum Permissions for Trustee
Scan under Prerequisites above.
Steps
-
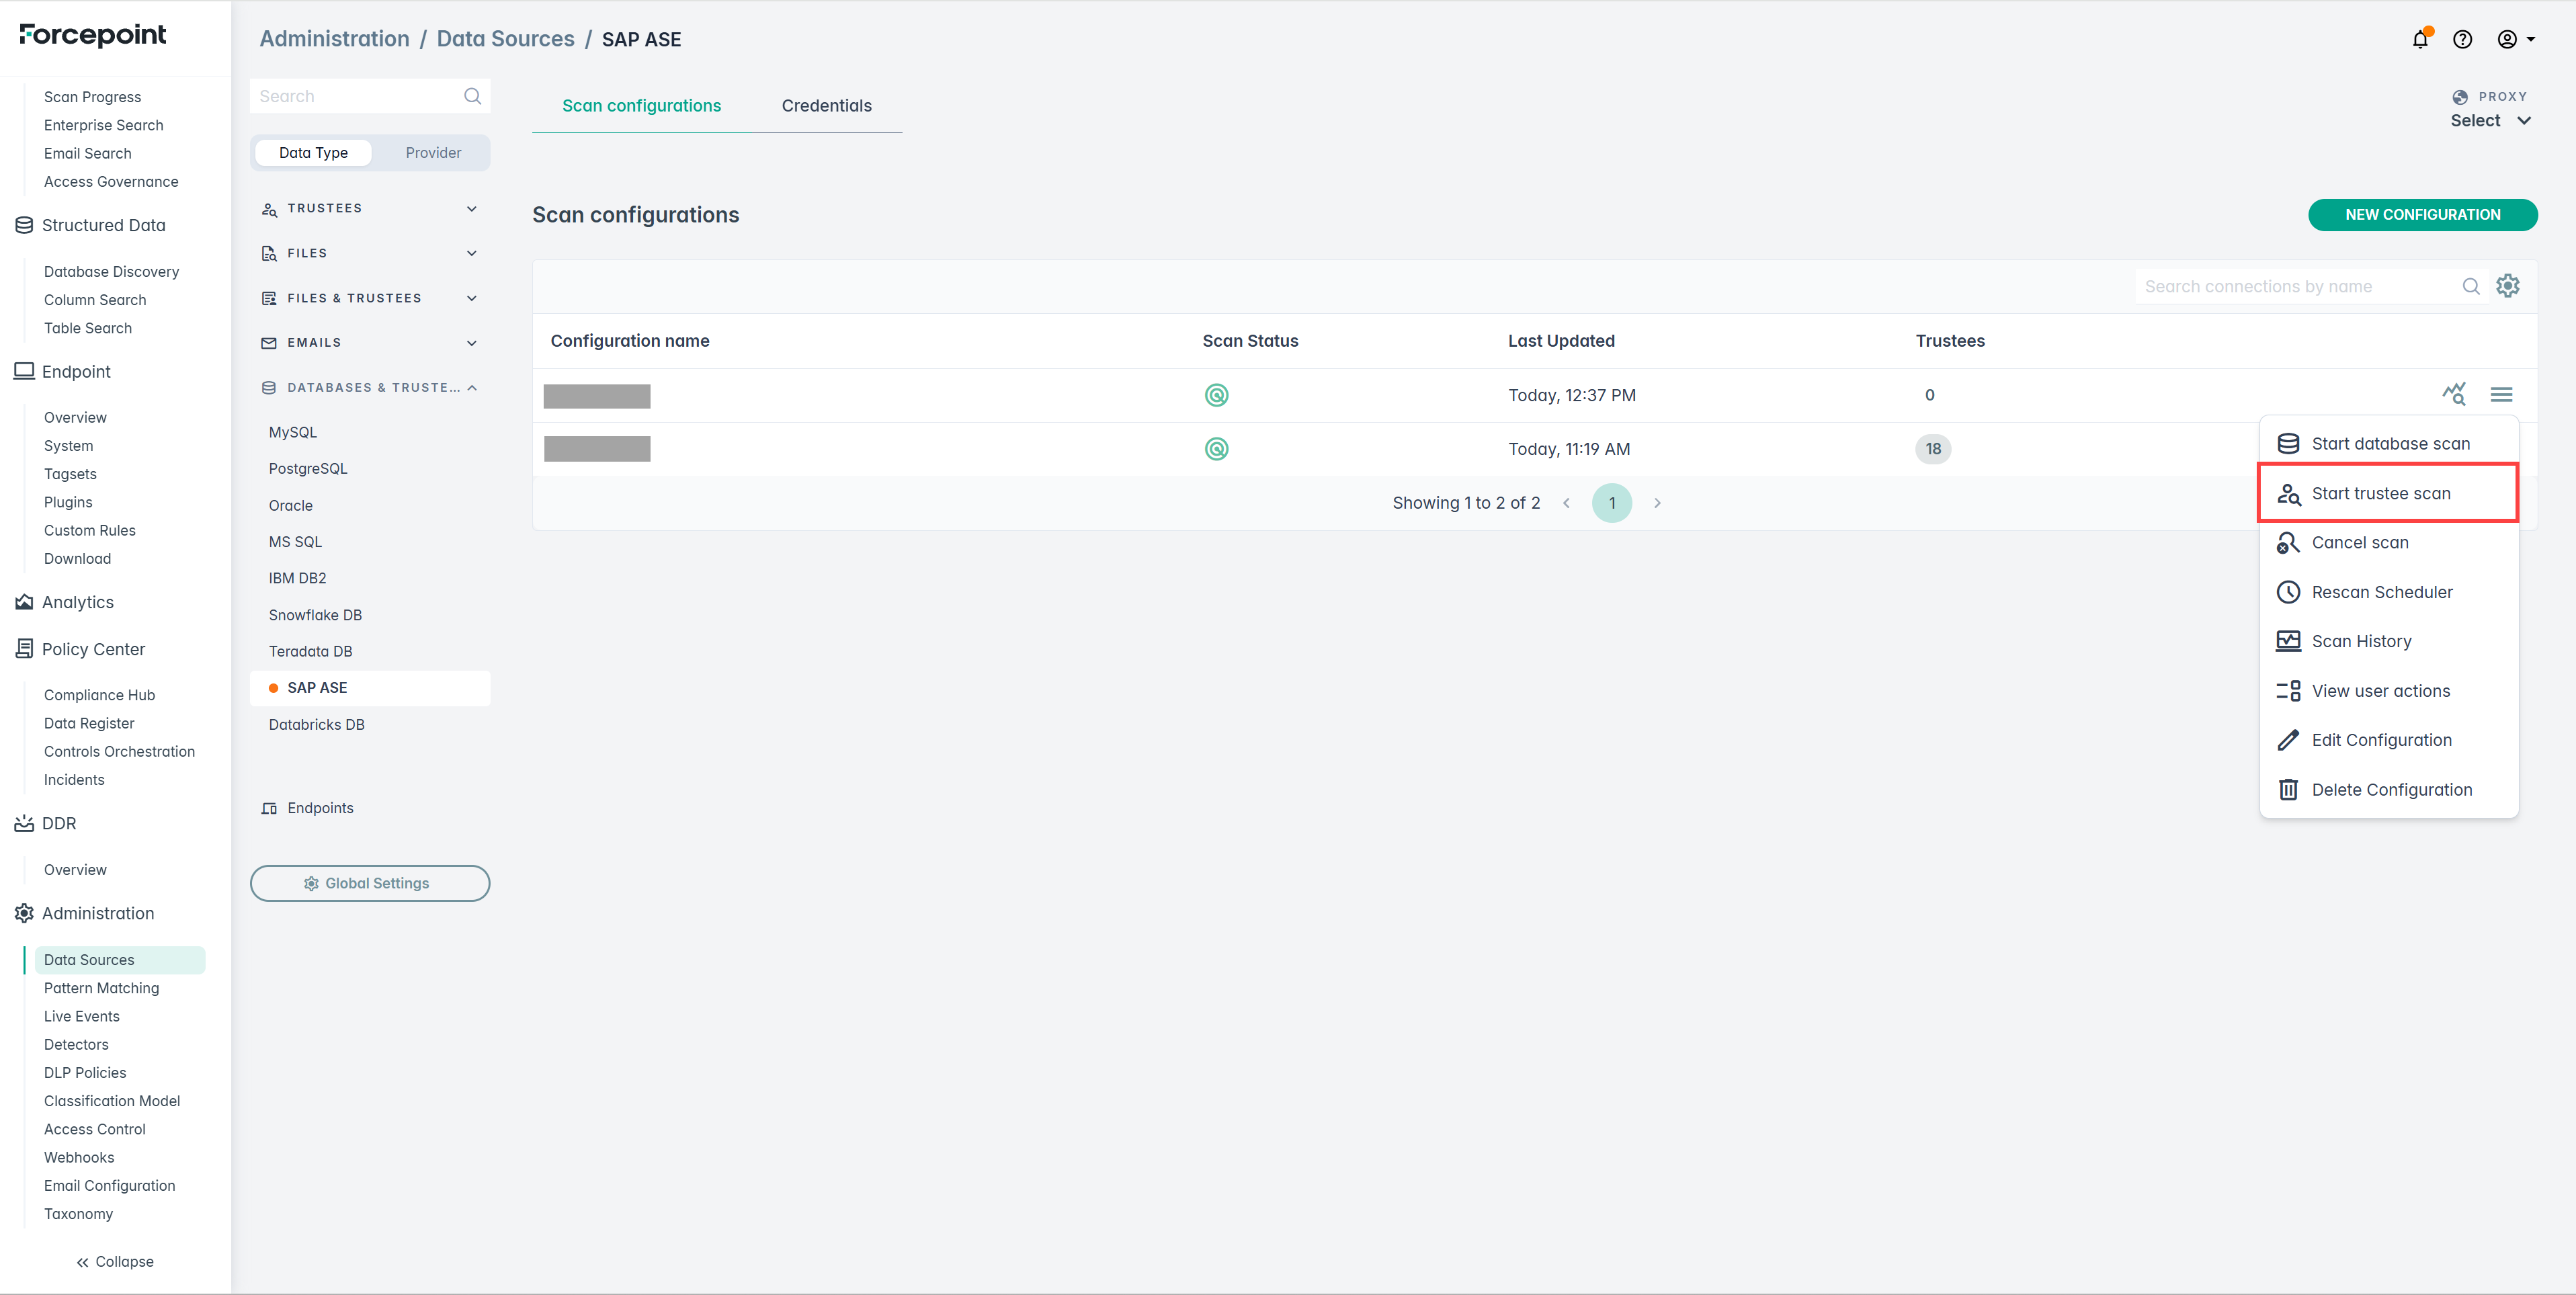
In addition to the data scan, a trustee scan can be performed to discover and review database user and group information.
-
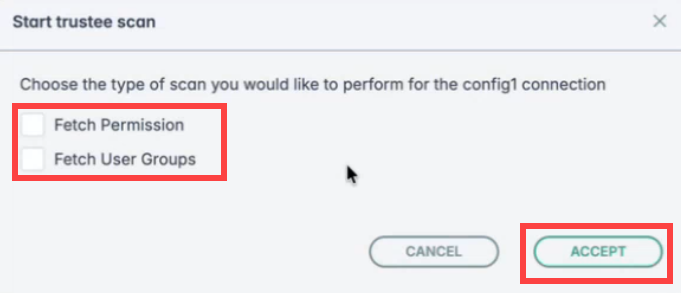
Choose the type of the scan and click on ACCEPT.
-
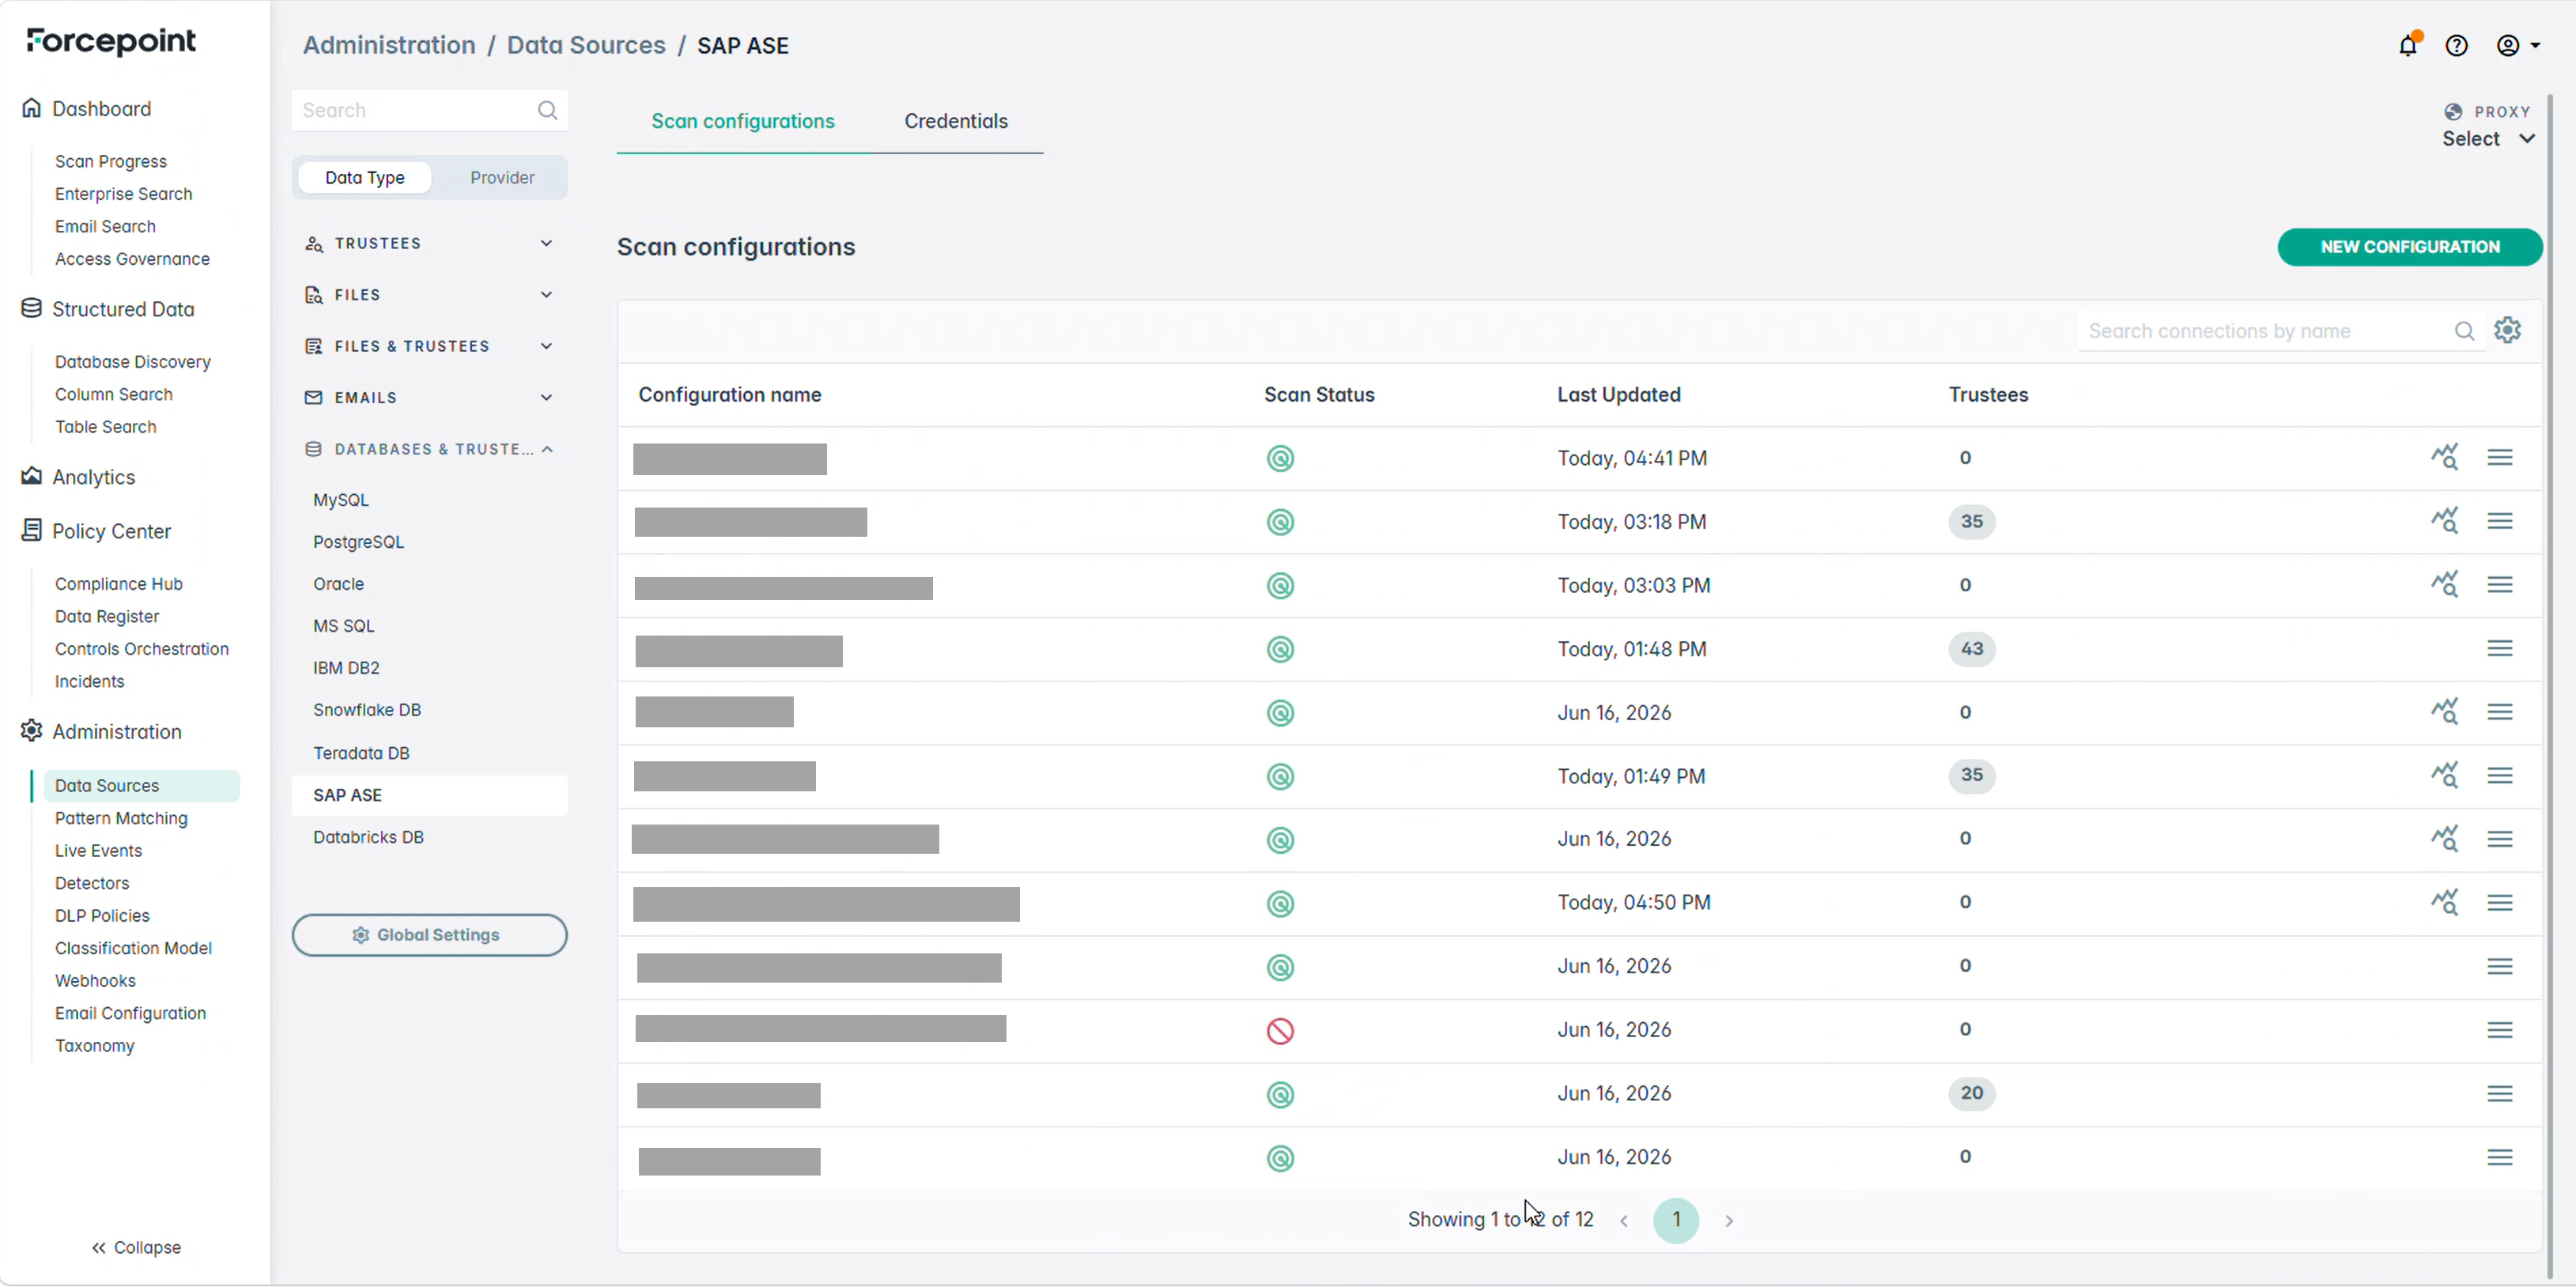
After initiating a trustee scan from the scan configuration page, the results display:
- Configuration name
- Scan status
- Last Updated
- Trustees
-
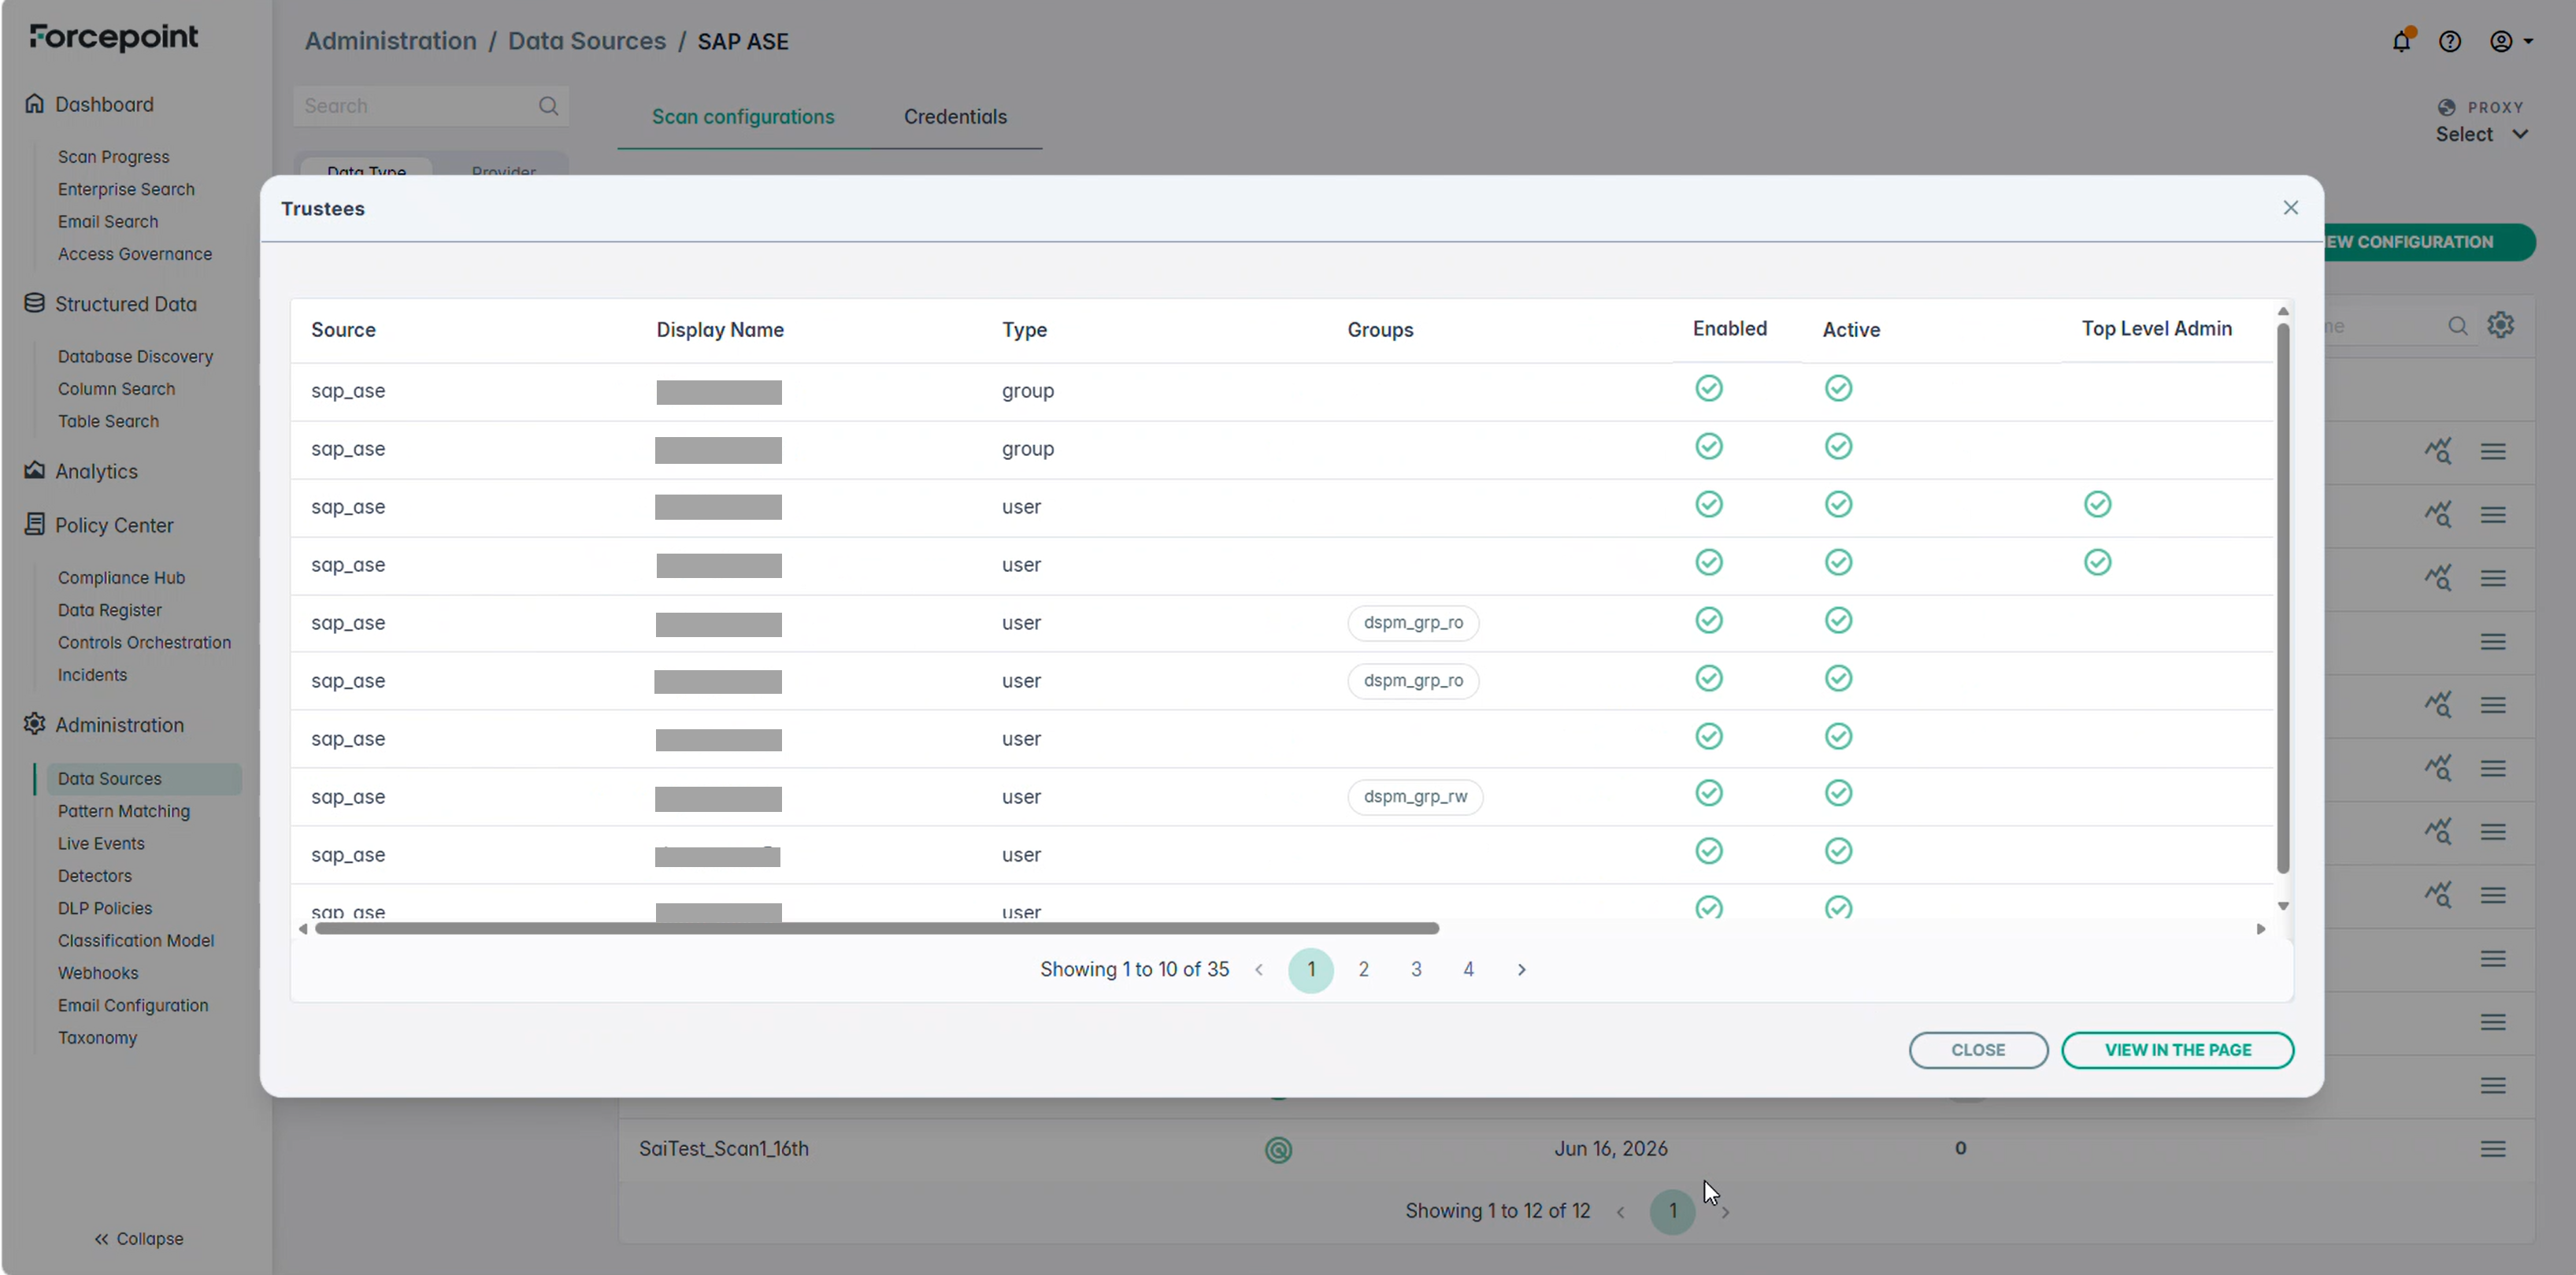
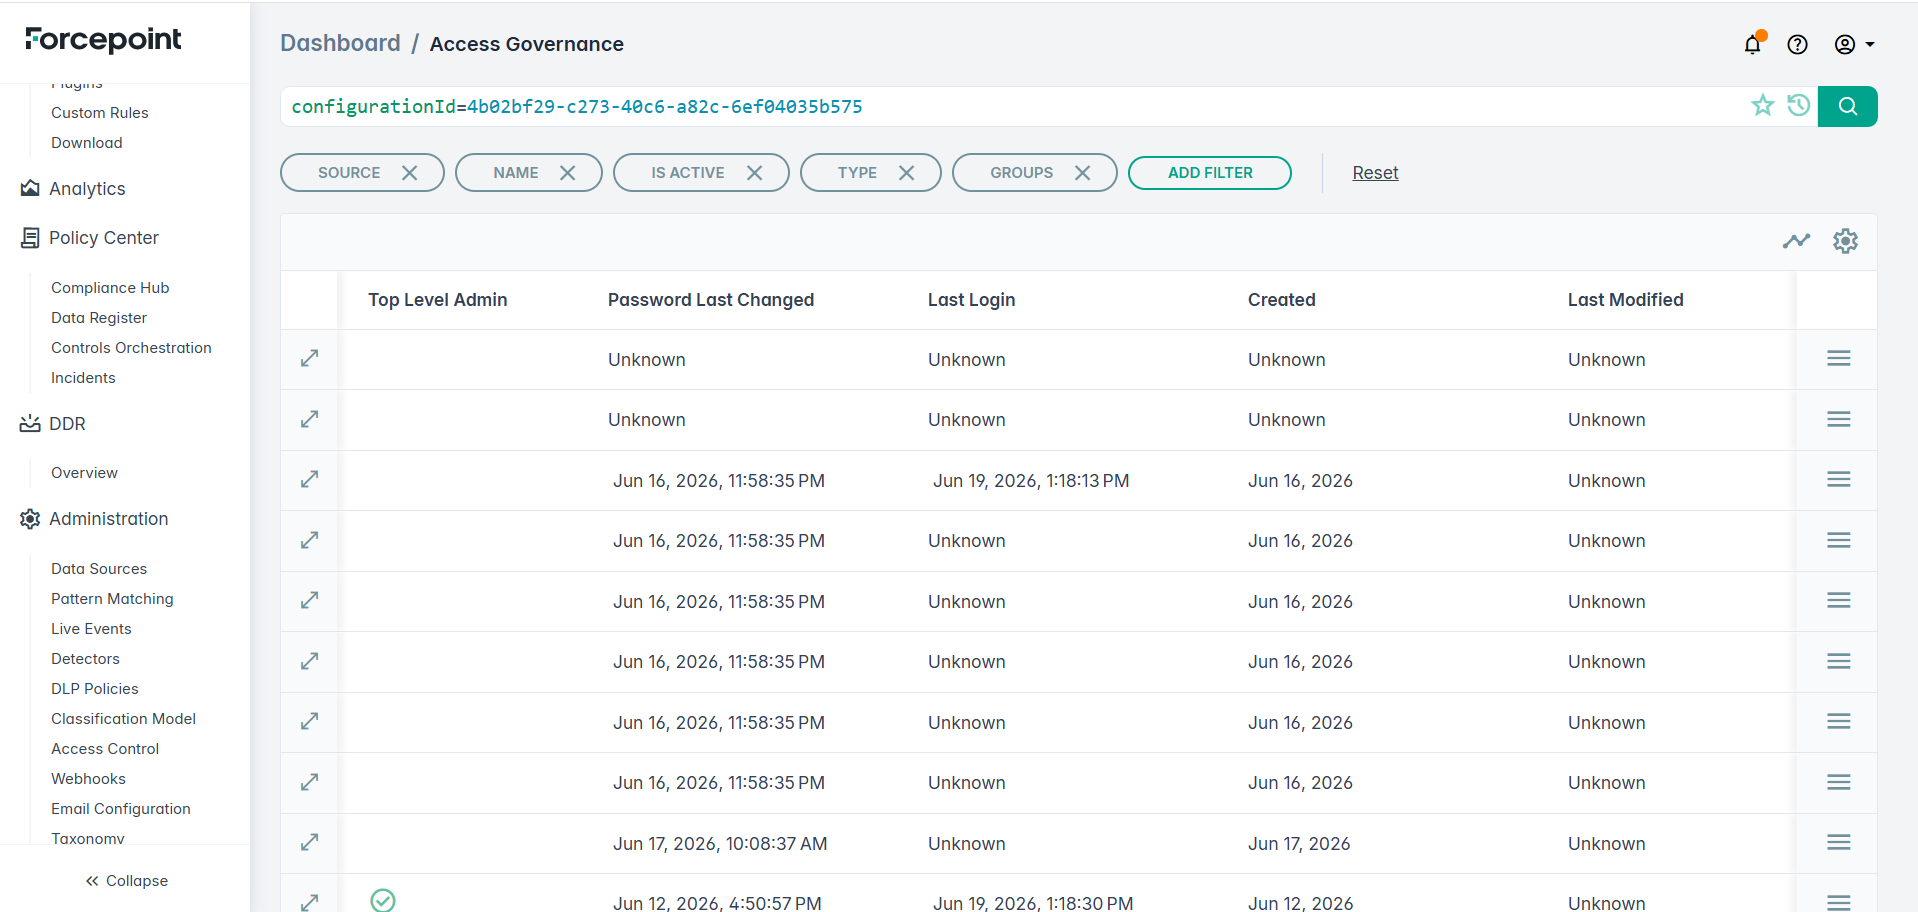
If you click on any of the results, it will redirect you to the Trustees window directly where you can view the results.
Note: When you save a scan configuration or start a database scan, Forcepoint DSPM validates the selected scope against scan limits. If the scope exceeds a limit, the configuration is not saved or the scan does not start, and a notification identifies the limit that was exceeded. To reduce the scope, select a specific path (schemas or tables) instead of the entire data source, or split the scan across multiple configurations. See Structured data scan limitations.