Setting up the scan configuration
Before you begin
You should have created the data source connection as explained in section Setting up the data source connection.
Steps
-
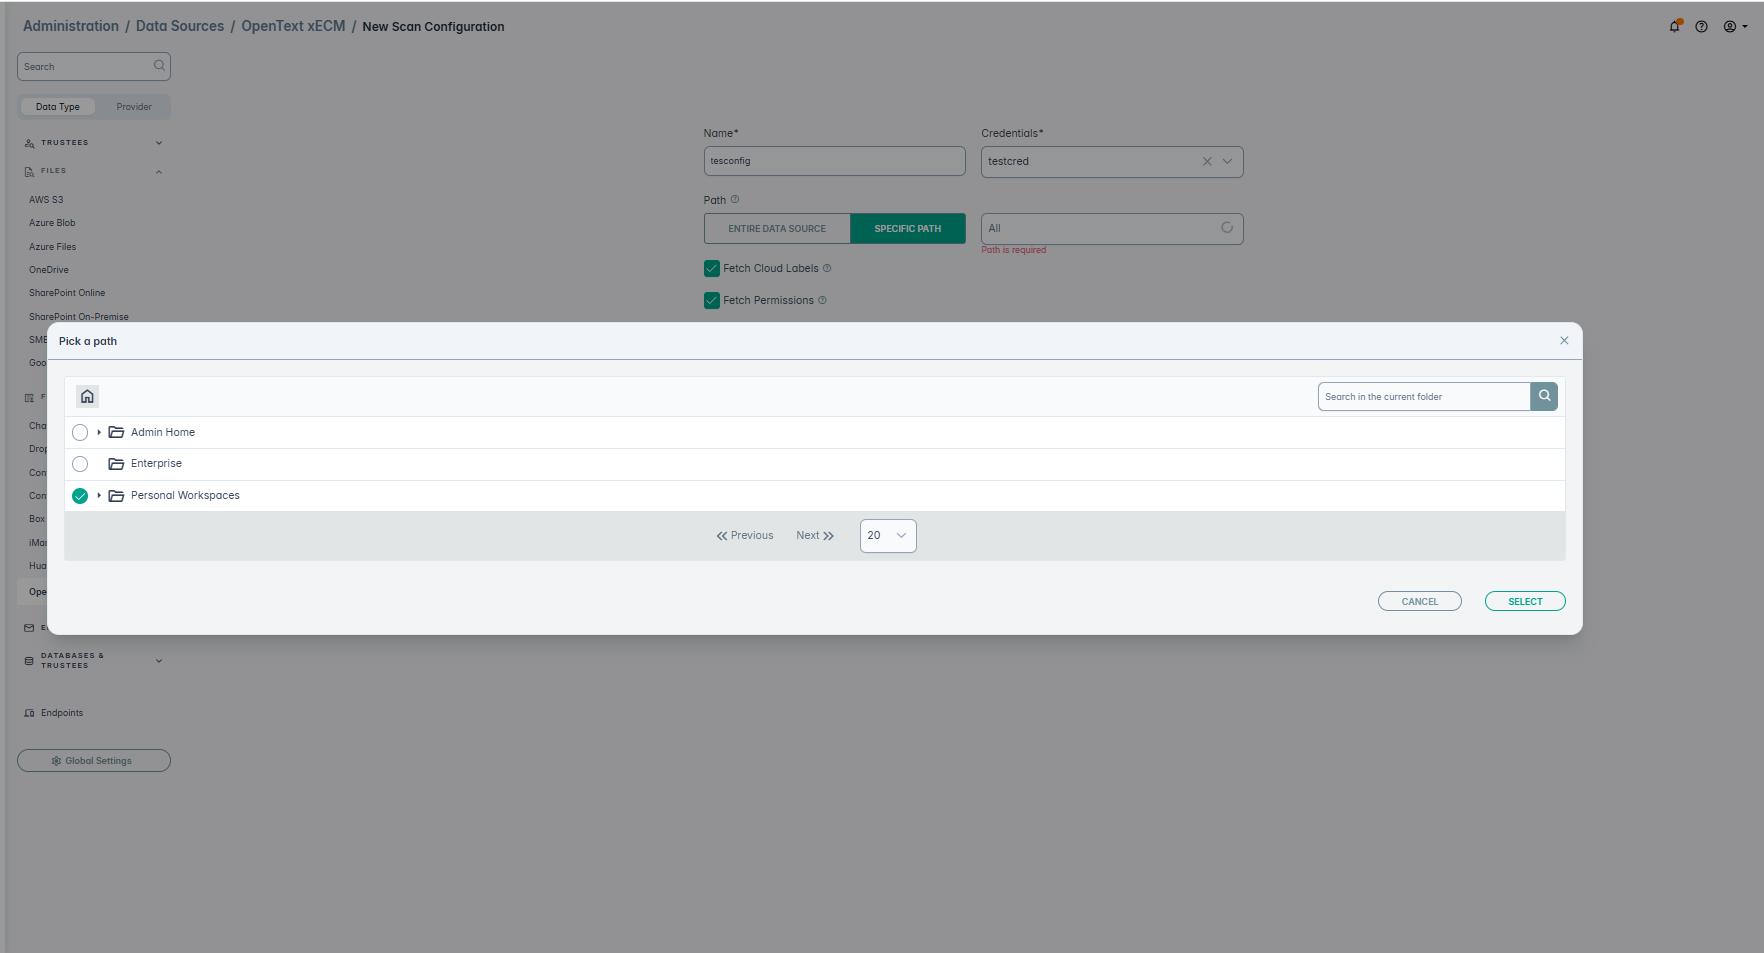
On the New Scan Configurations screen, enter the Name and select the Credentials created in above steps. In the
Path field, select the Folder icon to select a particular folder to scan, or leave the path as empty to scan all folders. An example is shown below:
-
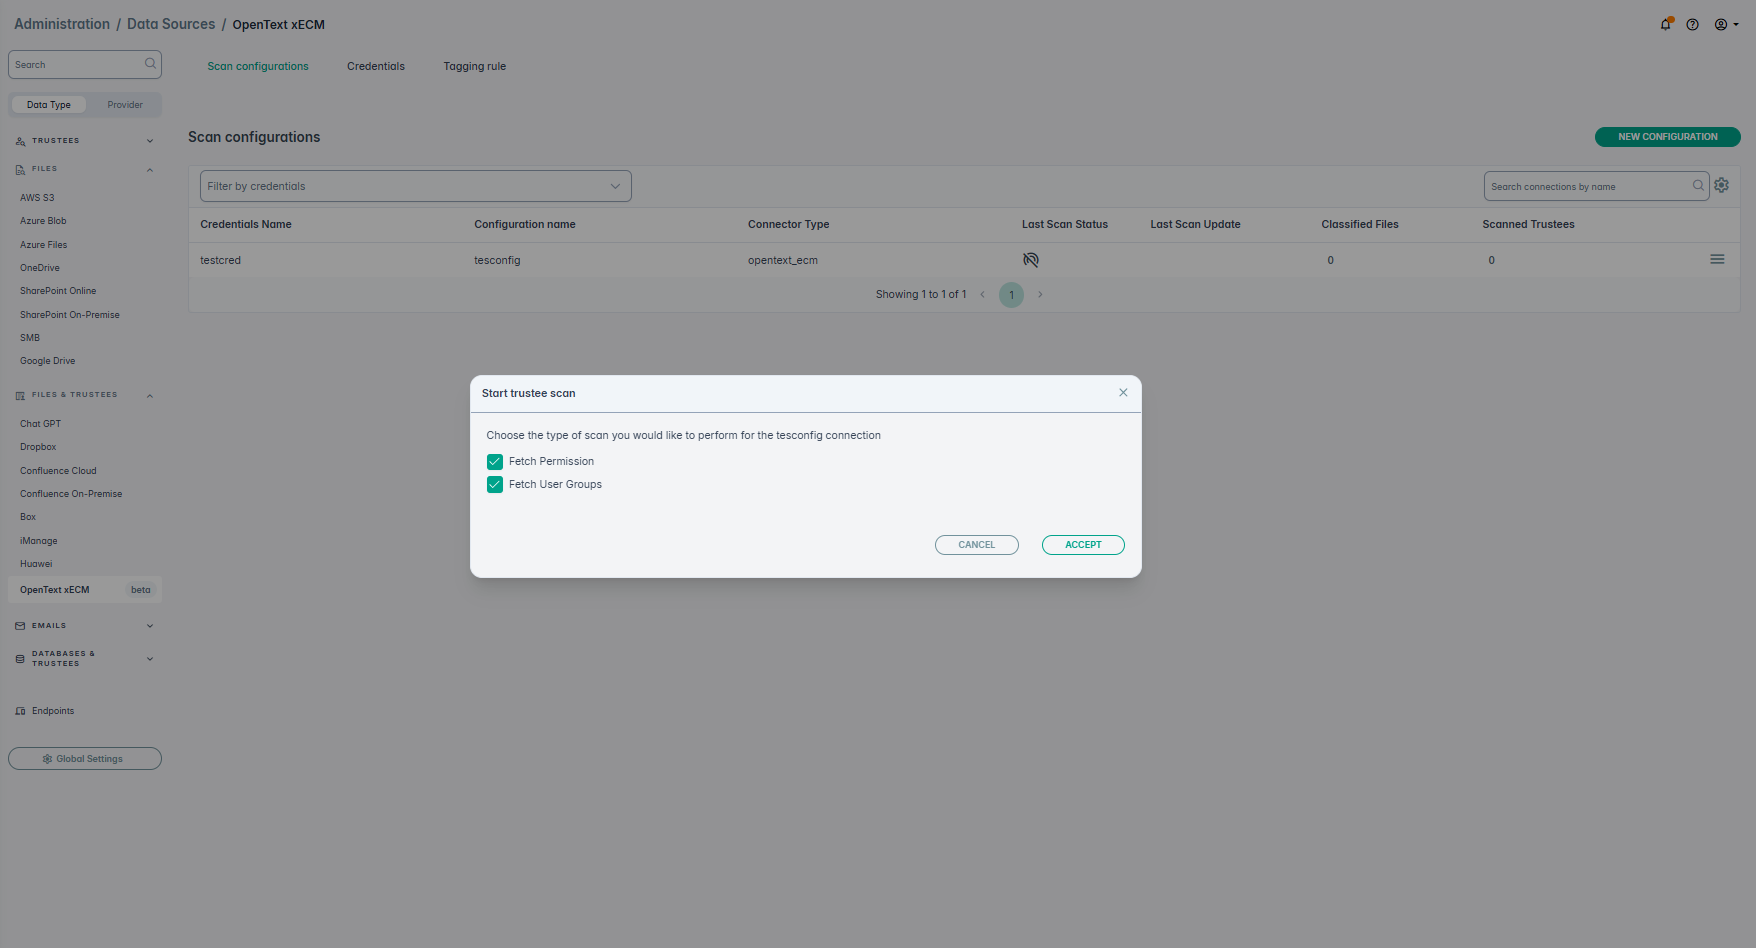
On the next screen, select Fetch Permissions and Fetch User Groups.
-
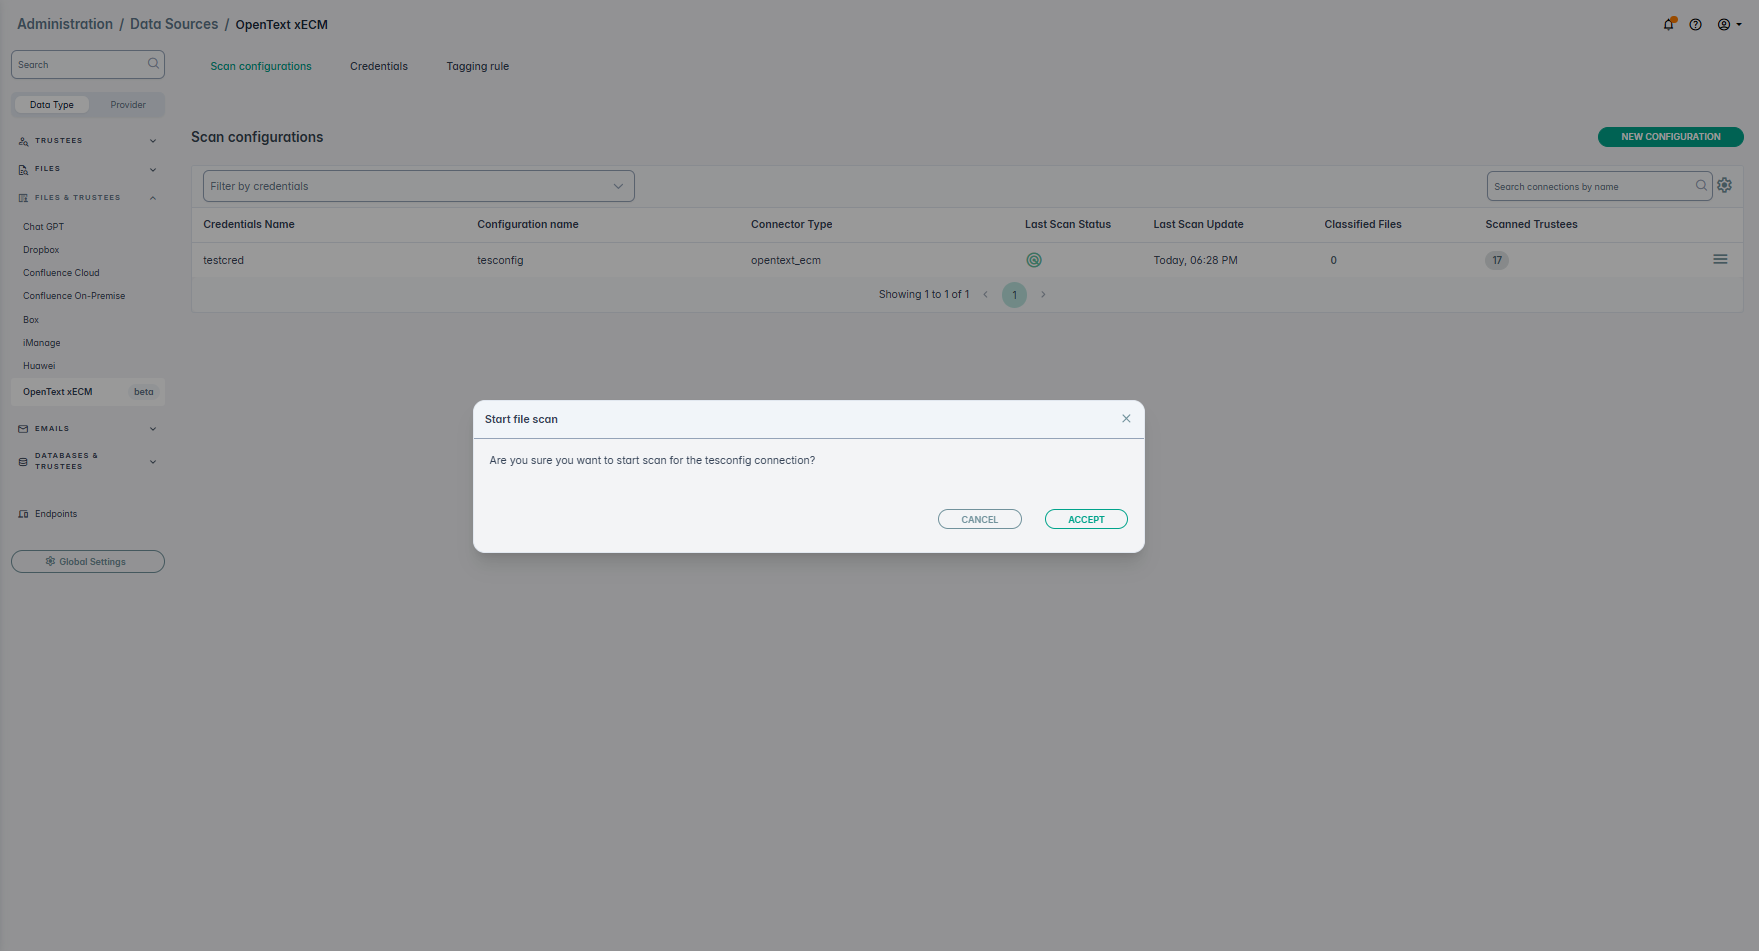
When prompted click ACCEPT to start the scan.
-
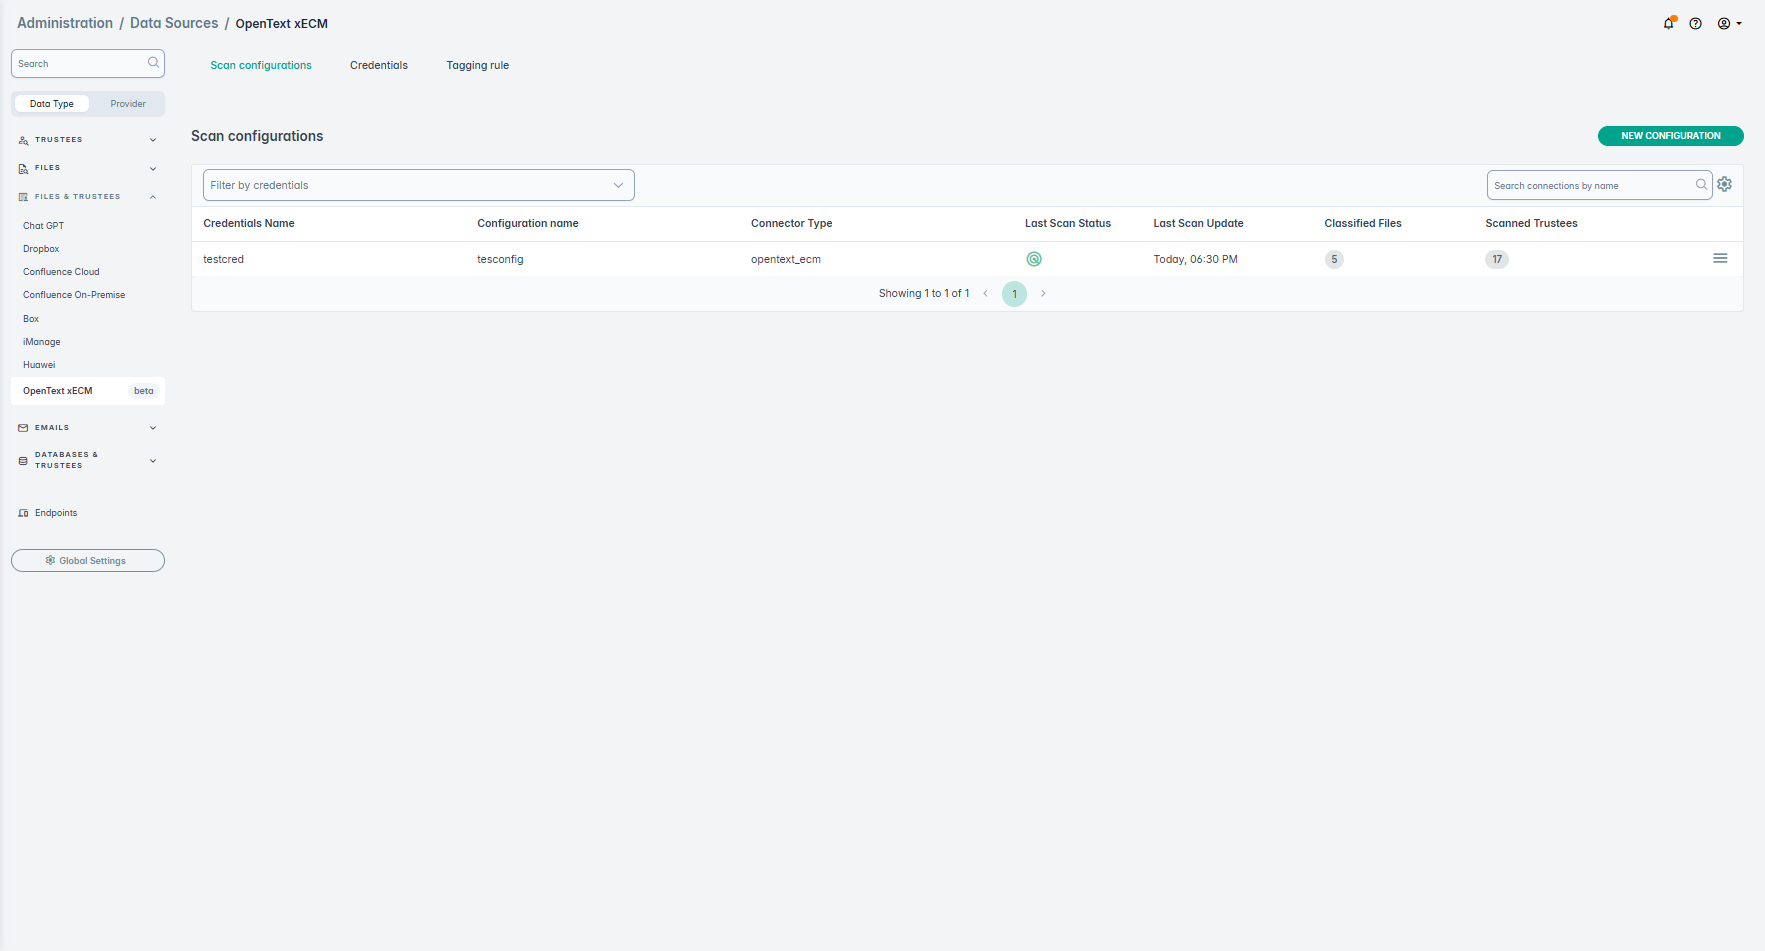
Once the scan completes, the number of scanned trustees is displayed. An example, is shown below:
-
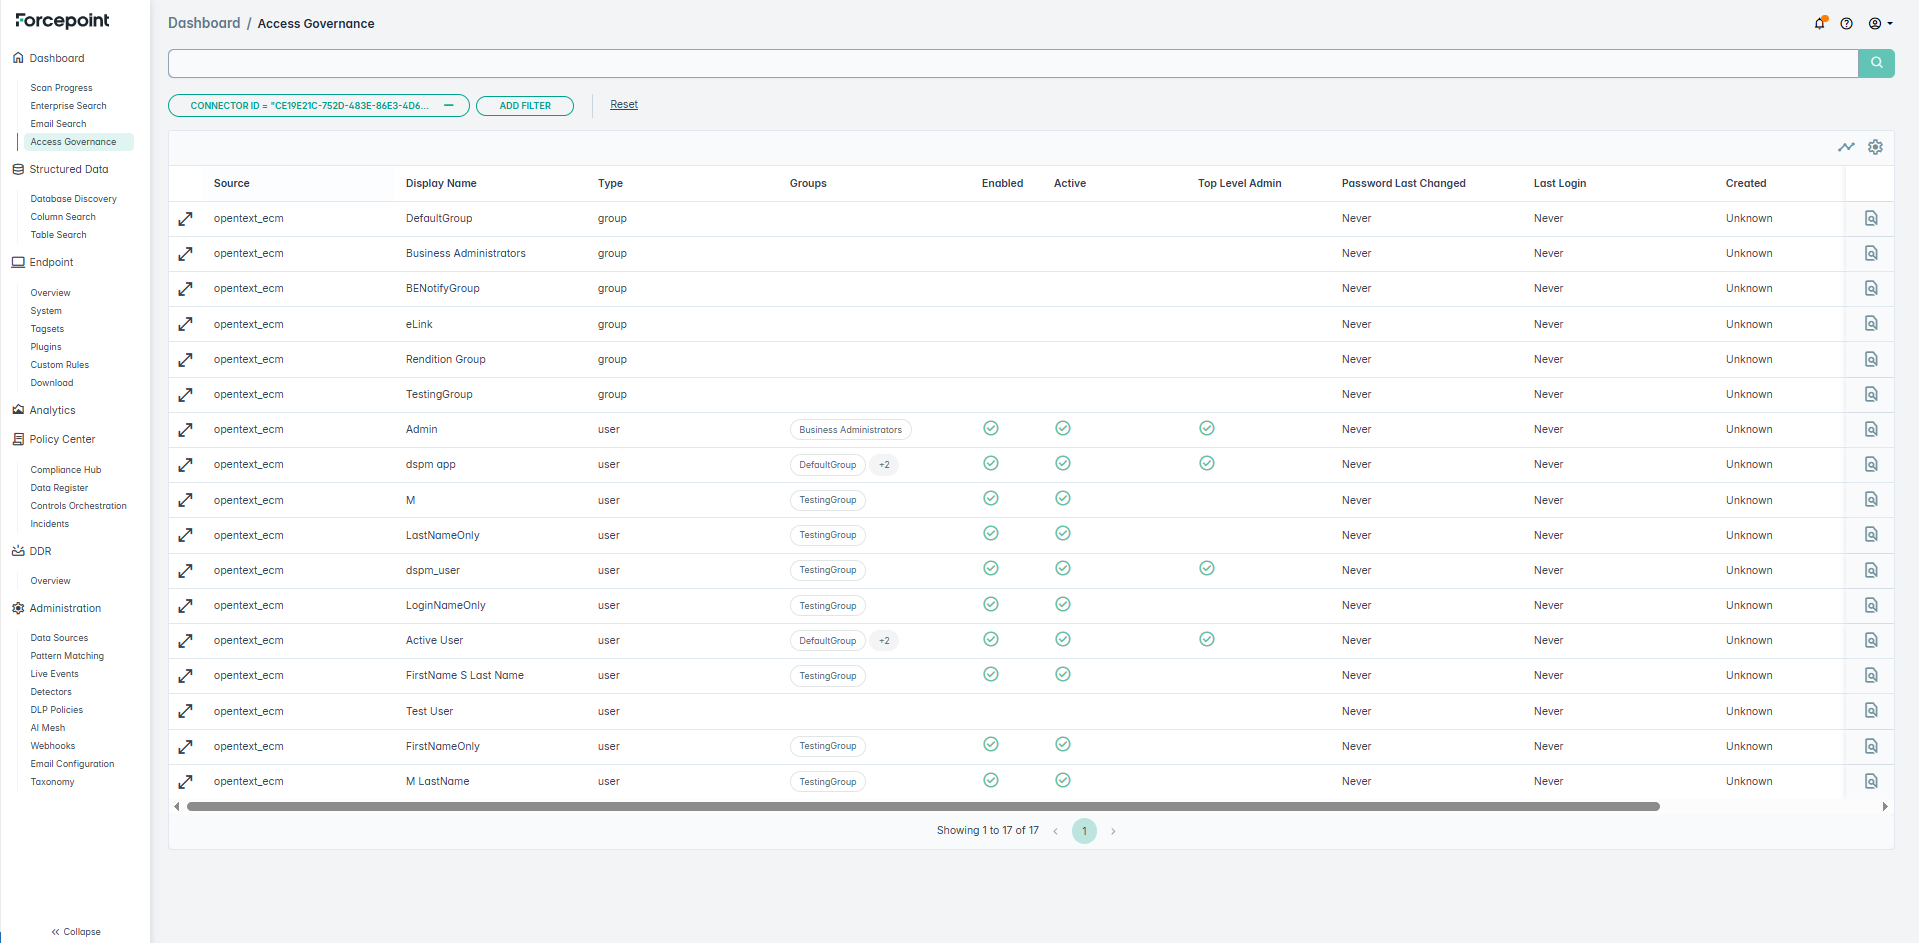
To view the details of the scanned trustees, click on the number displayed. This opens the full details under Access Governance. An example is shown below:
 Similarly you can also run a file scan and view the details on the Enterprise Search screen.